Showing posts with label fabric depot. Show all posts

Saturday, May 23, 2015

Zip, Bang, Boom!

Two little quilts for two little firecrackers.


When I was in high school, I had a great group of guy friends.


Even better, I still have a great great of guy friends :)


And for the cherry on top, they have married (or are about to marry) some fantastic women. My friend Rob set the bar really high when he married Holly.


She is an amazing entrepreneur and after countless hours of work squeezed in between a day job, husband and child, her business is really taking off. Please go and check out her shop, MarshMueller, full of goodies for little ones in fabulous fabrics!

Before Tatum was born we were over at Rob and Holly's. It just so happened that Holly was also pregnant, with her second baby. Our boys were due just a few months apart and even though Buddy and I were keeping the baby's name to ourselves, we thought it was important to compare notes with our friends :)

During the conversation, it came out that we were both thinking about names that resulted in awesome initials, TNT for us and BAM for them. Hehe.

SO, when I saw this fabric when I was shopping for flannel for burp clothes, I had to have it and I had to turn it into matching quilts for the boys.


I wanted the quilts to be simple and graphic so I went with a brick layout in bright solids and geometric prints. I searched online for a font that captured the comic book theme. It took some doing, but I think I hit the nail on the head!

The applique foot for my Bernina makes this kind of thing a breeze.


Voila!

This picture gives and interesting view of shrinkage since the TNT quilt has been washed and BAM's has not.

I love how these turned out. I may have spoiled the surprise for Holly a bit, but I think she'll forgive me ;)

I smell a photo shoot in our future!!!

Linking up:

Thursday, August 28, 2014

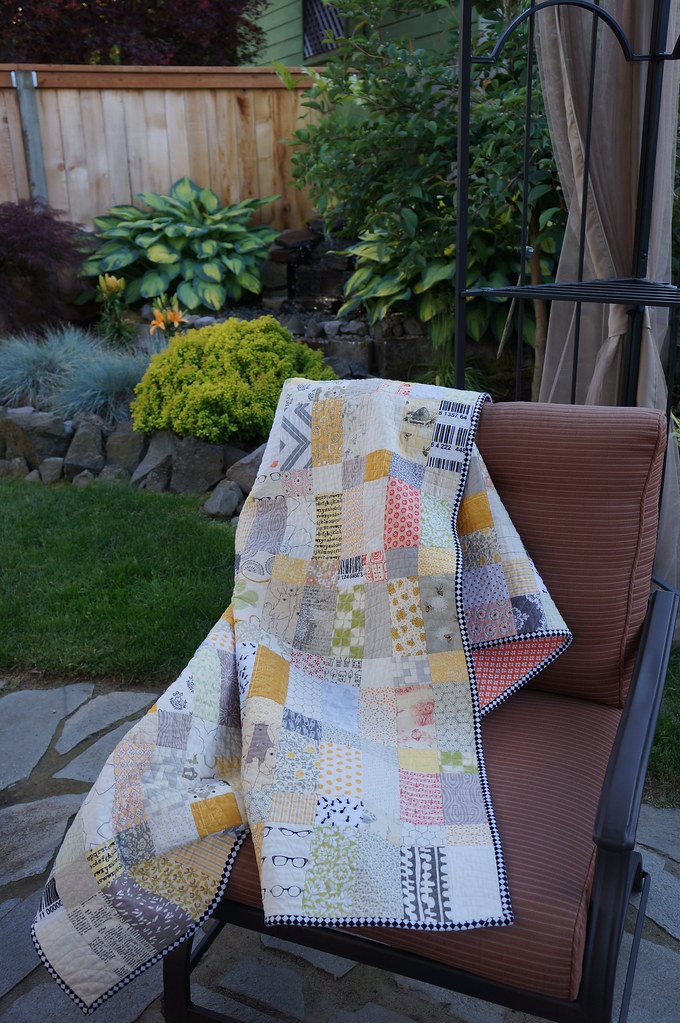
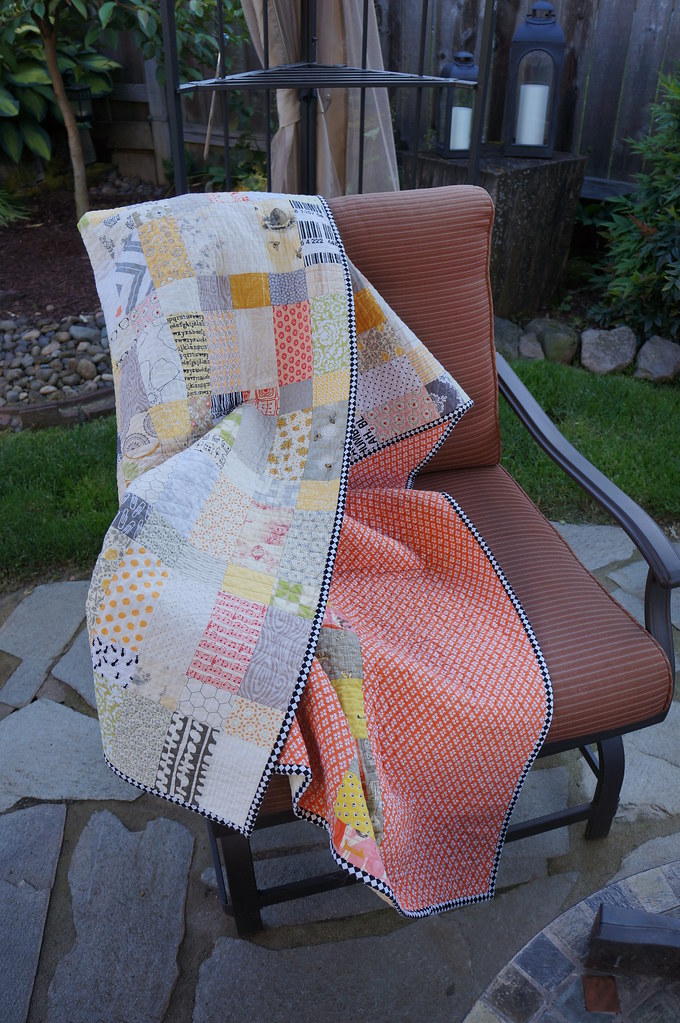
Low Volume Loveliness Complete!

Let's start back where we left off shall we?  I talked about my low volume quilt here and here.  The verdict...

I love it!


I love this quilt.  It came out perfect.  I may have almost cried a few times during the process when I was pretty sure that I ruined it, but in the end, I am over the moon happy with it!


Quilting


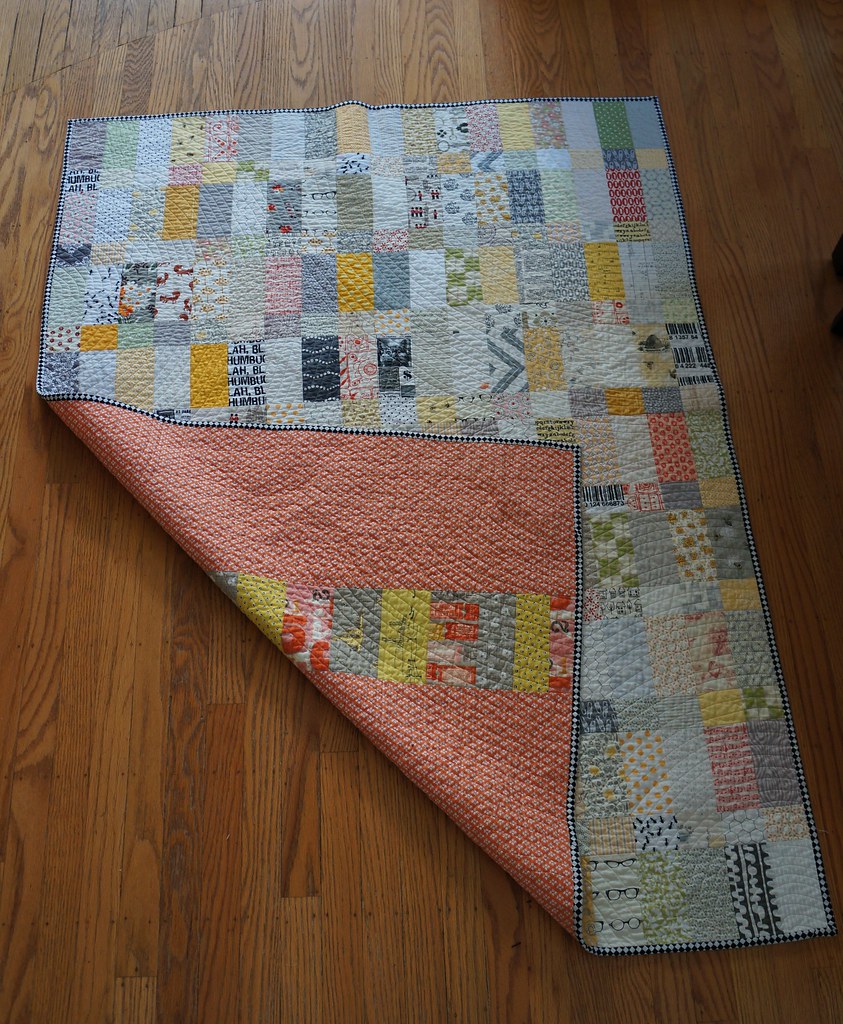
This was decidedly harder.  I really like straight line quilting and the texture it adds to a quilt but I didn't want straight straight lines, you know what I mean?  I don't remember if I saw something that inspired me (probably) but I ended up playing with the idea of curved straight lines and a ripple effect.  I just kept drawing different things until I hit on a combination that I liked.  Check.


Now how to execute that?

I numbered the ripples in the order that I drew them and then started with the first one.  I used to plate to get a nice curve and then quilted that line first, then the ones inside of that.  Next, I quilted bigger and bigger circles until I was where I wanted that ripple to end.  Now comes the part where I ran into trouble.  My second biggest ripple was at the other end of the quilt and even though I spray basted, I didn't feel like I got a great "lock" on all the layers. So when I started quilting the second ripple, I just knew that I was going to end up with a bunching and puckering in the middle. NOOOO!!!  Not on this quilt! This quilt that I already loved, that I hard worked so hard on, that I had used precious scrap fabrics for!!!!  At this point, I am trying not to cry.  The husband looks confused, but knows enough to just tells me it will all be okay.

Okay, regroup.  Deep breath.  How was I going to fix this?

I marked where I wanted my curves to end for big ripple at the other end.  Then I went back to the side of the quilt I started with and began to fill things in based on my pattern.  I did  A LOT of smoothing and tugging, but in the end, there was only one teensy little pucker.  A huge sigh of relief.


Binding


So for once, I knew exactly what I wanted to bind my quilt with, black and white stripes.  I have seen both Rachel and Rita do this with low volume quilts and love the look.  Trouble was, I couldn't find any!  I even made a comment on one of Rachel's blog posts, to which she kindly responded, unfortunately to say, she had no idea where she had gotten it!  Hmmm.

I headed out to trusty and giant Fabric Depot to find something.  I came home with a mostly black print with white script text.  I was feeling good.  It got the binding cut and sewed on.  I was feeling less good.  It was SO black.  But since this is how my creative process tends to go:


I forged on with the hand stitching.  I think I was about halfway through when I just couldn't take it anymore.  I didn't like it, AT. ALL.  Let the ripping commence.  And the hunt for something new.  I was down in Eugene visiting my dad so I went to a local store there.  It's a tiny little place but has a decent selection of quilting cottons.  I found this checkered pattern and decided that it had the element I was really looking for: equal parts of black and white.

Round 2 of binding went smoothly and Voila!


Love!

It makes me happy every time I see it at my desk and even happier when I pull it onto my lap, over my shoulders or drag it into a meeting room! Oh like right now :)


Thursday, December 12, 2013

Low Volume Quilt Top

Making Progress


It's all together and I am over the moon about this one.  This is the perfect for me quilt.  Plus, it looks great on our furniture, which is an extra bonus.  I love looking at all the different fabrics, there are so many favorites in there!


I was surprised how hard it was to get all the columns to line up and I struggled with it for a while until I remembered that I wasn't going to sell it and I just didn't care that much. After that, things went pretty quickly.


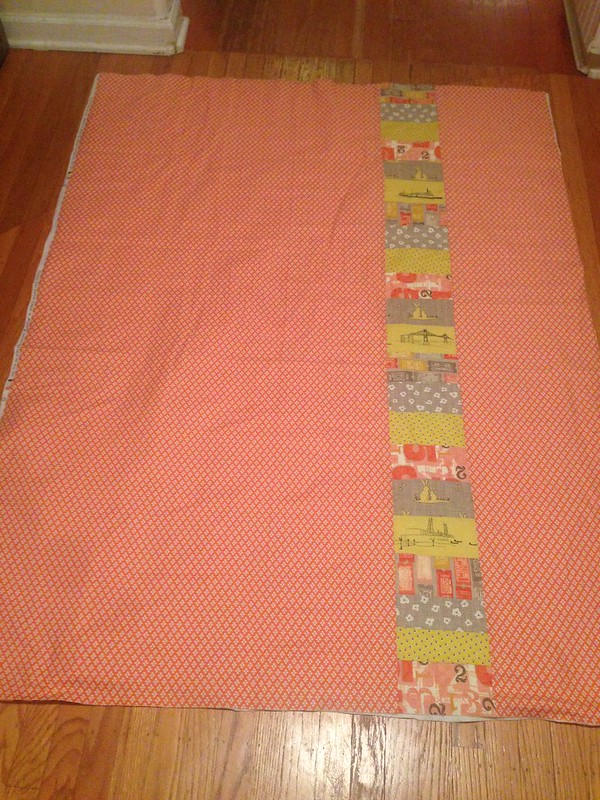
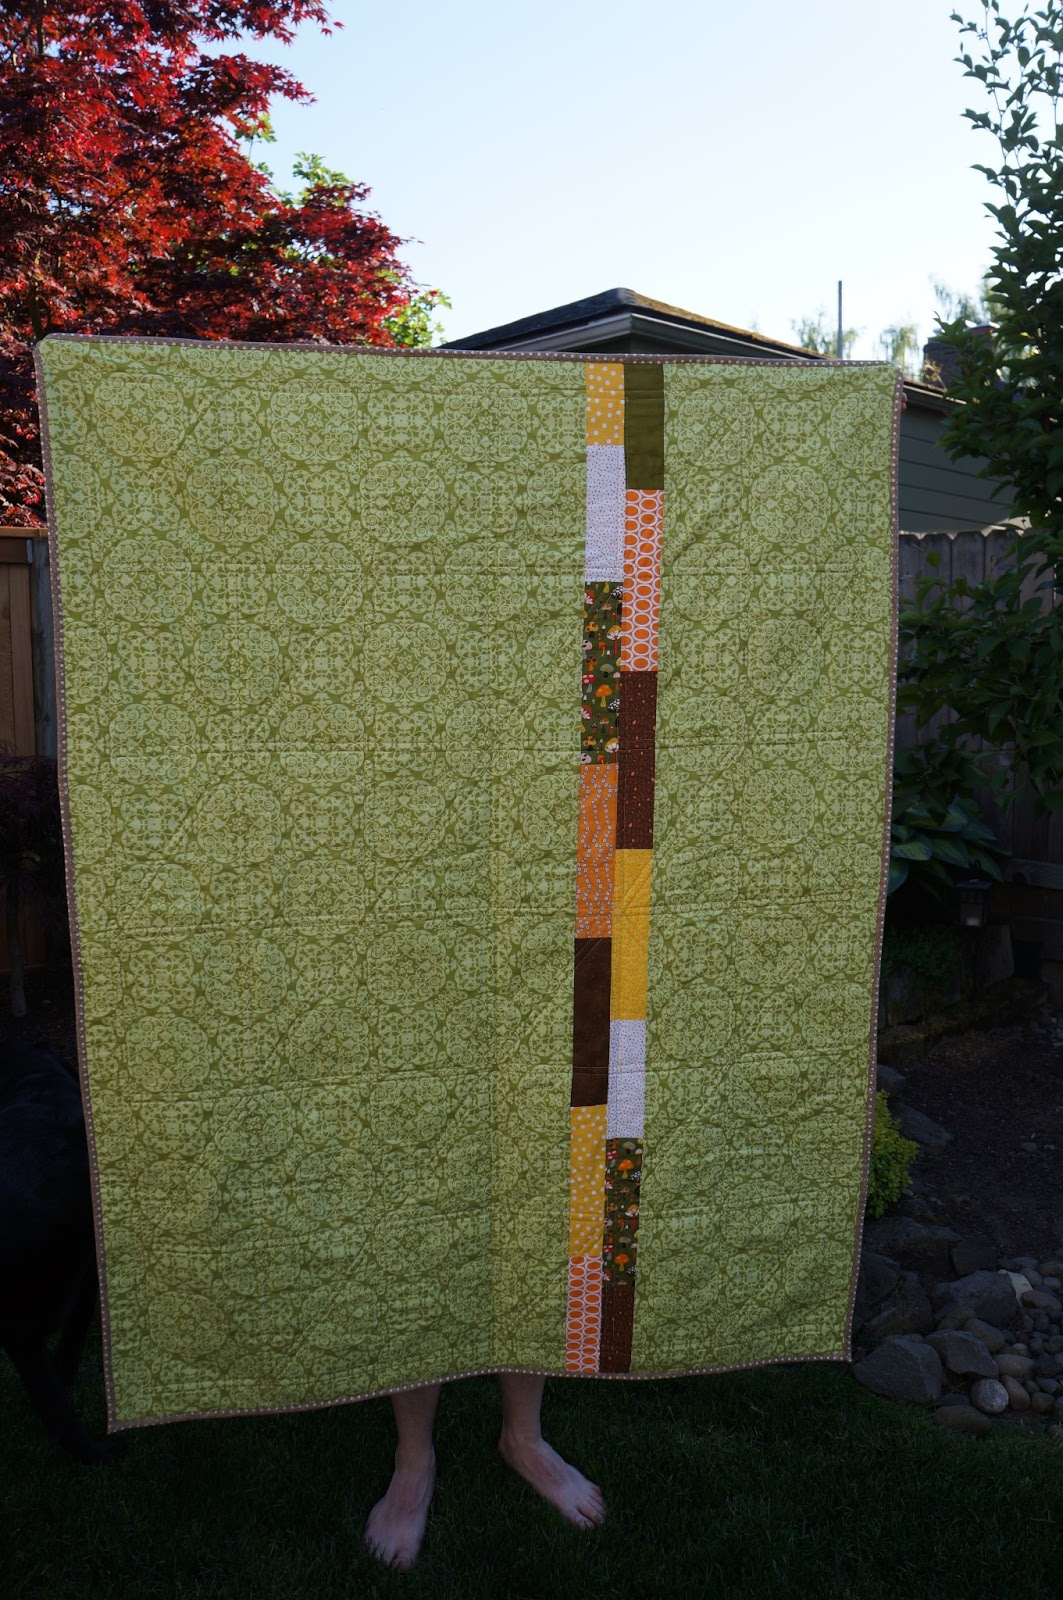
The husband helped picked out the backing (he's the best).  The main part is  from Denyse Schmidt's Florence with a long pieced strip running down it in a variety of fun fabrics (Bluebird Park, Waterfront Park, 2wenty thr3e).


Now that the craft show craziness is over, I can finish this one (and take MUCH better photos)!

Thursday, November 14, 2013

Hidden Stars Quilt

Remember this UFO?


This quilt was by far the closest to being done out of all the UFO's on list (you can see the full catalog of UFO's here).  

A Bit of Backstory


I was making this quilt for one of my aunts that had not so subtly hinting that she would like a quilt from me.  My aunt Connie is an awesome lady so I was happy to get started on something for her.  Connie is an artist and likes to paint with a lot of bright, bold colors so I knew that I wanted to factor that in to my fabric choice.  I ended up going with Cuzco by Katie Spain.


I bought a Layer Cake since there were so many good fabrics in line and headed straight for my pre-cut quilt pattern book.  There were a couple of things that I really liked about the Hidden Stars pattern.  One was the finished size, 50" x 60", quick and manageable.  Second was that I felt like it would really allow the saturated colors of the Cuzco collection to shine.  I choose a medium grey for my stars and got cutting.

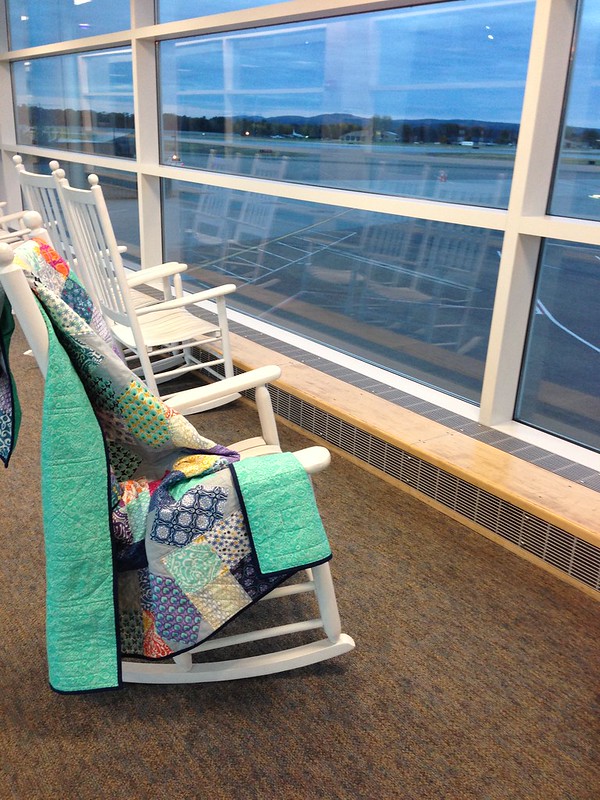
The top went together pretty easily and quickly.  I was really pleased with how it turned out.  I chose a bright teal that has a tone on tone pattern and mostly reads like a solid (in the above photo it is the bottom print third from the left) for the backing.  I also picked a fun multi-color variegated thread for the quilting!  

My quilting plan was to just outline each element.  As an added bonus, the different thread colors really came to life against the solid grey stars.  I made a pretty good push and got about a third of the quilting done and then my motivation. just. ran. out.  


A New Kick in the Pants


An impending trip to the east coast finally spurred me to action.  I was going to Lake Placid, NY for a week for a work trip!  As soon as I found that out about the trip I knew I would be staying a few extra days to see family.  I was really happy when I found out that people were actually going to travel in from around the state to see me.  This included my Aunt Connie.  What could be better than getting to give her the quilt in person !?!

So I picked up the quilt and set back to work.  Once I finished the quilting, I thought, “Shoot, I don't have any binding fabric, and if I do, I don't know where to look for it.”  The trip to Fabric Depot was quick but then I realized that I two nights at the agility barn ahead of me, then Wednesday night I would need to pack for my Thursday morning flight.  Hmm, when was I going to bind this quilt?  

I managed to get the binding cut out and sewn together on Wednesday night and then at 5am on Thursday morning I got it stitched onto the quilt, eek!  After having carefully inspected the TSA website, I was pretty sure that I could get embroidery scissors, needle and thread on the plane :)


It was cramped quarters but sewing the binding sure made my six hour flight Dulles go by quickly!


P.S. My aunt was TOTALLY surprised and absolutely loved it!

Tuesday, October 15, 2013

Low Volume Loveliness: A Start

Oh inspiration!


One of the quilting trends that I love, love, love is all of the low-volume fabrics being combined and used as backgrounds.  You can see my favorite examples, here, here and here.  Now part of what I love is how scrappy these quilts are without being overwhelming.  I really wanted to make something like this but since I haven't been quilting for all that long in the grand scheme of things, I don't have a scrap bin full of wonderful, whimsical low-volume fabrics.  So, I did what any fabric loving girl with a vision would do, I went to the fabric store!


A Boat Load of Fabric.


This particular adventure involved pretty much every fabric store in town.  I had so much fun hunting down all those fabrics that I would normally shy away from because they wouldn't pop against a white background, my heart was filled with joy as I filled the cart.  The husband even got in on the act and pulled me over to the novelty prints section at Fabric Depot (how had I not been over there before!) and I found fun letters and little ants!  I also picked up a big 'ole scrap bag at Cool Cottons and found several more treasures in there.

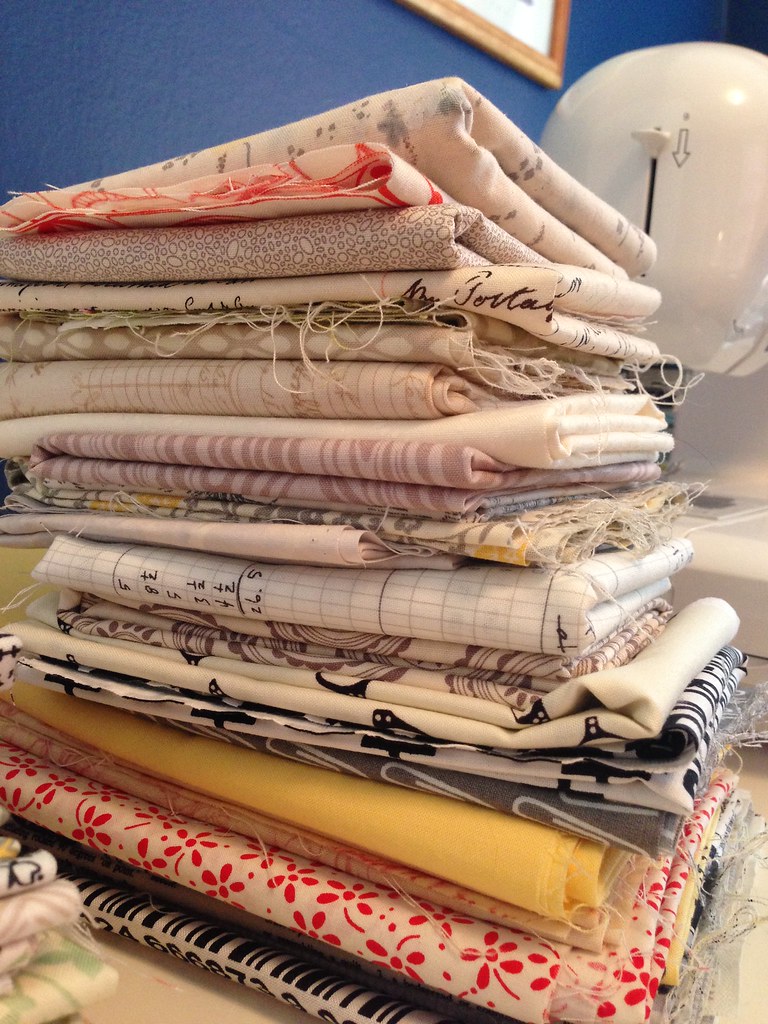
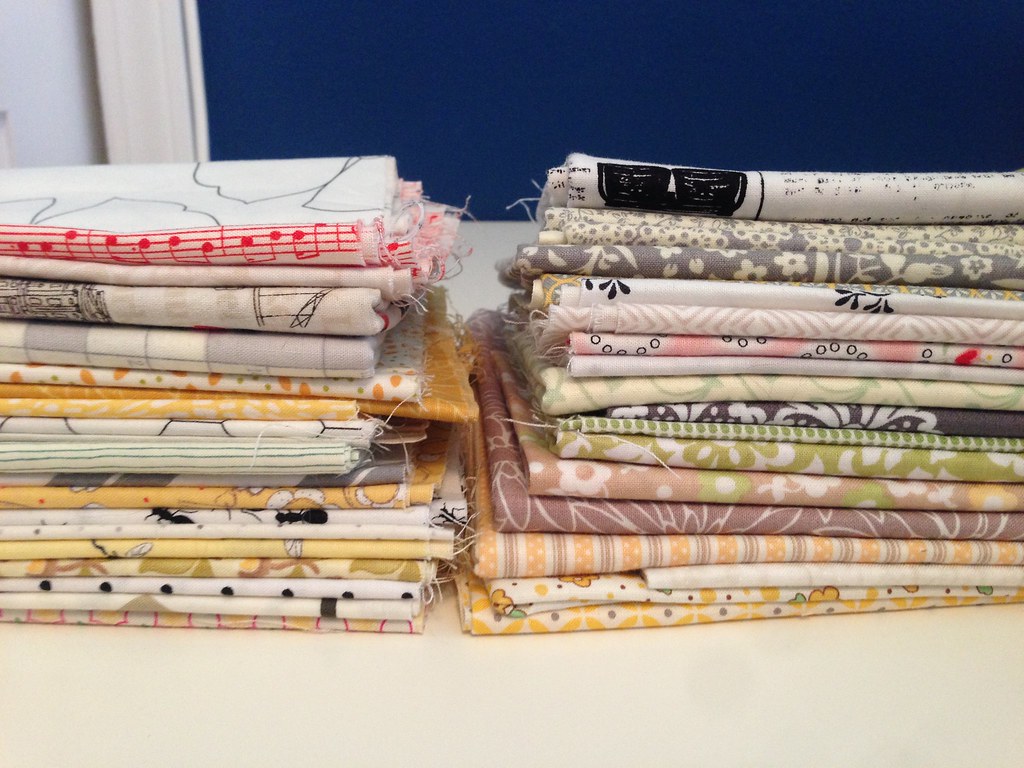
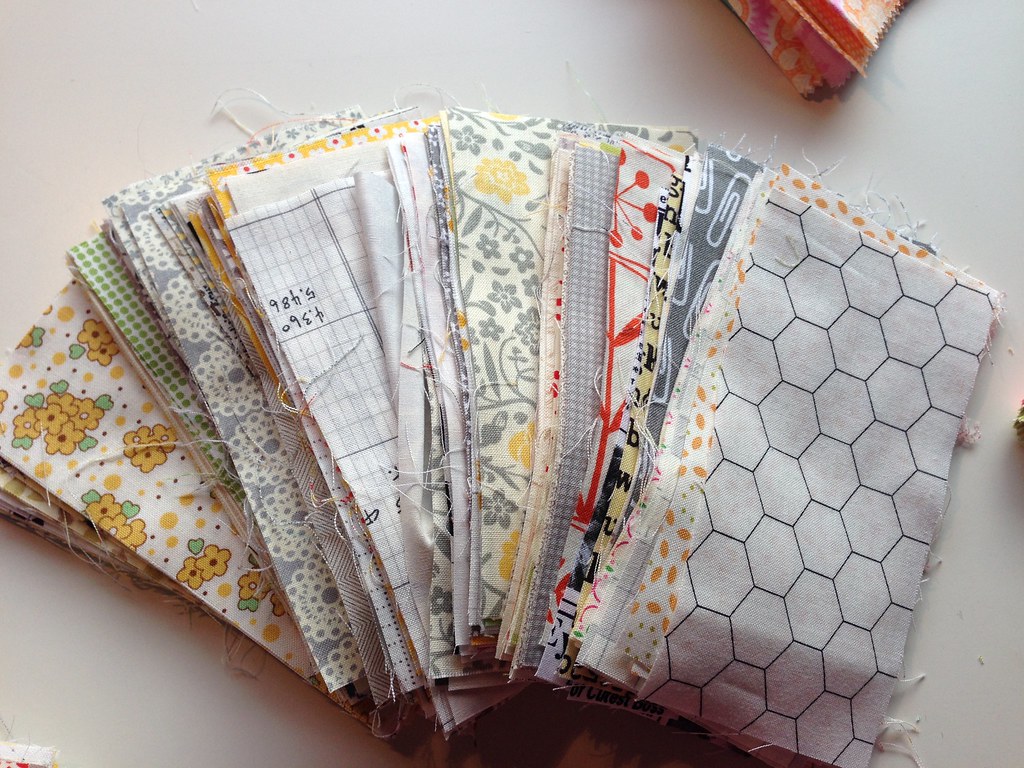
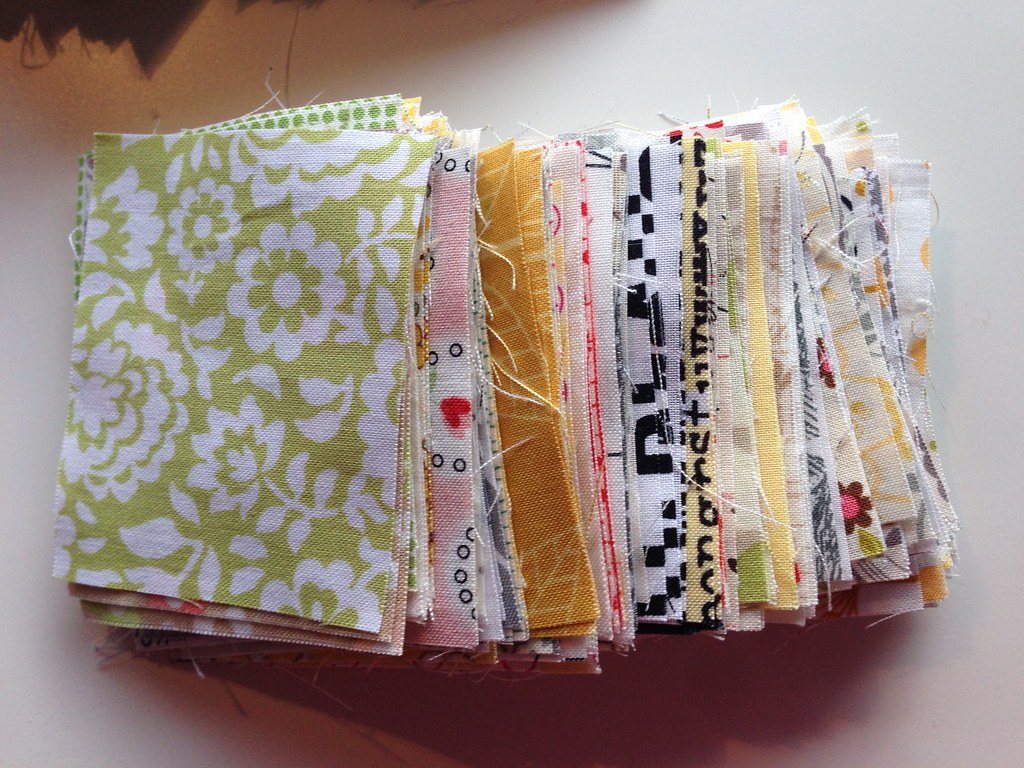
After several weeks of collecting whilst purchasing for other projects, and throwing in things from my stash, I ended up with a pretty impressive pile of fabrics.


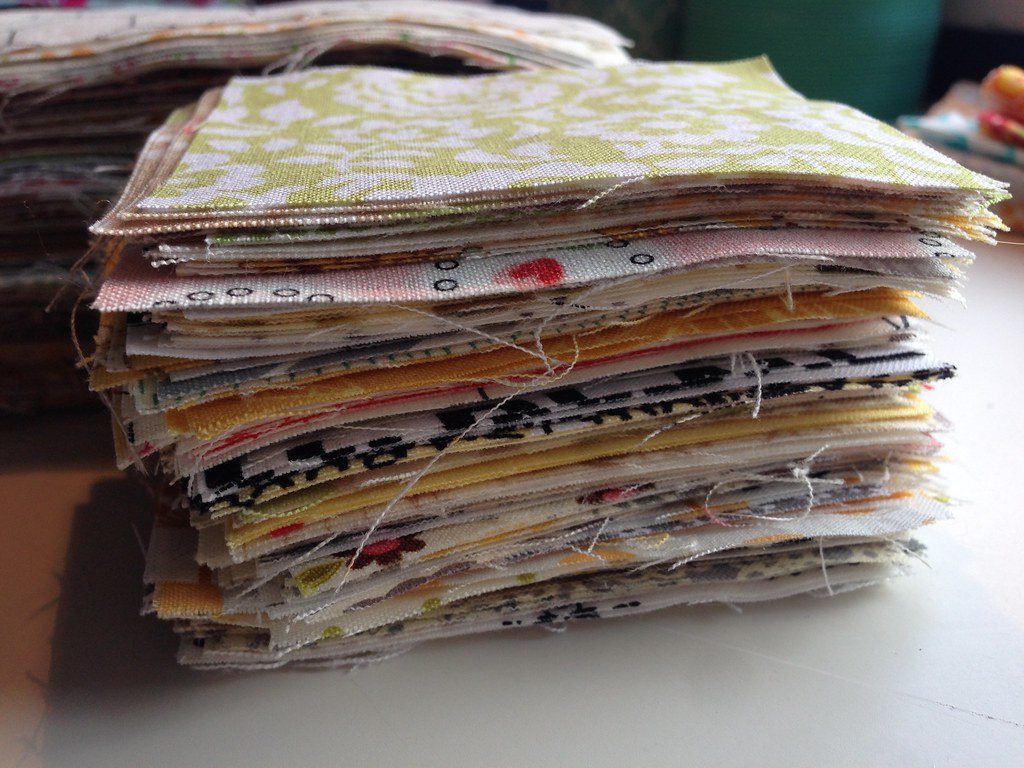
Now to cut it all out.

Wait, you say, what happened to those other projects you teased us with?  I thought you were going to work on one of those?  Well so did I.  However, I was having a positively awful time choosing between the three and really nothing was really jumping up and down saying, "Make ME!", so I ended up going with this because I feel confident that I am going to love how it turns out!

Fabric and Football


This time of year there are two things that tend to consume most of my time, fabric and football.  I have been a season ticket holder for Duck Football pretty much ever since I left school and couldn't get the free student tickets anymore.  But when the Ducks are away the day is spent in front of the TV soaking up ever bit of college football we can.  The husband has been know to take the TV from my craft room and move it to the living room so that we can enjoy with additional sports bar effect.  These days are also perfect for cutting fabric.  So that's what I did and guess what?  I finished :D


I am hoping to get in a few finishes before I start piecing this, but who knows!

Wednesday, September 4, 2013

Skulls and Hearts in Hot Pink: A Finish

Custom Order


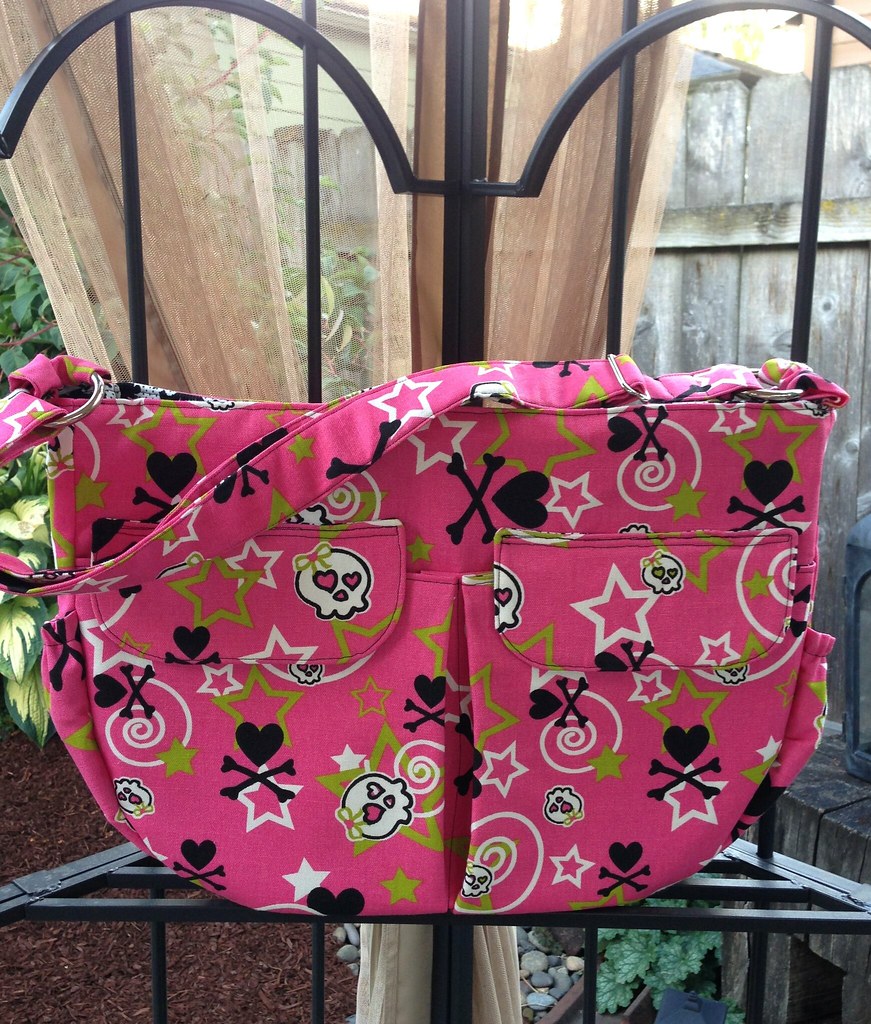
Remember how I told you that I brought my Lisa Lam Diaper Bag to work to feedback on pockets and such?  If not, you can read about that here. Well one of my co-workers loved it so much she ordered one! She plans to use it to carry all the crap that her husband and kids hand her while out on vacation.  What a perfect idea!

I ran off to Fabric Depot and clicked off some pics of fabrics I thought she would like but I had a feeling this would be the winner:

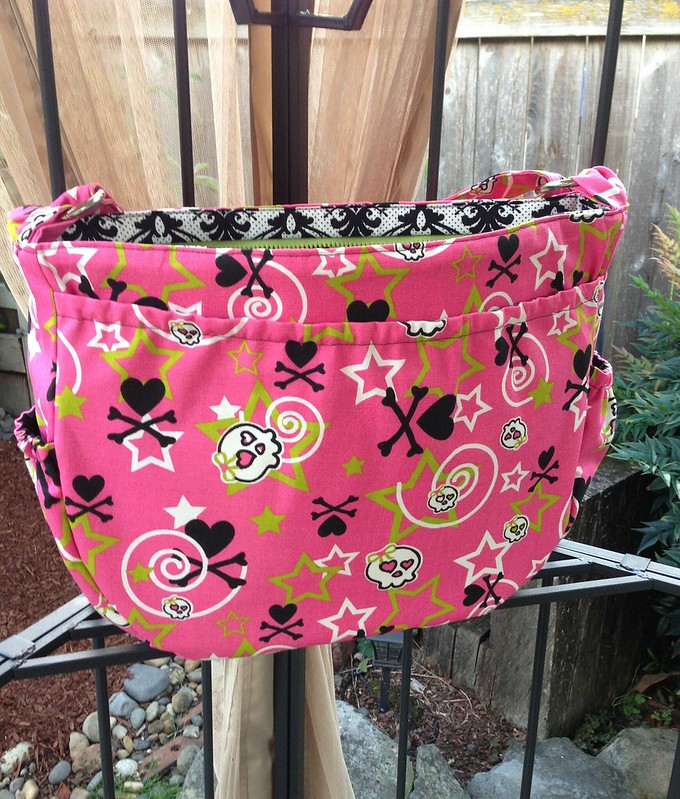
So Fun!  The skulls have hearts for eyes!

Lo and behold, I was right!

I gathered additional supplies, including the elusive hardware.  I decided to go with a 1.5" strap as the pattern calls for and save myself the heartache of finding a 2" slider and O-rings.

Also, Michelle had the fabulous idea of using lime green zippers.  I said I would look even though I was pretty sure that was too tall an order, but Fabric Depot didn't let me down:


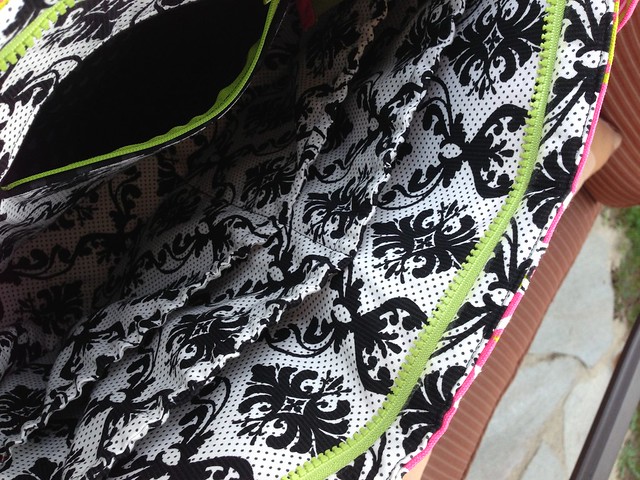
I was very pleased with the black and white fabric I chose for interior.  Plus for the inside zip pocket I found a gray on black heart fabric that I thought was perfect with all the hearts on the exterior.  I was getting very excited to see it all come together!

Other than not really remembering just how many steps go into making this bag, it went together pretty easily.  I had to remind myself to slow down and follow the directions a couple of times.  I manged not to do too much ripping and re-sewing.  I would have been done faster, but there was a very distracting Castle marathon on TNT for Labor Day :-P

Finished

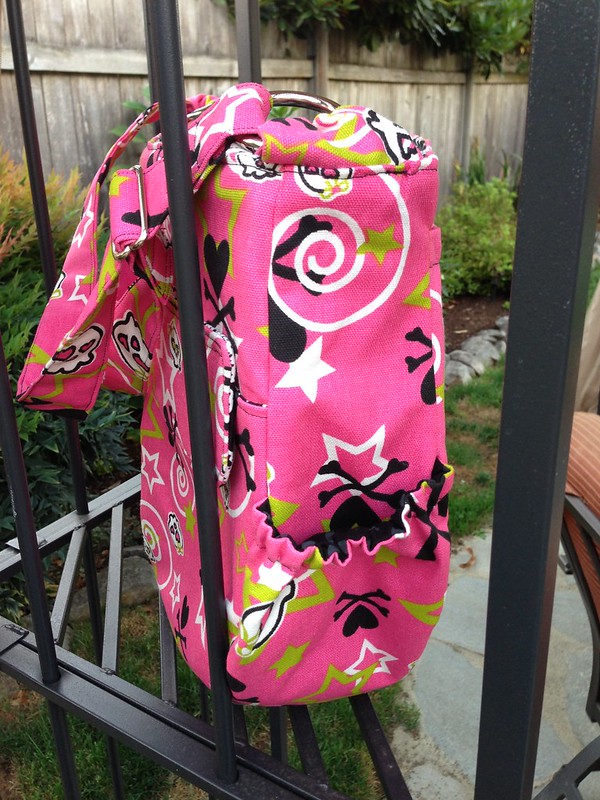
It came out even cuter than I could have guessed!


Friday, August 16, 2013

The Lisa Lam Diaper Bag

Sometimes the Fabric Comes First


Okay, for me, the fabric comes first a lot.  I am a lot like those designers on Project Runway that go to Mood without knowing what they are going to make.  I see fabric and sometimes it tells me what it wants to be.  Other times, it is like a little whisper in my ear, "You want me, you know you do, you should take me home."  Even more often than that, it's like a three year old throwing a temper tantrum, "But you have to take me home with you!!!!  You like me so much!!!! How could you even think of leaving here without me!!!!"  And so I buy some.  I think this goes a long way in explaining my extensive fabric collection.

A while ago, I was at Bolt, a local fabric store that has very cute quilting fabrics and crazy gorgeous clothing fabrics.  And I happened upon this beauty:


It screamed awesome bag.  I knew I had to have some, but without a super specific project in mind, the question is, how much to get?  I knew that there were several cute bag patterns in the One Yard Wonders book but figured I would want something bigger than that, so I settled on a yard and a half.

After walking by the fabric several times at home, I realized that what made the most sense given it's cutesy, fun, bright nature, was to make a diaper bag.  Plus, I knew a friend who was in the market for one :)  I went to my favorite bag book, A Bag for All Reasons and there it was, the darn cutest diaper bag ever!  The best part, I totally had enough fabric!


The Making


I went to Fabric Depot to get all the interfacing and lining and got cutting.  It was so much cutting.  I took me over four hours to get all the pieces cut, so many pockets!  Then began the epic search for hardware.  Wow, this was SO HARD.  I went to ever store I could think of, including the leather supply store, including JoAnn's (and I don't go there for much).  I finally found some good stuff back at Bolt, thank goodness.  The sewing went pretty smoothly and I was very happy with my choice to go with a little lighter weight interfacing on the exterior and compensate with a little heavier interfacing on the interior.  Again, this was a lesson learned from making Amy Butler Weekender bags (you can find photos of those on Flickr, I promise, one day, I will take better photos!!!).

I also took the bag to work  to confirm that I had added enough pockets in the right places (the directions were a little confusing).  There are a lot of moms at work and since I am not one, I had no idea what you put in a diaper bag.  They were uber helpful, thanks ladies!

Getting ready to sew the interior and the exterior together!
Also, a good view of all the interior pockets.


The Bag


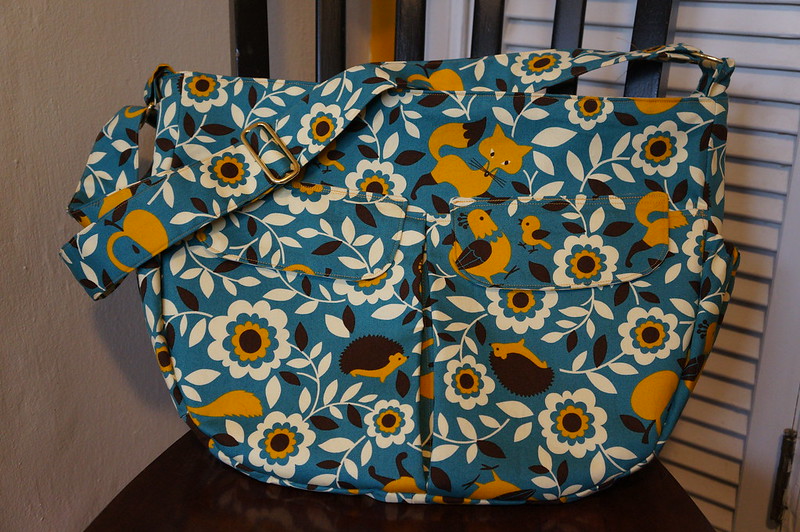
It turned out terribly cute!!!!!  I actually went back to Bolt and bought several more yards of the outside fabric so I could make a couple more :)

The pattern is just fantastic with this fabric.  Squeal!


One of my favorite things is that the bag is big, but not TOO big.


Tuesday, August 6, 2013

Jitterbug in Shelburne Falls: A Work in Progress

Shelburne Falls Jelly Roll

A while back I ordered a Jelly Roll  of Denyse Schmidt's Shelburne Falls fabric. It was quietly hiding in my stash until I decided that I wanted to make myself a quilt to take to work.  Originally, I thought it would be cute to make a quilt in the company colors since it was going to hang on the back of my chair and although the colors are fun (navy, aqua and orange), when I was wondering around Fabric Depot, they didn't excite me. So I figured I should turn to my rather extensive stash and make something that was on my very long "Quilts I Want to Make" list. 

Jitterbug

As I mentioned in my post "All Quilts Have a Story", I love the cover quilt from this book:


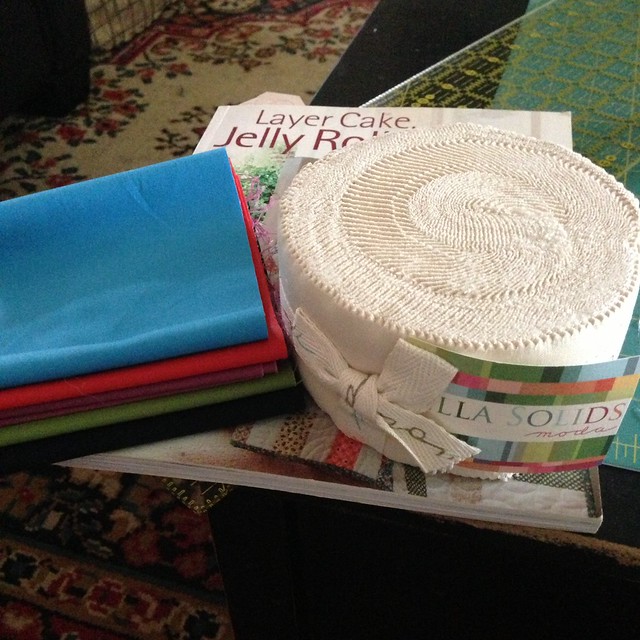
And I thought that given the vintage feel Denyse Schmidt's fabrics tend to evoke, my Shelburne Falls jelly roll would be a perfect fit!  The only trouble was the jelly roll only had 30 strips in it and the pattern called for 40.  After some hymning and hawing, I decided to pick up five coordinating solids and cut two strips out of each color.  I also decided that I was going to be lazy and purchased a jelly roll of cream colored strips so that I didn't have to cut my own :)


I was pleased with how bright most of the solids were.  There are a lot of darker prints in the line so I like getting that extra pop of color.  Also, I was hoping they would help accentuate some of the colors that are used sparingly throughout.

Getting Organized

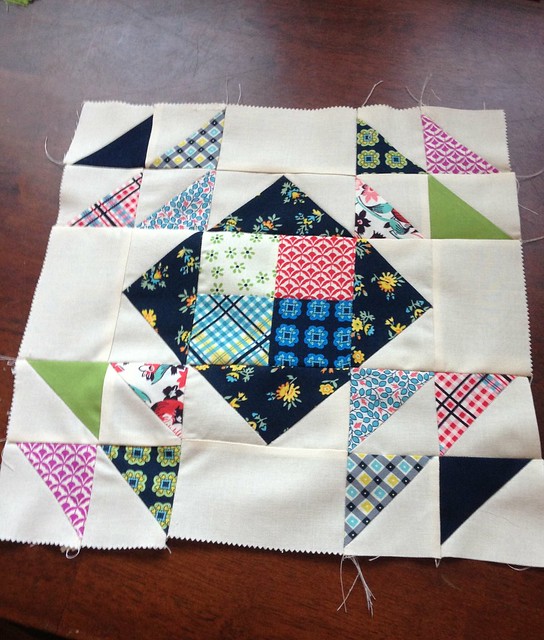
It took me awhile to sort the strips into the different groups: squares, flying geese, half square triangles (HST), sashing and border.  I wanted to make sure to get a good variety of light and dark in the different groups.  I used little pieces of paper to identify what piles of strips where going to turn into what.

Cut, cut, cut, sew, sew, sew

There are A LOT of pieces in this quilt.  I was encouraged by my relative success with my Hopscotch blocks so I wasn't too scared to take this on.  The only real trouble I had was with the HST.  The Shelburne Falls strips seemed be 2" to 2.25" instead of a full 2.5".  They were always smaller than the Moda strips.  But I plugged along, cut out and sewed all my HST,  and the squares.  I only managed to get four flying geese sewn and was unable to resist the urge to put a full block together.

Here it is!


Isn't it fun?  This is the kind of gratification that can keep me sewing through the night, but I needed to go to a dog party with the Husband, Elma and her husband, Steve.  The dogs had a blast and Maddie even got to rip open a pinata full of dog cookies!


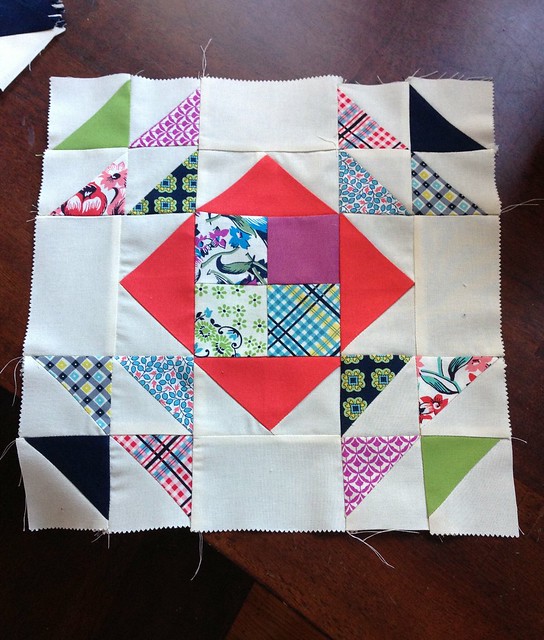
Once we got  home though, I was back to it!  I finished all my flying geese and chose square blocks to pair them up with.  The only thing left was to sew the HST together and WHAT. A. PAIN.  I keep sewing them the wrong direction, not in the pattern I want, ironing my seams the wrong direction, anything but what I want them to do.  Finally, I got four groups of four together (though not in the layout I intended) and was able to sew together my second block.

It looks so different from the first one!  I can't wait to finish getting the top together and share it with you!


Thursday, July 11, 2013

All Quilts Have a Story

The News


Maggie is pregnant.  Hooray, the brother's best friend's wife is pregnant!  Someone to make something for, and the best part, they are having a girl.  To this point, all of my friends have had boys, which is great, but I was so ready to make something super cute and girly.  And there's the rub.


The Planning


First, I ask the brother if they have nursery colors picked out.  I receive a blank stare in reply.  So I decide to ask the sister of the brother's best friend.  She tells me, no nursery colors yet, but if you are planning something, just know that Maggie hates pink.  Hmm, okay, that limits things a bit.  Next stop is the mother-in-law of the expectant Maggie.  This time I finally get some color direction.  Fall colors.  MIL is knitting a sweater and Maggie picked out some lovely fall colors.  Well now I'm stumped, how do I turn fall colors into a cute, happy, baby girl quilt?


The Digging Commences


I start going through all my boxes of fabric looking for some inspiration and direction.  There has to be something in there, right?  I have been collecting fabric to last me through the next millennia (much to the husband's dismay) so I have to have purchased something that will work.  And then there it is.  This funky Alexander Henry mushroom print that I purchased as a remnant at JoAnn's for no apparent reason.  It's perfect, don't you think? The colors are fall but fun, now this I can work with.

Planning Phase 2


Okay, I have an inspiration fabric.  Now what am I going to make with it?  I didn't want to do anything too complicated because I wanted to finish it in time for the shower, which of course isn't even being planned yet,but for once, I am trying to be realistic.


I went to a book that I have started to consider a staple: Layer Cake, Jelly Roll, and Charm Quilts.  I will admit that I am not super crazy about most of the fabric choices throughout the book, but the patterns are fun and I love the cover quilt (which I have fabric picked out and purchased for, Denyse Schmidt's Shelburne Falls line, but I digress).  


I'm flipping through the pages she this quilt.  The intro reads, a fun, fast quilt for when you need a last minute gift (I don't really think of quilts as something you do last minute, but I did make one in three days once, but that's another story for another day).  Alright, this will work, off the Fabric Depot to pick out some fabric to make my own layer cake with, fun!

Picking the Fabrics


I spent a good long while at Fabric Depot picking out fabrics.  My quilt math told me that I should pick out three pairs of fabric for the dark colored diamonds and three pairs of fabric for the light colored diamonds.  That would give me three diamonds of each pair.  I quickly decided on orange and yellow, but when I got that in basket, something was missing, so I picked out a pair of dark brown fabrics also.  For the lighter prints I went with things that had white or cream backgrounds, or were lighter versions of the dark fabrics.  I thought this would make everything relate without being too matchy matchy.

BUT, when I got everything home and started looking at it, I did not get the happy, this is going to be great feeling.  It was TOO much and the citron was yuck and over the top.  So, digging phase 2 commenced.  I found three fabrics in my stash that really helped mellow things out.  With my new light brown pair and less intense pair for my white and yellow polka dots and no citron, I was ready to go!

The Making


The cutting and sewing of quilt top went pretty smoothly.  Minus the part where I didn't realize that you had to alter the direction of your cuts to create the diamonds since they aren't symmetrical, whoops.  At least I realized that before I had cut out all of my fabric, that would have been BAD.

I got all the diamonds together and wasn't really that happy with the quilt, it just didn't speak to me.  Boy was I surprised with what a huge difference adding the scrappy border made.  It was a whole new quilt!  I started to think this is going to turn out pretty good.

As I mentioned before, I generally don't buy backing for a quilt until I finish the top, so I took my top to Fabric Depot (I also like the positive feedback I get from other shoppers and the nice ladies that work there when I bring projects in, it feels good to get compliments doesn't it?).  It didn't take too much looking before I found the perfect backing.  I had already decided that I was going to purchase just one width of fabric in the correct length and then stretch it by inserting two rows of left over dark strips.  Clever right?  This is something that you can easily do with any quilt that is just a hair over 44" wide and it adds great visual interest to the back.


The Meltdown


So I had gotten behind in my timeline and the shower was rapidly approaching, as in, it was the next day and I still needed to quilt and bind.  Things are not looking good but all hope is not yet lost.  And then my machine decided not to cooperate.  It completely seized up with the quilt stuck under the needle, AHHHHH! Here is the husband working his heroic magic, but at that point, my nerves were fried.  I did get the quilting done, but  I did not make it to the shower.


Baby Olivia


She's here, welcome to world little one!  Wouldn't it be nice if you had a fun quilt to snuggle in?  Yes, it would you say?  I guess I should finish that then.  I do struggle when I miss a deadline like that, the sense of urgency is suddenly lost and I move on to other things.  It is something that I am working on.  Do any of you struggle with that too?

So swift kick in the pants received and noted.  I got things finished up quickly since there wasn't much left to do, just needed to get the binding on.  Here it is:


I kept the quilting simple and just outlined the diamonds.  Seeing the design come through on the back was really neat.


I am so so happy with how it turned out!  I never imagined that dark mushroom print could turn into this!  I think it is cute, happy and fun while still being something that Maggie will like, and hopefully use all the time.