Showing posts with label black and white. Show all posts

Wednesday, December 17, 2014

Testing, Testing

Practice makes perfect right? Well, I figured at least it couldn't hurt. Before launching into the challenge of FMQ my Penny Patch quilt, I decided to do a little test project.

I was browsing around on Pinterest and came across this little cutie: http://www.pinterest.com/pin/238831586462998727/

I decided this was exactly the project I needed to tackle to practice my FMQ. Bigger than a coaster, but not to the level of making another quilt.

It always amazes me how much patchwork "shrinks" as you sew it!


I will admit that I did not buy this pattern. I know right. I feel guilty about it, but that is one of those things about quilting. You get good at looking at a pattern and being able to see what it took to put it together. Especially if it is something classic like squares or half square triangles. Also, there are a lot of free tutorials out there on quilted drawstring bags. . . so, yeah. How do you decide if you should purchase a pattern or not? I would love to hear others thoughts on this one.

Here are the tools I used to come up with my "pattern."

  • Looked at the finished dimensions listed on the pattern. I decided that seemed like a good size and figured up how many finished 1.5" squares I would need to get close. It was important to me to do the quilting on the EXACT same scale that I would be doing for the Penny Patch quilt. So, even if I had purchased the pattern, I likely would have needed to adjust it anyway, but I rationalize.
  • Used a free tutorial from Pink Penguin on how to create the casing on the top. I ended up needing to make the strip bigger to accommodate my larger cording, but otherwise was able to follow the directions in their entirety.
  • Went to my go-to bag book: The Bag Making Bible for the instructions on installing the flush zipper. I have used these instructions quite a few times but never seem to be able to remember all the steps without looking them up.
  • Followed the directions that came with my grommets.
  • Looked at a similar drawstring bag I have in the house to figure out the amount of cording I needed. In the end, it as mostly a guess so I hedged my bets and over bought. Many thanks to the Husband who helped me figure out how I needed to insert the cording so the bag would actually cinch. I was nowhere on that one.

And TA DA! A cutie patootie little bag!


Now don't get me wrong, there are some downright ugly flowers on this bag. The FMQ definitely took practice and getting used to, but by end, I was pretty happy with how my little flowers were turning out.


I intended for this to double as a scrap busting project so I went to work digging through my enormous scrap bin. BUT I was so inspired by the color palette of three little scraps, that I ended up at Fabric Depot. I was able to use scraps for the lining of both the inside of the bag and the pocket, so it wasn't a complete scrap failure. I am glad that I went for it though. I absolutely love how it turned out! And to top it all off, it really was great practice before diving into my Penny Patch.


After careful consideration of the "ugly" flowers on the back of the bag, I decided this bag was just too cute to languish around my house so I have listed it for sale in my Etsy shop. Check it out!

Thursday, August 28, 2014

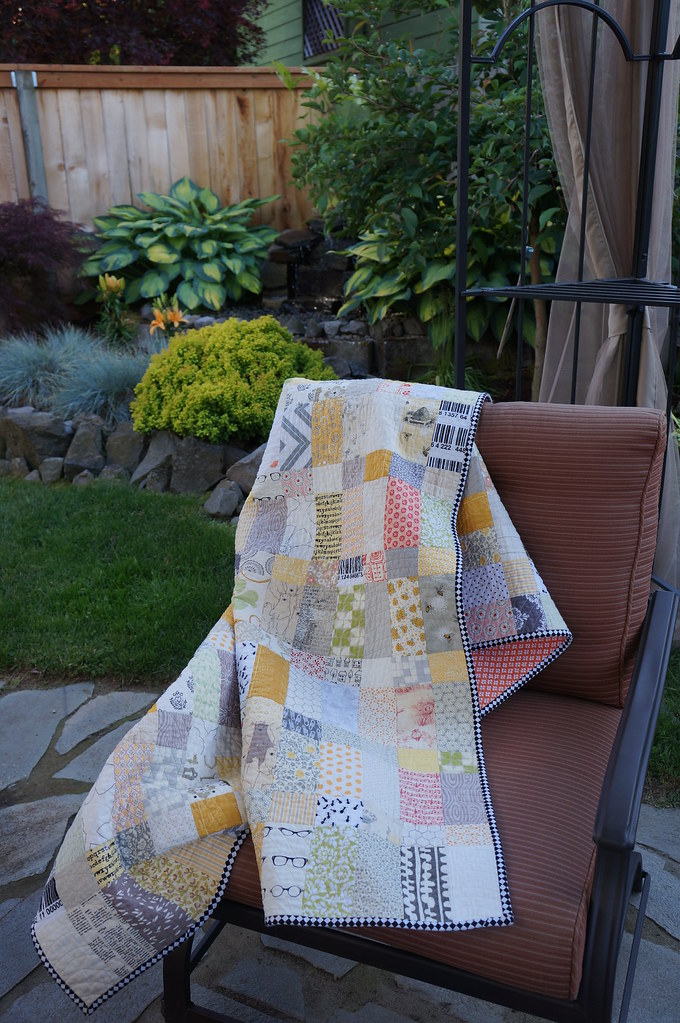
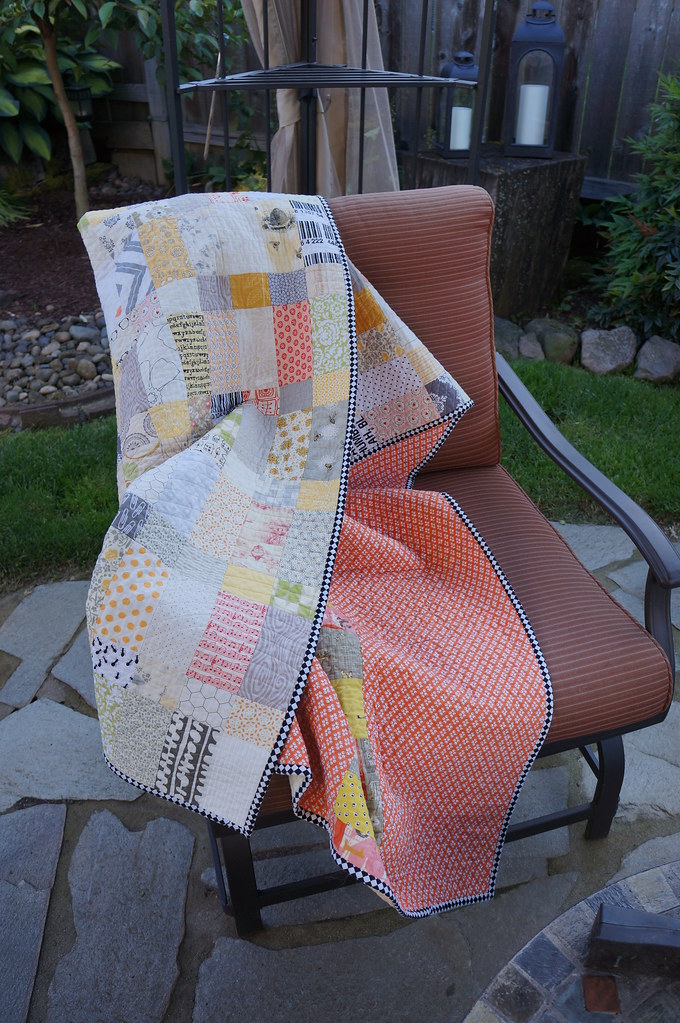
Low Volume Loveliness Complete!

Let's start back where we left off shall we?  I talked about my low volume quilt here and here.  The verdict...

I love it!


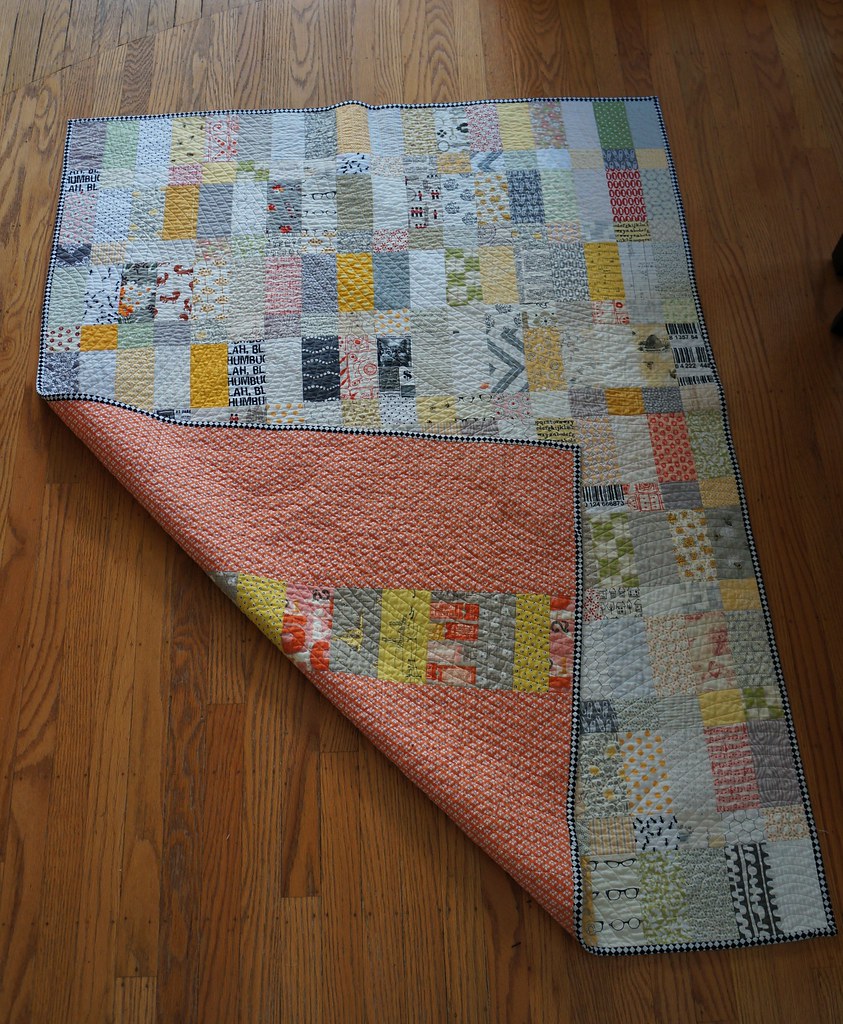
I love this quilt.  It came out perfect.  I may have almost cried a few times during the process when I was pretty sure that I ruined it, but in the end, I am over the moon happy with it!


Quilting


This was decidedly harder.  I really like straight line quilting and the texture it adds to a quilt but I didn't want straight straight lines, you know what I mean?  I don't remember if I saw something that inspired me (probably) but I ended up playing with the idea of curved straight lines and a ripple effect.  I just kept drawing different things until I hit on a combination that I liked.  Check.


Now how to execute that?

I numbered the ripples in the order that I drew them and then started with the first one.  I used to plate to get a nice curve and then quilted that line first, then the ones inside of that.  Next, I quilted bigger and bigger circles until I was where I wanted that ripple to end.  Now comes the part where I ran into trouble.  My second biggest ripple was at the other end of the quilt and even though I spray basted, I didn't feel like I got a great "lock" on all the layers. So when I started quilting the second ripple, I just knew that I was going to end up with a bunching and puckering in the middle. NOOOO!!!  Not on this quilt! This quilt that I already loved, that I hard worked so hard on, that I had used precious scrap fabrics for!!!!  At this point, I am trying not to cry.  The husband looks confused, but knows enough to just tells me it will all be okay.

Okay, regroup.  Deep breath.  How was I going to fix this?

I marked where I wanted my curves to end for big ripple at the other end.  Then I went back to the side of the quilt I started with and began to fill things in based on my pattern.  I did  A LOT of smoothing and tugging, but in the end, there was only one teensy little pucker.  A huge sigh of relief.


Binding


So for once, I knew exactly what I wanted to bind my quilt with, black and white stripes.  I have seen both Rachel and Rita do this with low volume quilts and love the look.  Trouble was, I couldn't find any!  I even made a comment on one of Rachel's blog posts, to which she kindly responded, unfortunately to say, she had no idea where she had gotten it!  Hmmm.

I headed out to trusty and giant Fabric Depot to find something.  I came home with a mostly black print with white script text.  I was feeling good.  It got the binding cut and sewed on.  I was feeling less good.  It was SO black.  But since this is how my creative process tends to go:


I forged on with the hand stitching.  I think I was about halfway through when I just couldn't take it anymore.  I didn't like it, AT. ALL.  Let the ripping commence.  And the hunt for something new.  I was down in Eugene visiting my dad so I went to a local store there.  It's a tiny little place but has a decent selection of quilting cottons.  I found this checkered pattern and decided that it had the element I was really looking for: equal parts of black and white.

Round 2 of binding went smoothly and Voila!


Love!

It makes me happy every time I see it at my desk and even happier when I pull it onto my lap, over my shoulders or drag it into a meeting room! Oh like right now :)


Wednesday, September 4, 2013

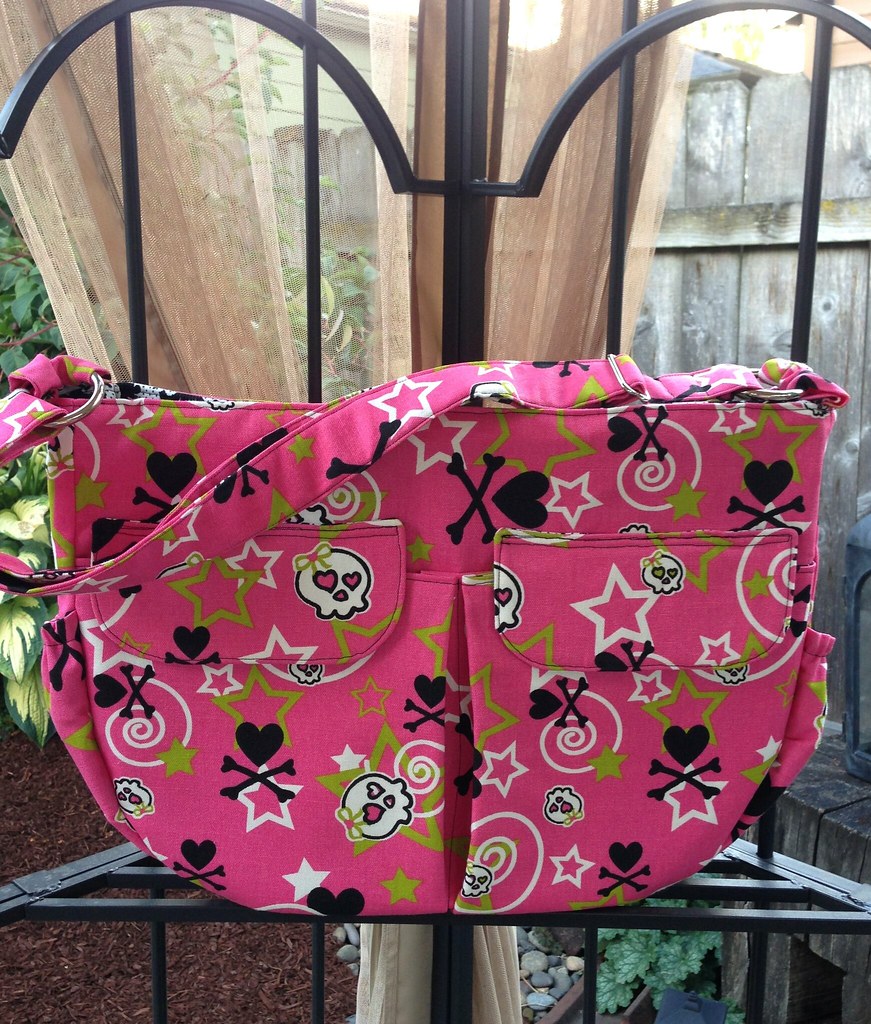
Skulls and Hearts in Hot Pink: A Finish

Custom Order


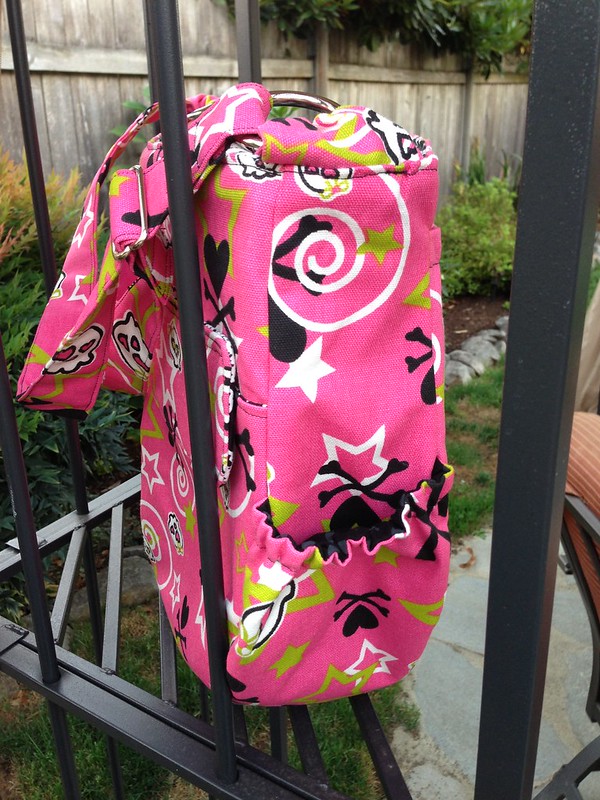
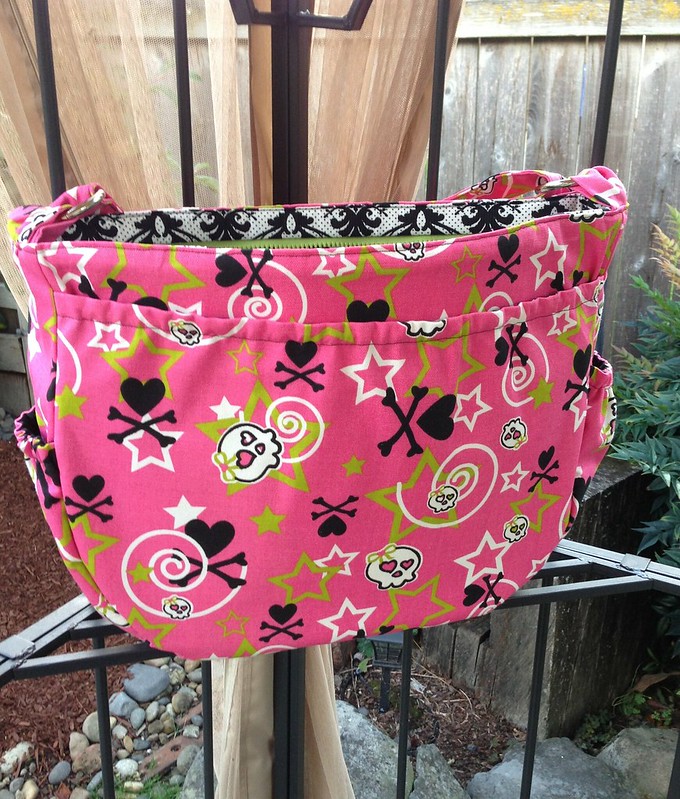
Remember how I told you that I brought my Lisa Lam Diaper Bag to work to feedback on pockets and such?  If not, you can read about that here. Well one of my co-workers loved it so much she ordered one! She plans to use it to carry all the crap that her husband and kids hand her while out on vacation.  What a perfect idea!

I ran off to Fabric Depot and clicked off some pics of fabrics I thought she would like but I had a feeling this would be the winner:

So Fun!  The skulls have hearts for eyes!

Lo and behold, I was right!

I gathered additional supplies, including the elusive hardware.  I decided to go with a 1.5" strap as the pattern calls for and save myself the heartache of finding a 2" slider and O-rings.

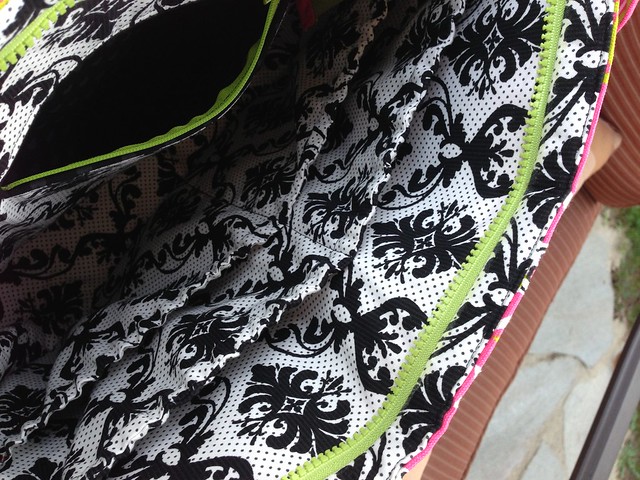
Also, Michelle had the fabulous idea of using lime green zippers.  I said I would look even though I was pretty sure that was too tall an order, but Fabric Depot didn't let me down:


I was very pleased with the black and white fabric I chose for interior.  Plus for the inside zip pocket I found a gray on black heart fabric that I thought was perfect with all the hearts on the exterior.  I was getting very excited to see it all come together!

Other than not really remembering just how many steps go into making this bag, it went together pretty easily.  I had to remind myself to slow down and follow the directions a couple of times.  I manged not to do too much ripping and re-sewing.  I would have been done faster, but there was a very distracting Castle marathon on TNT for Labor Day :-P

Finished

It came out even cuter than I could have guessed!