Showing posts with label quilt top. Show all posts

Thursday, October 16, 2014

Fireworks: A New Project

Challenges


At this point in my quilting career, I feel like I have kept my projects pretty safe and straightforward, playing more with color than shape. The first real tricky project that I tackled was my Hopscotch quilt and we all know, that even though I won the round with the quilt top, I still have yet to do battle with the quilting :)

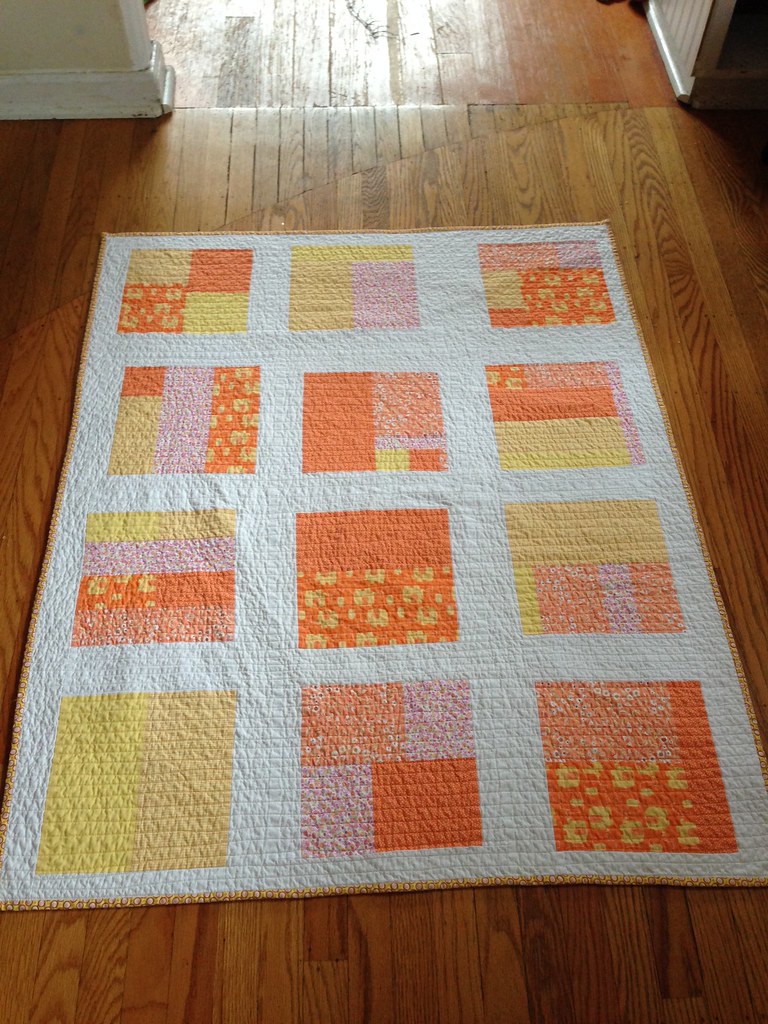
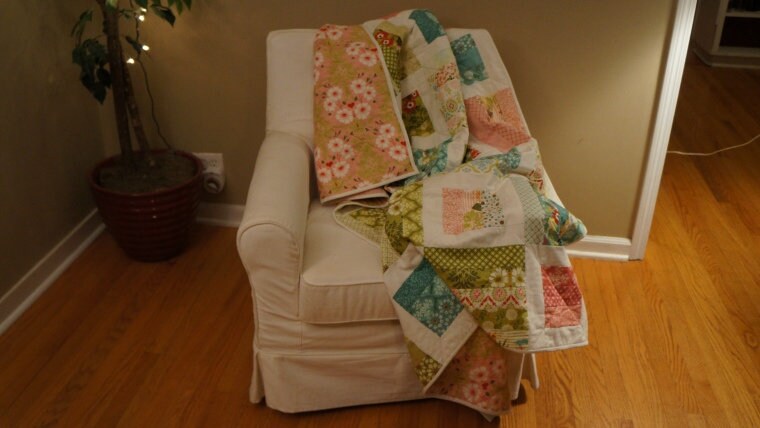
One project that I knew would be challenging, but caught my eye nonetheless, was another pattern by Camille Roskelley, Fireworks.

The only change I planned to make to the pattern was to make it smaller. Oddly, I have this thing against square quilts. To me, blankets should not be square, they should be rectangles. So there. I planned to make only 12 blocks so the quilt would be three blocks wide and four blocks tall.


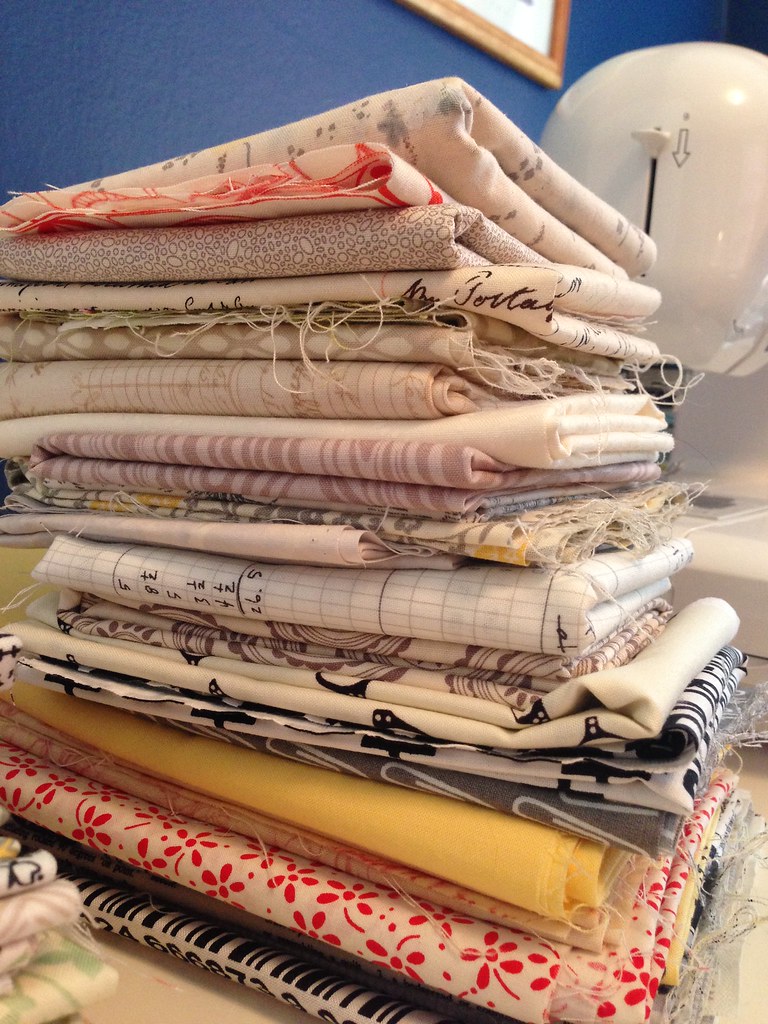
My fabric choice also came to me right away. I wanted to use Denyse Schmidt's Chicopee collection. I had a full set of fat quarters stashed away for just the right project!


A Family Affair


I had the pleasure of traveling to Upstate New York for work. That just happens to be where my extended family is from, so I snuck in a little visit. My aunt Anna is an accomplished quilter and I knew she was just the person to help me tackle this challenge, so I made sure to pack my fat quarters and pattern in my suitcase.

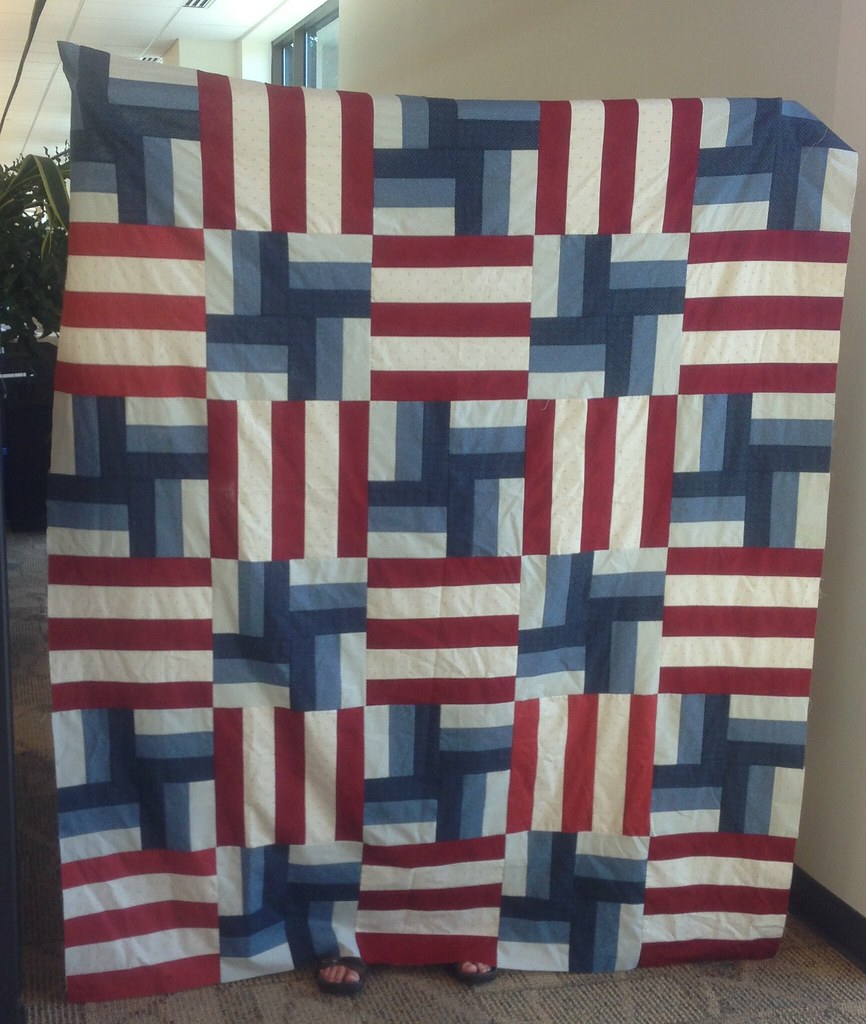
My cousin and I headed over to my aunt's place and enjoyed a lovely afternoon of chit chat and sewing. At the end I had a completed quilt square! Not bad! These are by far the best flying geese I have put together and almost all the points look great. Color me pleased.

DSC08739
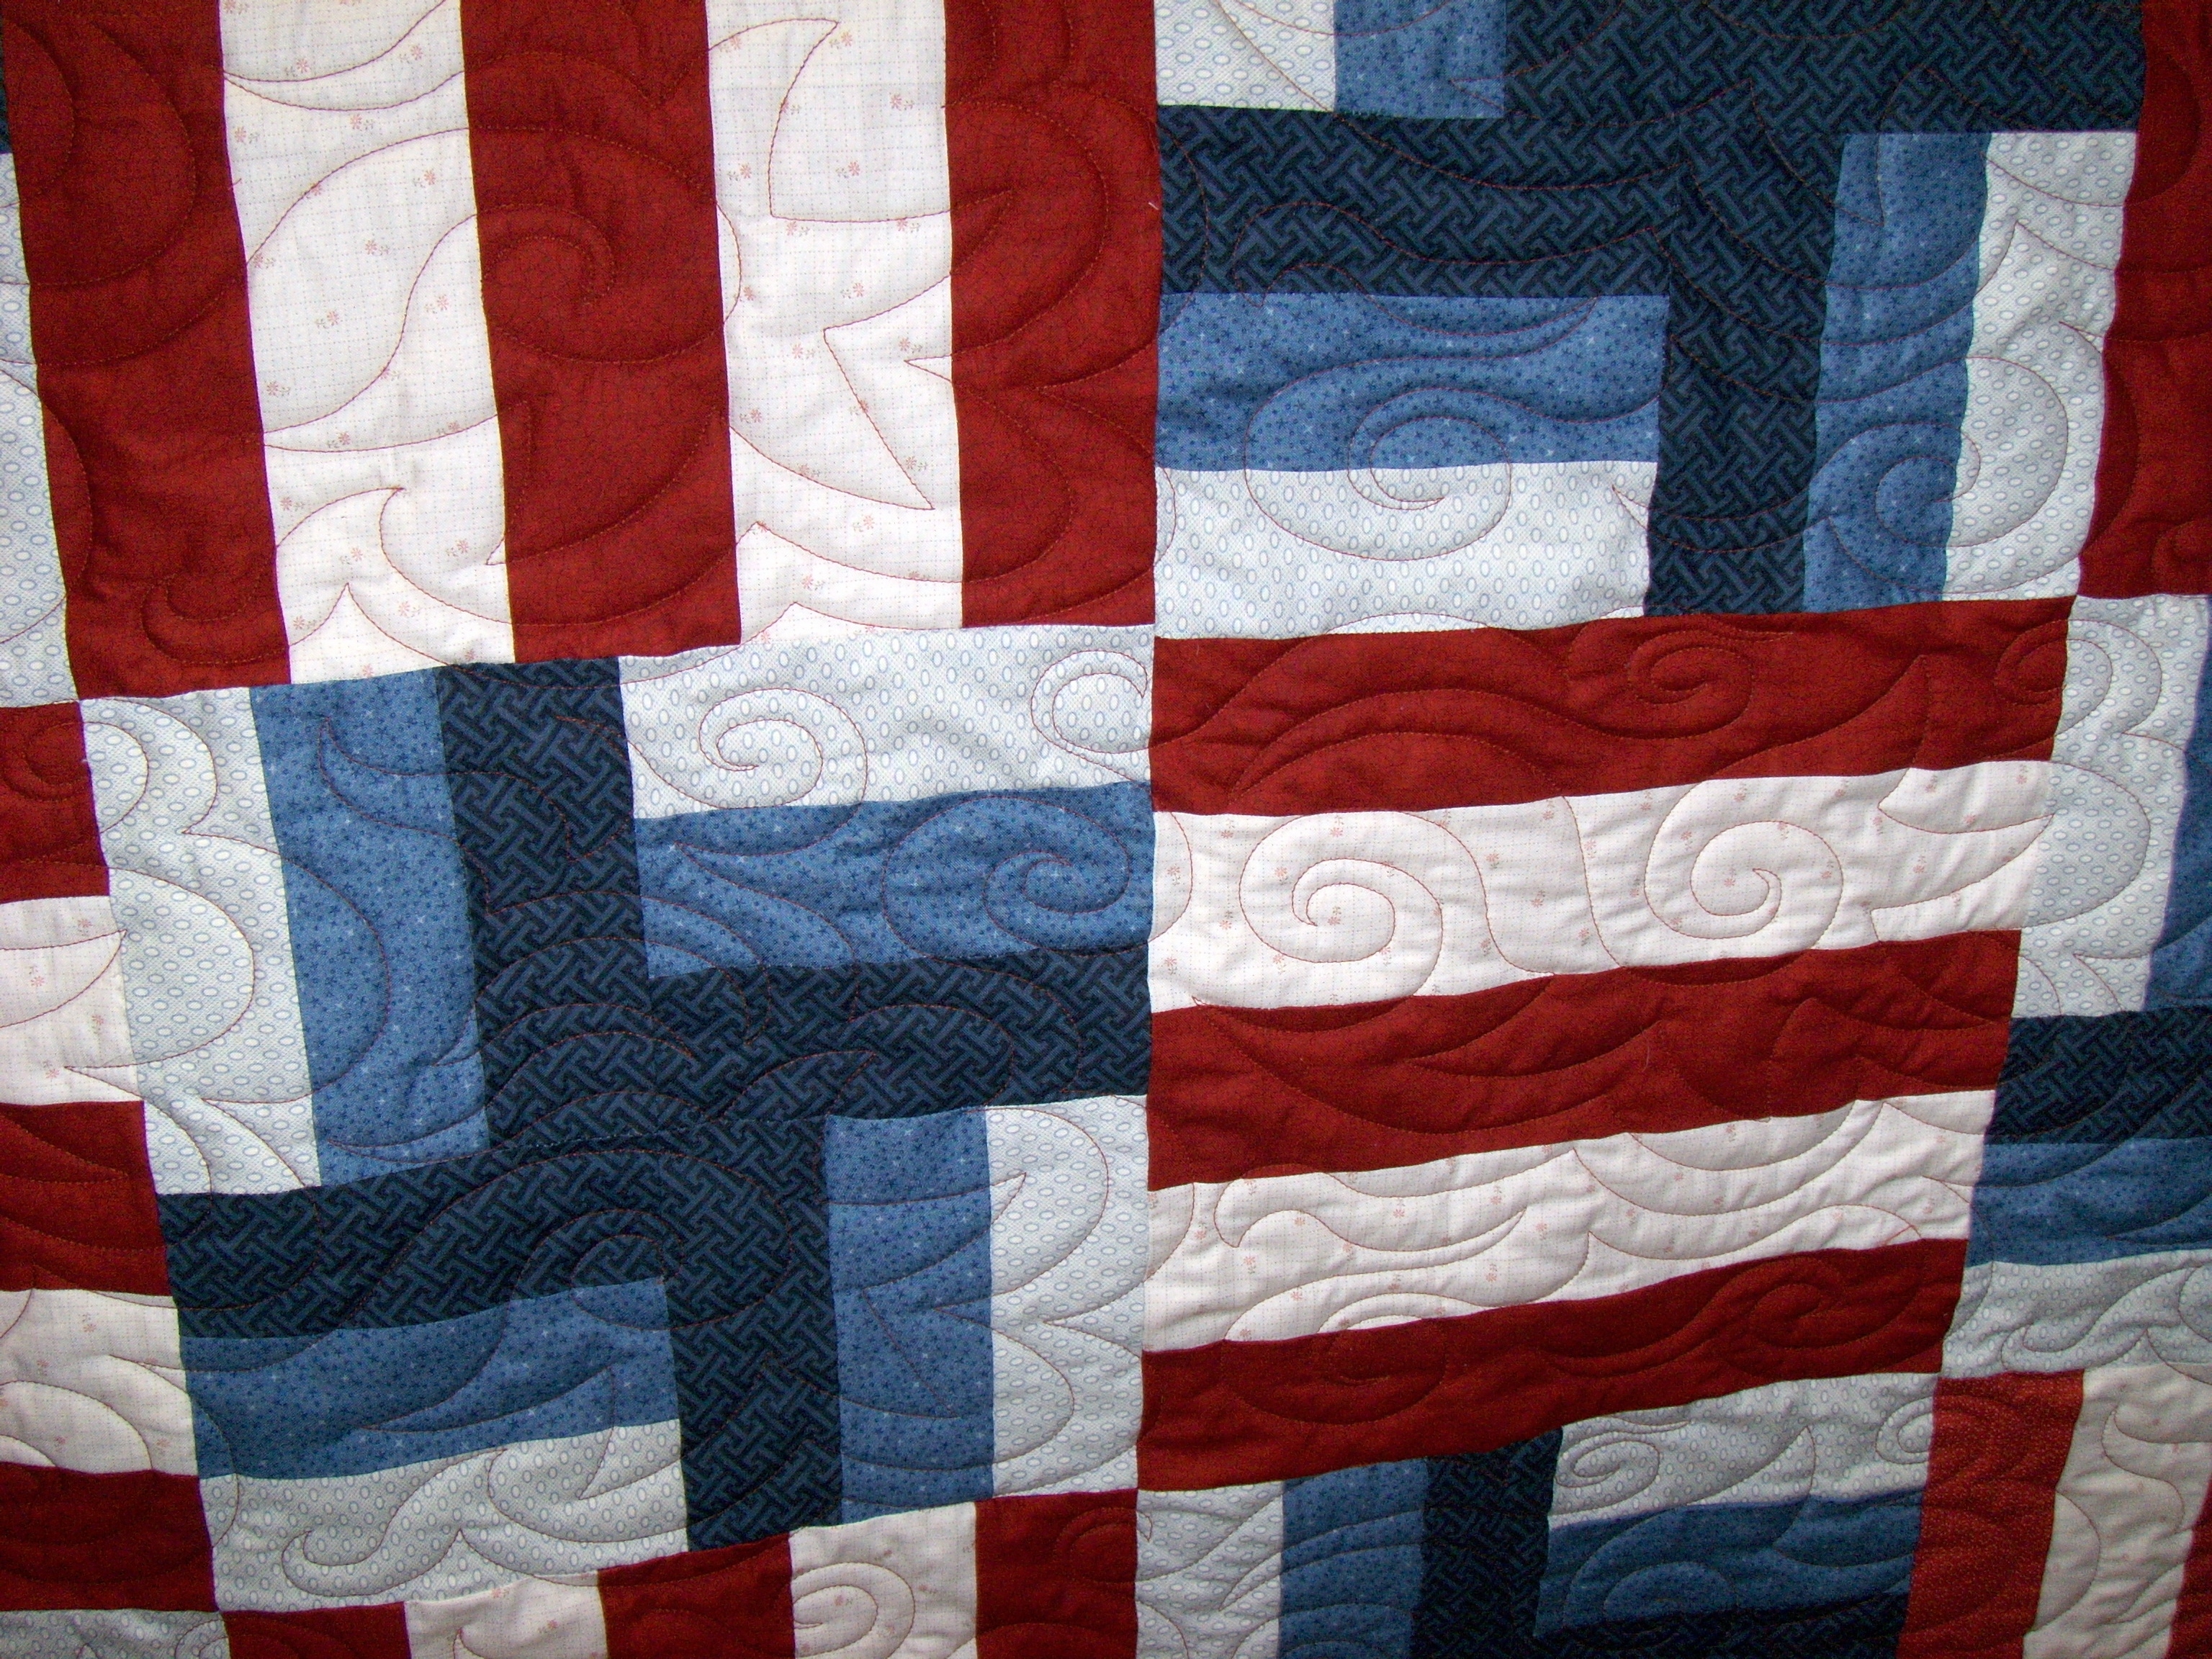
My first fireworks block.

Languish


As I shared in my Penny Patch post, I am not really a fan of the whole cutting part of quilting. At my aunt's, to keep things simple, I had only cut out what I needed to make the above block. On top of not wanting to tackle the amount of cutting involved in making 11 more quilt blocks containing 73 pieces each, I was struggling with my design choice. What were the best fabrics to put together in each block? Should I only use one of the color ways in the collection, or both as I had planned? Was the grey background going to make the quilt look dull? So I pondered and mulled and occasionally pulled the the fabrics out to see if I could come up with something that would make me happy.

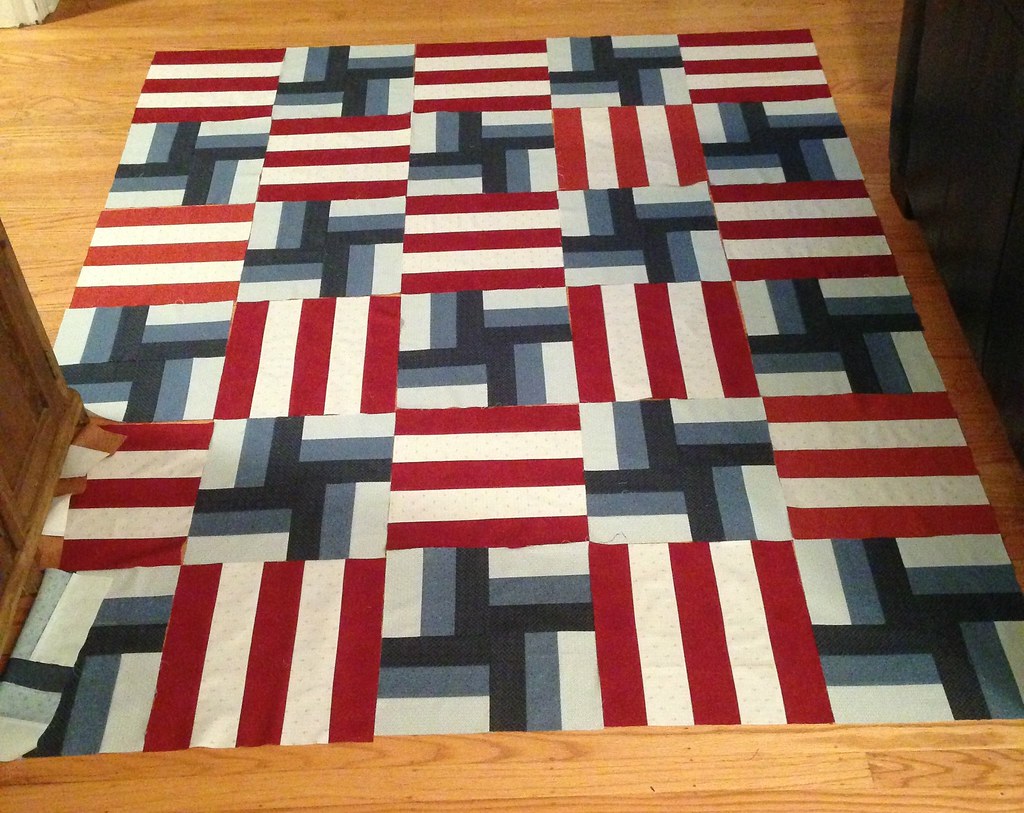
At long last I decided that I wanted to continue to tackle this challenge. I thought the best way to get my mojo going was to make some progress. What feels like progress? More blocks! Here is my second block.
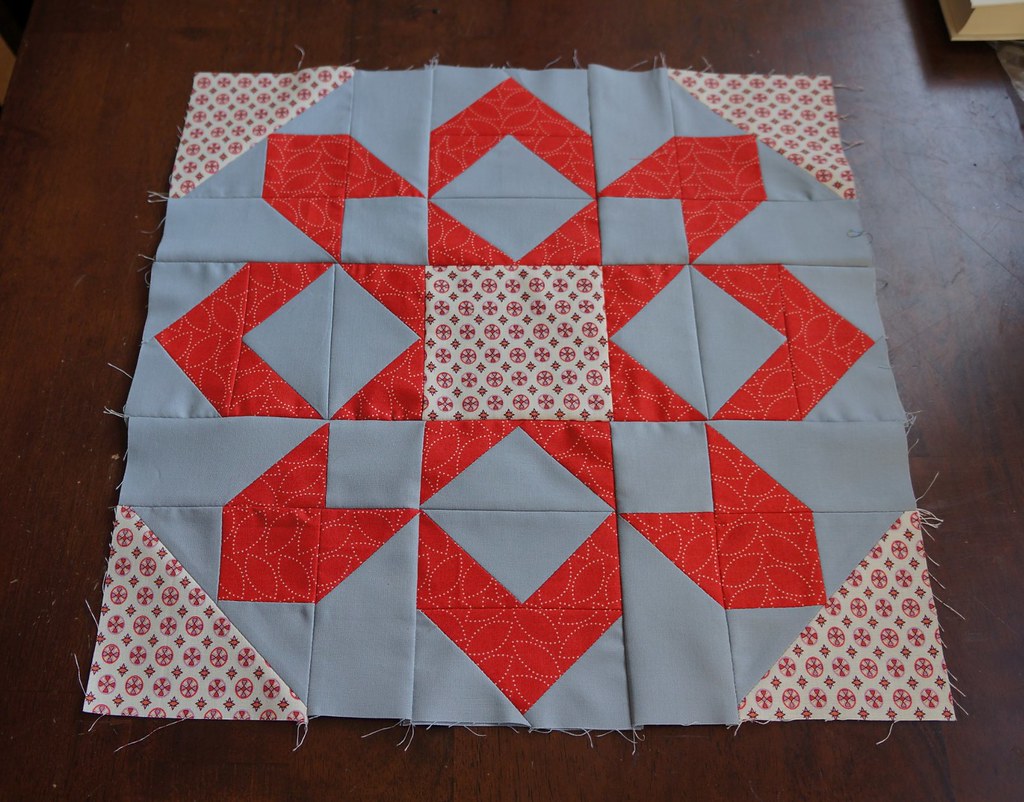

DSC08737
My second block.

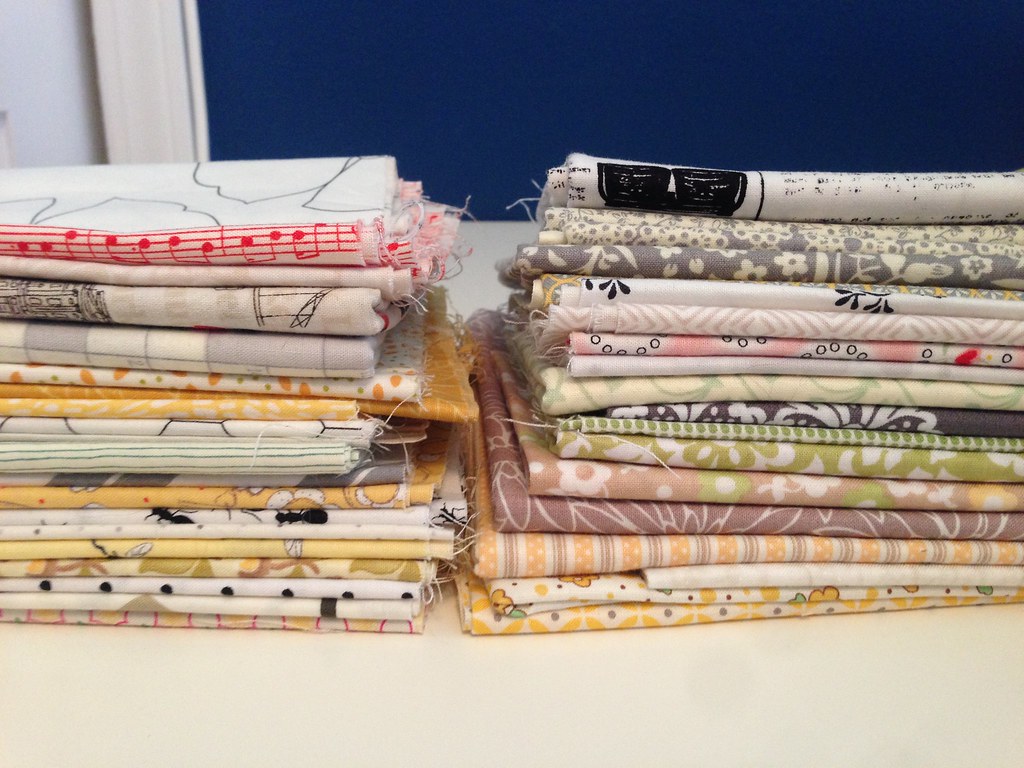
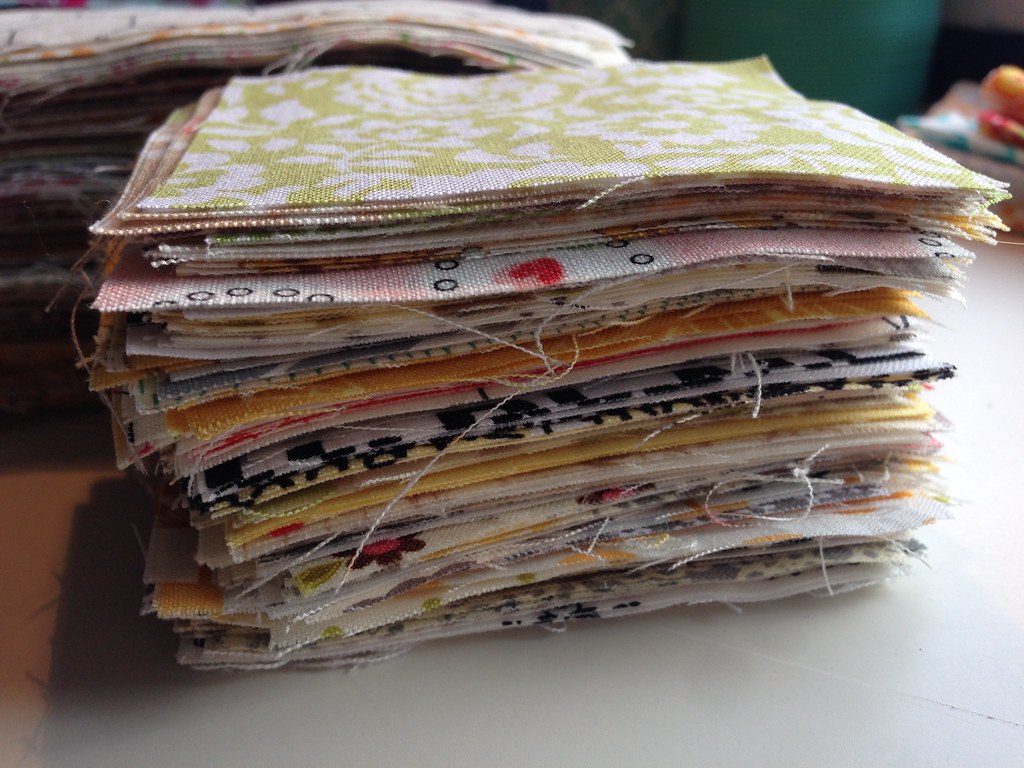
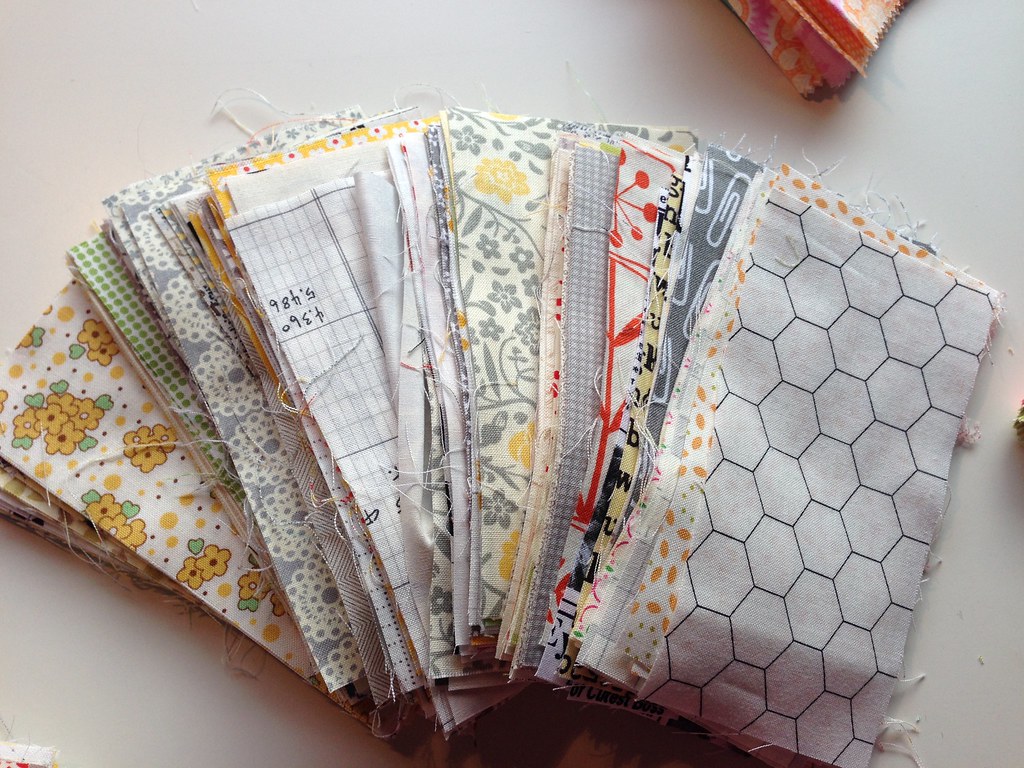
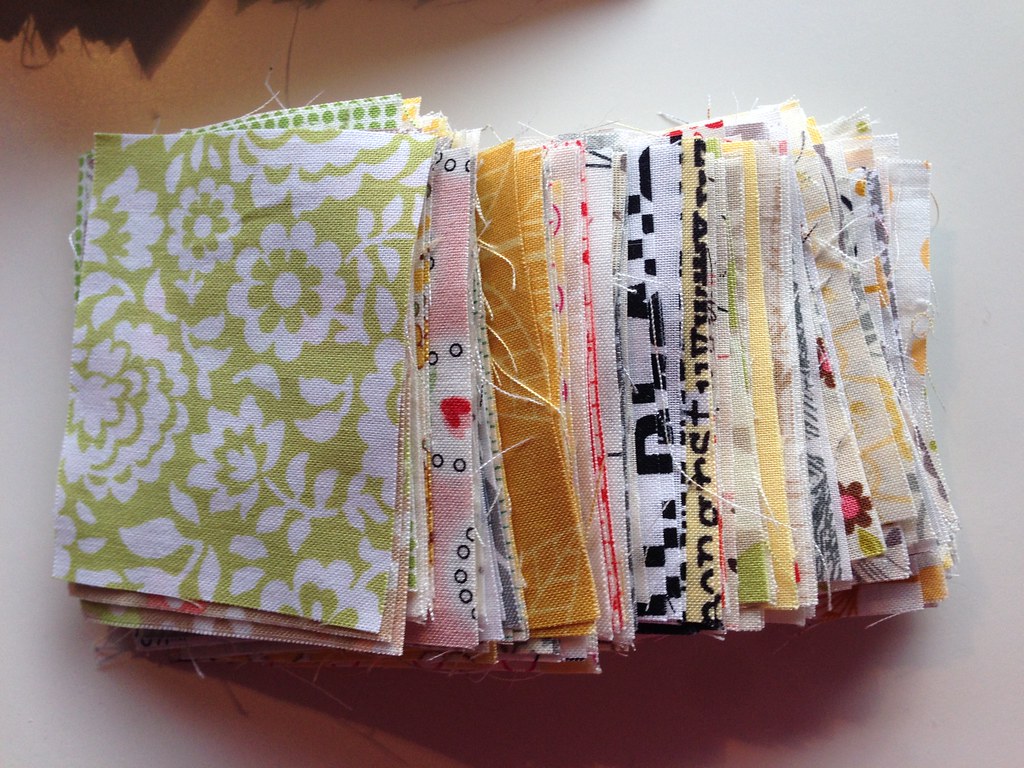
Buoyed on, I finalized my fabric combinations and got all the patterned pieces cut out.

Fireworks Pieces
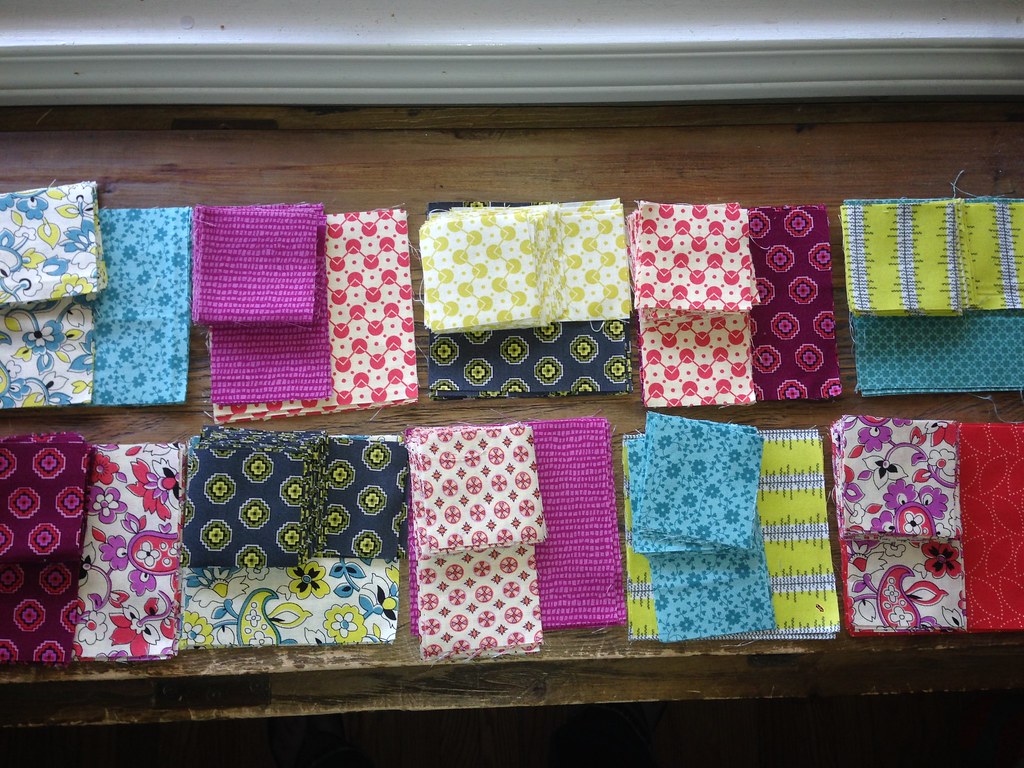
The rest of the color and pattern combinations

Now all I need to do is cut out all the background fabric. Not a small task. I don't want to let this one languish too much longer, but I do have a few other things on top of my list to finish before I continue this challenge. At least now I am excited to see it come together!

Thursday, August 28, 2014

Low Volume Loveliness Complete!

Let's start back where we left off shall we?  I talked about my low volume quilt here and here.  The verdict...

I love it!


I love this quilt.  It came out perfect.  I may have almost cried a few times during the process when I was pretty sure that I ruined it, but in the end, I am over the moon happy with it!


Quilting


This was decidedly harder.  I really like straight line quilting and the texture it adds to a quilt but I didn't want straight straight lines, you know what I mean?  I don't remember if I saw something that inspired me (probably) but I ended up playing with the idea of curved straight lines and a ripple effect.  I just kept drawing different things until I hit on a combination that I liked.  Check.


Now how to execute that?

I numbered the ripples in the order that I drew them and then started with the first one.  I used to plate to get a nice curve and then quilted that line first, then the ones inside of that.  Next, I quilted bigger and bigger circles until I was where I wanted that ripple to end.  Now comes the part where I ran into trouble.  My second biggest ripple was at the other end of the quilt and even though I spray basted, I didn't feel like I got a great "lock" on all the layers. So when I started quilting the second ripple, I just knew that I was going to end up with a bunching and puckering in the middle. NOOOO!!!  Not on this quilt! This quilt that I already loved, that I hard worked so hard on, that I had used precious scrap fabrics for!!!!  At this point, I am trying not to cry.  The husband looks confused, but knows enough to just tells me it will all be okay.

Okay, regroup.  Deep breath.  How was I going to fix this?

I marked where I wanted my curves to end for big ripple at the other end.  Then I went back to the side of the quilt I started with and began to fill things in based on my pattern.  I did  A LOT of smoothing and tugging, but in the end, there was only one teensy little pucker.  A huge sigh of relief.


Binding


So for once, I knew exactly what I wanted to bind my quilt with, black and white stripes.  I have seen both Rachel and Rita do this with low volume quilts and love the look.  Trouble was, I couldn't find any!  I even made a comment on one of Rachel's blog posts, to which she kindly responded, unfortunately to say, she had no idea where she had gotten it!  Hmmm.

I headed out to trusty and giant Fabric Depot to find something.  I came home with a mostly black print with white script text.  I was feeling good.  It got the binding cut and sewed on.  I was feeling less good.  It was SO black.  But since this is how my creative process tends to go:


I forged on with the hand stitching.  I think I was about halfway through when I just couldn't take it anymore.  I didn't like it, AT. ALL.  Let the ripping commence.  And the hunt for something new.  I was down in Eugene visiting my dad so I went to a local store there.  It's a tiny little place but has a decent selection of quilting cottons.  I found this checkered pattern and decided that it had the element I was really looking for: equal parts of black and white.

Round 2 of binding went smoothly and Voila!


Love!

It makes me happy every time I see it at my desk and even happier when I pull it onto my lap, over my shoulders or drag it into a meeting room! Oh like right now :)


Tuesday, December 10, 2013

Craft Show Quilt Finishes

Four Quilts!


That's right, I finished four new quilts for the craft show.  Most of them you will recognize from here and here, then there is one that just sort of snuck itself in there.  They are all for sale in my Etsy shop, so if you see one that you just have to have, you can!

Elephant Quilt

I am beyond tickled with how this one turned out!  After so much hymning and hawing over how to quilt it, I ended up going with "organic" straight line quilting roughly 3/4" apart.  Despite the density, it is actually some of the easiest quilting I have done.  Not marking anything helps make it easy plus the fact that you aren't actually trying to get the lines straight!


The quilting just adds so much to this simple design!


Chevron Quilt

I think I have a thing about not being overly thrilled with blocks and quilt tops.  I have to say, for all my foot stomping, this one came out darn cute.  I ended up leaving the quilting minimal and only adding a few additional lines in some of the white zig-zags.


Granny Square Quilt

I love this quilt.  I came together just like I was hoping it would.  This was the first time that I have ever stitched binding to a quilt completely by machine and I am very pleased with the results.  I did simple diagonal quilting lines, pretty widely spaced and used a lilac colored thread.


You can almost see the zig-zag stitch that I used to attach the binding to the front.
I was hoping that if things were just a bit off, the stitches on the back would get
 lost in the pile of the fabric. Check!

Do you see my cute little tag at the top?  They came out very much to my liking.


Briar Rose Plus Quilt

I was pretty excited while I was putting this quilt together but it didn't really turn out like I was hoping.  I wish that I squared the top up a bit before sewing the backing on and I am thinking that it probably needed at least a mini border.  The minky blankets don't have binding which takes away that nice, unifying edge.  When I edge stitched the whole thing that certainly helped, but still isn't quite enough in my mind.  At any rate, I love the fabrics and the fun plus design, so I am still happy with it.


Which one is your favorite?

Tuesday, November 12, 2013

Big, Bright Granny Sqaures

Ahh!

There has been so much going on that I haven't been able to keep up.  The good news is that I have been sewing and getting things done!  I have lots that I want to share and I will start with this post, which sadly I began more weeks ago than I like to admit, so without further ado, here is a start to all things I have to tell you!

Non-existent Tote Bags

As I mentioned before, Jolene's blog was the first that I stumbled upon when I found her Granny Square tutorial.  I loved the design and periodically checked back to see what she was up to.  I am often inspired by her work and I have linked to a couple of different photos of hers in my Hopscotch and Onto the Next posts.  I didn't officially start following her blog, or any blogs for that matter, until after I started this one and discovered Bloglovin' (which I really do love, BTW).

I had purchased some small cuts of really brightly colored fabrics thinking I was going to put them into tote bags like these with different patchwork designs.


But, as so many things go with me, I was bored of making tote bags pretty quickly and they never came to fruition.  So I had these great fabrics and this awesome pattern, why not put them together?

I don't have any fancy quilt design software so I either draw on graph type paper and color with pencils or, if the design will allow, as this one did, use Excel.  Nerdy, I know.

Here is what my “sketch” looked like:


I couldn't put the blocks on point like I planned, but all
the color combos are there, which is what I was going for.


Working Away from Home


Before the Nicholls State game my dad asked if we would stay in Eugene on Sunday to help him put in a window.  By this he meant, would the husband help him put in a window, leaving me to entertain myself save the intermittent calls to "come hold this." So I made darn sure that I wouldn't be bored.

My dad was quite confused as I re-arranged a portion of his living room, but I came up with a pretty good set-up.  My ironing board was a TV tray with a towel on top so I was glad that I was working on small blocks. 


Yes, there is a dog hiding under the table.


Whilst my father commenced cutting a hole in his house, in his pajamas, I might add, I started sewing.  


I got a good system going and before I knew it, viola! All my blocks were done and looking quite bright and fun, just like I wanted!


Finishing Up


I added the sashing and finished the top in the next few days.  It turned out so stinking cute! 


I was surprised how close I got to my original design.


A close up of one of favorite blocks.


I have some fabulous Cuddle fabric for the back so I nervously tossed in the washer/dryer to pre-shrink.  Hooray!  It came out perfect so I gave it a good ironing.

Love the color of the Cuddle fabric for the back!


 This is going to be my foray into spray basting since I haven’t had any luck pin basting Cuddle.  It’s a love/hate thing me and Cuddle have going on.  In addition to that I have to decide on a quilt design . . . wish me luck!

Tuesday, October 15, 2013

Low Volume Loveliness: A Start

Oh inspiration!


One of the quilting trends that I love, love, love is all of the low-volume fabrics being combined and used as backgrounds.  You can see my favorite examples, herehere and here.  Now part of what I love is how scrappy these quilts are without being overwhelming.  I really wanted to make something like this but since I haven't been quilting for all that long in the grand scheme of things, I don't have a scrap bin full of wonderful, whimsical low-volume fabrics.  So, I did what any fabric loving girl with a vision would do, I went to the fabric store!


A Boat Load of Fabric.


This particular adventure involved pretty much every fabric store in town.  I had so much fun hunting down all those fabrics that I would normally shy away from because they wouldn't pop against a white background, my heart was filled with joy as I filled the cart.  The husband even got in on the act and pulled me over to the novelty prints section at Fabric Depot (how had I not been over there before!) and I found fun letters and little ants!  I also picked up a big 'ole scrap bag at Cool Cottons and found several more treasures in there.

After several weeks of collecting whilst purchasing for other projects, and throwing in things from my stash, I ended up with a pretty impressive pile of fabrics.


Now to cut it all out.

Wait, you say, what happened to those other projects you teased us with?  I thought you were going to work on one of those?  Well so did I.  However, I was having a positively awful time choosing between the three and really nothing was really jumping up and down saying, "Make ME!", so I ended up going with this because I feel confident that I am going to love how it turns out!

Fabric and Football


This time of year there are two things that tend to consume most of my time, fabric and football.  I have been a season ticket holder for Duck Football pretty much ever since I left school and couldn't get the free student tickets anymore.  But when the Ducks are away the day is spent in front of the TV soaking up ever bit of college football we can.  The husband has been know to take the TV from my craft room and move it to the living room so that we can enjoy with additional sports bar effect.  These days are also perfect for cutting fabric.  So that's what I did and guess what?  I finished :D


I am hoping to get in a few finishes before I start piecing this, but who knows!

Thursday, September 12, 2013

Quilt of Honor Top

My New Team

Is super awesome!  I love being part of the local Portland Etsy team, and being able to get together in person and talk shop.  However, despite my efforts, I have not been able to find another quilter on the team. (If you are out there, make yourself known!!!)  Quite frankly, that is what all my questions are about, quilting and selling quilts.  Enter the Quiltsy Team :)

Okay, so I found these ladies intimidating when I looked at the requirements to be on the team but I really wanted to ask quilting questions, so I wrote up some shop policies and forged ahead.  I was gleeful when I got the message that I had been accepted onto the team!!!

And of course, there wasn't anything to be scared of.  Everyone was so friendly and welcoming.  Also, SO. MUCH. TALENT.  To learn more about the team, you can visit our blog, here.

A Call to Action

A discussion thread was posted to the group on August 11th asking for help making five quilts to be presented on September 11th to a group of veterans that were being honored at an event in New York state.  A month was a short timeline to be sure.  BUT I really wanted to help and a fellow team member had offered to quilt and bind a completed quilt top, so I said I would make the top for her.  Eek, this is exciting! Quick like a bunny, not time to waste on this one!

Quick Quilt Top (that I can still be proud of)


I really liked the idea of sewing something from my stash and was surprised how much red, white and blue fabric I have (mostly thanks to my mom and all her good garage sale finds) but the idea of trying to do something scrappy and improvy seemed like too much for the short time frame.  I decided that I would see what I could find on Pinterest.  You can see all of the ideas I gathered here.

In the end I decided on a variation of the quilt below.


If you look closely you will notice that the strips aren't actually full rectangles.  They are a little wonky, but in a very specific way.  The pattern called for a template ruler which meant individual pieces, which was a no-go in this situation.  Luckily, I have done a few other variations on rail fence.

A purple skull quilt for my mother in law:


A pink quilt for my Nana's pink house:


and I knew I could achieve a very similar effect with regular old strips AND at blazing speed.  Off to Fabric Depot!

Let the cutting commence!


This quilt top went together beautifully!  And quickly, just three evenings!  After all the trouble I had with my Jitterbug quilt, it was so nice to have all my blocks line up and seams match!  See, I told myself, you do know how to do this. I have also learned the importance of squaring blocks after sewing them together.  Ah, the fun of being self taught :)  Thanks to all my unknowing internet guides and teachers I am slowly filling in the gaps in my quilting know how.

And here it is!

The blocks all laid out before being sewn together.

A quick snapshot before being mailed off!


I sent it off to Vivian in South Carolina to finish!

She turned it around in just a few days, amazing.  Her quick snapshot before it was in the mail once again :)


At Last!


This project was super duper top secret so I couldn't share before the event.  Finally the day was here! I was so excited to see the below photos from last night!

A shot of the quilt tag, with my name on it!


The quilt and recipient :) So awesome!!!

Wednesday, August 21, 2013

Jitterbug Isn't Going to Make It

Resigned


Sadly, I have experienced my first complete, utter and total quilt failure.  Truthfully, it wasn't really my fault. Although I should have seen it coming.  Remember how I said that the Shelburne Falls strips were smaller than the Moda strips in my first Jitterbug post?  Here is what I meant:


Well, that meant NOTHING lined up.  My squares weren't actually square, my flying geese were too big for the too small squares, etc. etc.  Trying to sew the blocks together was torturous.  I guess I got lucky on the first few, because after that, this is what I ended up with:

Those flying geese are ALL OVER the place.

Most of these are okay, but the bottom, yikes!

Same story here.  And look at those HST in top left hand corner, oh no no no.


I made six blocks in all and decided to throw in the towel.  I wasn't having any fun and to try and get things to play nice, I was sewing some of the slimmest seams known to man, which in turn meant that they were popping open.


The Upside


By giving up early, I still have a lot of uncut strips that I can use for other things that require small pieces.  I am a big fan of zakka style so that means I have several books full of lots of fun options. For example, a variation on this sewing machine cover:


Or these cute coasters:


Maybe a little cosmetics bag:


As for the blocks I already made?  Pillows maybe? Or I could trim the other pieces I already have made up and create some kind of sampler quilt.  At any rate, they are destined to hang out in the UFO (unfinished object) pile for the foreseeable future.

The Most Important Question


 Now what quilt should I make to take to work? And what fabric should I make it with?!?