Showing posts with label orange. Show all posts

Friday, June 12, 2015

Hope Valley Pinwheels: A Finish

DONE!


Wow, I never thought it would happen. While I will admit that it isn't my favorite quilt, I do feel that it has a certain charm to it.


The pumpkin binding really does work well. I am glad that I stuck with it. Thanks to all of you who gave me the extra vote of confidence!

Please excuse the dog toy. It was so bright that I couldn't see anything in the view finder and this is the best shot I got!

So bright!

I finished the binding with a zig-zag stitch. This is becoming more and more common for me. I love the extra durability that it gives and how flat it makes the binding lay. Also, with the baby, I just don't have as much "sit around and hand stitch time" as I used to. He was kind of enough to take a long snooze so that I could finish.

I even remembered to add a tag! That never happens!
This quilt is listed for sale in my Etsy shop.

Linking up!
Confessions of a Fabric Addict
TGIFF
Richard and Tanya Quilts


Wednesday, May 27, 2015

WIP Wednesday: Hope Valley Pinwheels

As I mentioned last Wednesday, I have a couple of smaller quilt tops in the queue for quilting that I want to finish before tackling my bigger quilt tops, Fireworks and Hopscotch. I made pretty good progress, but am not sure when I will get more sewing time again before heading off to my first agility trial since February. Squee!!! I know Dexter will be one happy dog!

Stuck at home, doing nothing, makes for a very sad boy.

One of the hardest parts of being a new mom, for me, has been feeling like I am letting my two fur kids down. Dexter has been quite depressed and Fractal is going stir crazy. It has been very hard for me to watch,especially when I am stuck in the glider nursing the baby and can literally do nothing for them. I know it is not as bad as it is in my head since they have had trips to the dog park, one class, a journey to a friend's house and Buddy plays with them regularly in the backyard. But still, nothing like what they had pre-baby.

Pinwheels


I can't believe it, my pinwheel blocks are going to make it into a finished quilt. I am in shock really. These have been sitting around for so long and I was at such a loss for what to do with them that I was pretty sure they would never amount to anything. Which bummed me out severely since I had made them from precious Hope Valley Fat Quarters won when my mom and I saw Denyse Schmidt at a local quilt store.

The first pinwheels I sewed. . . in 2012!

In the end, as it always seems to be, the answer was to keep it simple. Really simple. I just sewed the squares together: no sashing, not setting on point, nothing.  Originally, I had really wanted to do a very modern, non-grid layout with these very traditional blocks, but it just wasn't mean to be. Mostly because that would have required more blocks and I have no interest in making any.

The odd number of blocks I ended up with before quitting.
I managed to talk myself into sewing one more to
make it an even 20.

I was really nervous when I went to get backing for this quilt since I knew that there was no way to get something from the Hope Valley line. My thinking was to do a shot cotton since to me they have bit of that worn vintage-y look like the Hope Valley prints. Instead I ended up with a plum and orange print for Denyse's new Franklin line (which I like quite a bit).

It is very helpful that designers often use the same color palette from one collection to the next.


Again, I went simple with the quilting. The plan was a one inch grid, but after getting all the vertical lines done, I felt like adding the additional quilting would be too busy for the small quilt. So I called it good.


All that I have left to do is bind the darn thing. I have this pumpkin colored Kona for the binding, but I'm not totally sold on it, so I have working on quilting my Bento Box baby quilt instead.


What do you think, should I just go for it with the binding, or could I do better? Something a bit more unexpected perhaps?

Linking up with WIP Wednesday and Let's Bee Social!

Thursday, August 28, 2014

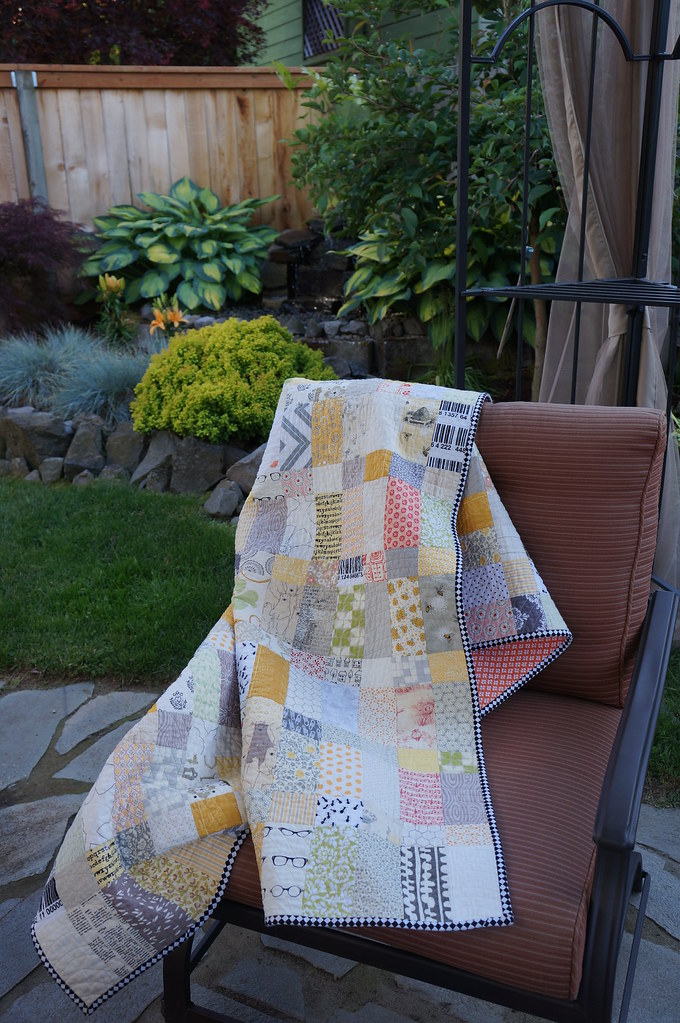
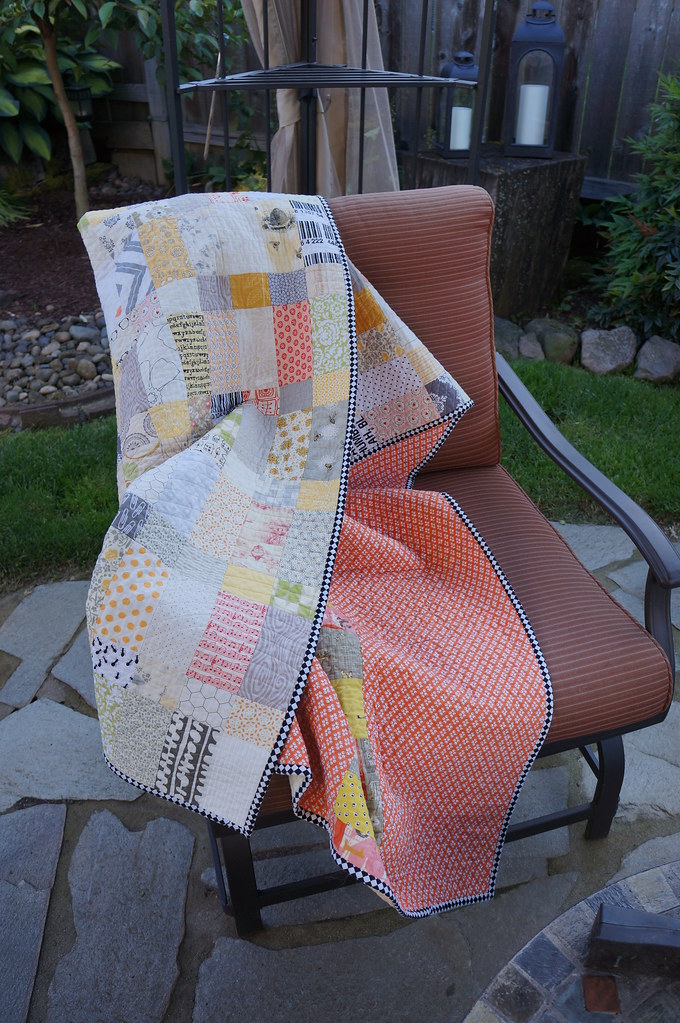
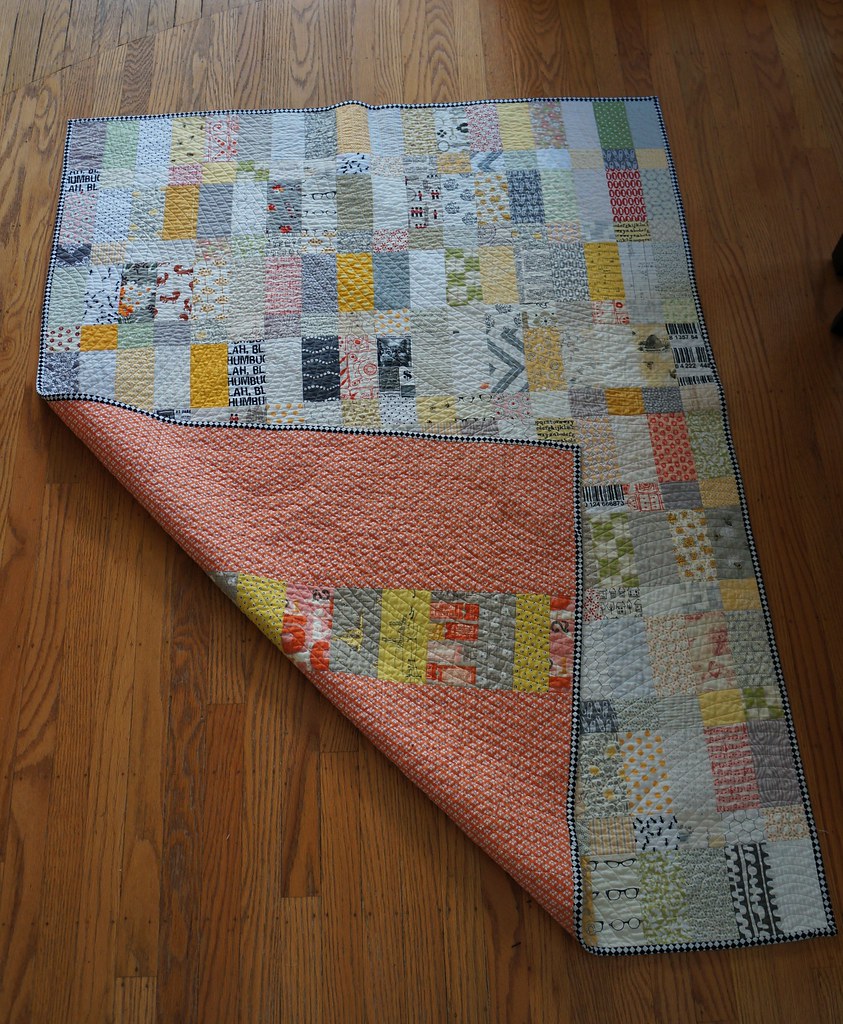
Low Volume Loveliness Complete!

Let's start back where we left off shall we?  I talked about my low volume quilt here and here.  The verdict...

I love it!


I love this quilt.  It came out perfect.  I may have almost cried a few times during the process when I was pretty sure that I ruined it, but in the end, I am over the moon happy with it!


Quilting


This was decidedly harder.  I really like straight line quilting and the texture it adds to a quilt but I didn't want straight straight lines, you know what I mean?  I don't remember if I saw something that inspired me (probably) but I ended up playing with the idea of curved straight lines and a ripple effect.  I just kept drawing different things until I hit on a combination that I liked.  Check.


Now how to execute that?

I numbered the ripples in the order that I drew them and then started with the first one.  I used to plate to get a nice curve and then quilted that line first, then the ones inside of that.  Next, I quilted bigger and bigger circles until I was where I wanted that ripple to end.  Now comes the part where I ran into trouble.  My second biggest ripple was at the other end of the quilt and even though I spray basted, I didn't feel like I got a great "lock" on all the layers. So when I started quilting the second ripple, I just knew that I was going to end up with a bunching and puckering in the middle. NOOOO!!!  Not on this quilt! This quilt that I already loved, that I hard worked so hard on, that I had used precious scrap fabrics for!!!!  At this point, I am trying not to cry.  The husband looks confused, but knows enough to just tells me it will all be okay.

Okay, regroup.  Deep breath.  How was I going to fix this?

I marked where I wanted my curves to end for big ripple at the other end.  Then I went back to the side of the quilt I started with and began to fill things in based on my pattern.  I did  A LOT of smoothing and tugging, but in the end, there was only one teensy little pucker.  A huge sigh of relief.


Binding


So for once, I knew exactly what I wanted to bind my quilt with, black and white stripes.  I have seen both Rachel and Rita do this with low volume quilts and love the look.  Trouble was, I couldn't find any!  I even made a comment on one of Rachel's blog posts, to which she kindly responded, unfortunately to say, she had no idea where she had gotten it!  Hmmm.

I headed out to trusty and giant Fabric Depot to find something.  I came home with a mostly black print with white script text.  I was feeling good.  It got the binding cut and sewed on.  I was feeling less good.  It was SO black.  But since this is how my creative process tends to go:


I forged on with the hand stitching.  I think I was about halfway through when I just couldn't take it anymore.  I didn't like it, AT. ALL.  Let the ripping commence.  And the hunt for something new.  I was down in Eugene visiting my dad so I went to a local store there.  It's a tiny little place but has a decent selection of quilting cottons.  I found this checkered pattern and decided that it had the element I was really looking for: equal parts of black and white.

Round 2 of binding went smoothly and Voila!


Love!

It makes me happy every time I see it at my desk and even happier when I pull it onto my lap, over my shoulders or drag it into a meeting room! Oh like right now :)


Tuesday, December 10, 2013

Craft Show Quilt Finishes

Four Quilts!


That's right, I finished four new quilts for the craft show.  Most of them you will recognize from here and here, then there is one that just sort of snuck itself in there.  They are all for sale in my Etsy shop, so if you see one that you just have to have, you can!

Elephant Quilt

I am beyond tickled with how this one turned out!  After so much hymning and hawing over how to quilt it, I ended up going with "organic" straight line quilting roughly 3/4" apart.  Despite the density, it is actually some of the easiest quilting I have done.  Not marking anything helps make it easy plus the fact that you aren't actually trying to get the lines straight!


The quilting just adds so much to this simple design!


Chevron Quilt

I think I have a thing about not being overly thrilled with blocks and quilt tops.  I have to say, for all my foot stomping, this one came out darn cute.  I ended up leaving the quilting minimal and only adding a few additional lines in some of the white zig-zags.


Granny Square Quilt

I love this quilt.  I came together just like I was hoping it would.  This was the first time that I have ever stitched binding to a quilt completely by machine and I am very pleased with the results.  I did simple diagonal quilting lines, pretty widely spaced and used a lilac colored thread.


You can almost see the zig-zag stitch that I used to attach the binding to the front.
I was hoping that if things were just a bit off, the stitches on the back would get
 lost in the pile of the fabric. Check!

Do you see my cute little tag at the top?  They came out very much to my liking.


Briar Rose Plus Quilt

I was pretty excited while I was putting this quilt together but it didn't really turn out like I was hoping.  I wish that I squared the top up a bit before sewing the backing on and I am thinking that it probably needed at least a mini border.  The minky blankets don't have binding which takes away that nice, unifying edge.  When I edge stitched the whole thing that certainly helped, but still isn't quite enough in my mind.  At any rate, I love the fabrics and the fun plus design, so I am still happy with it.


Which one is your favorite?