I love it!
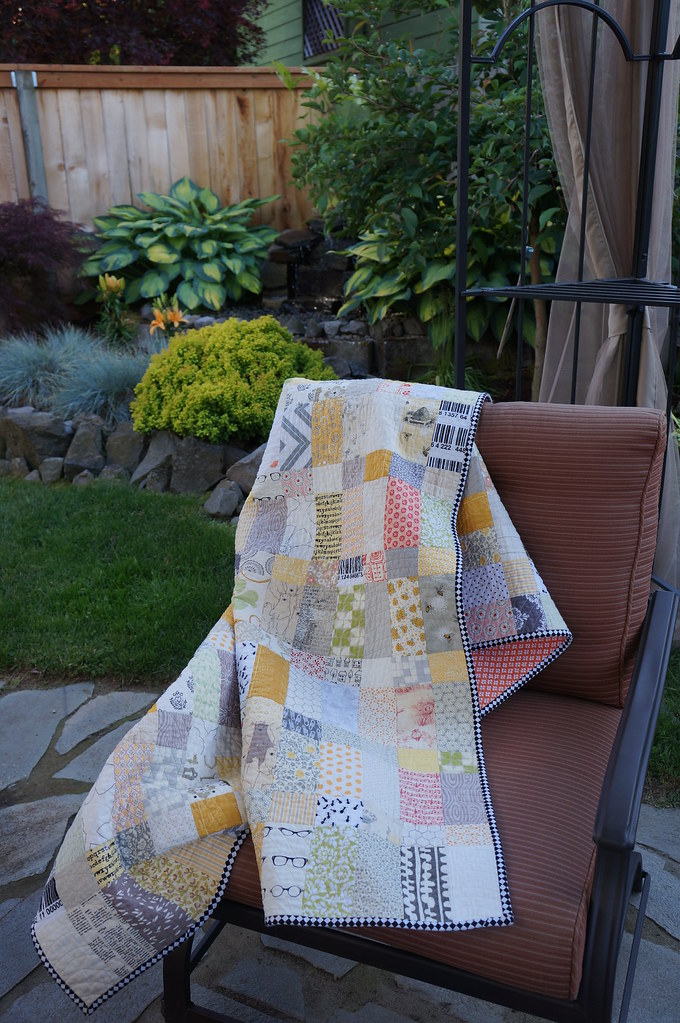
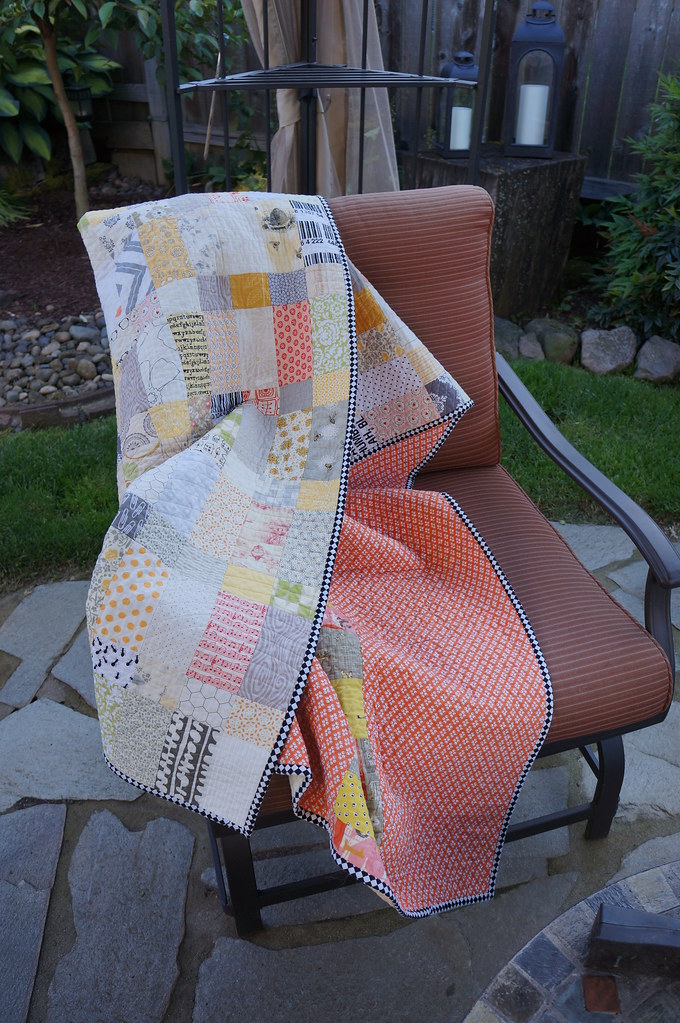
I love this quilt. It came out perfect. I may have almost cried a few times during the process when I was pretty sure that I ruined it, but in the end, I am over the moon happy with it!
Quilting
Now how to execute that?
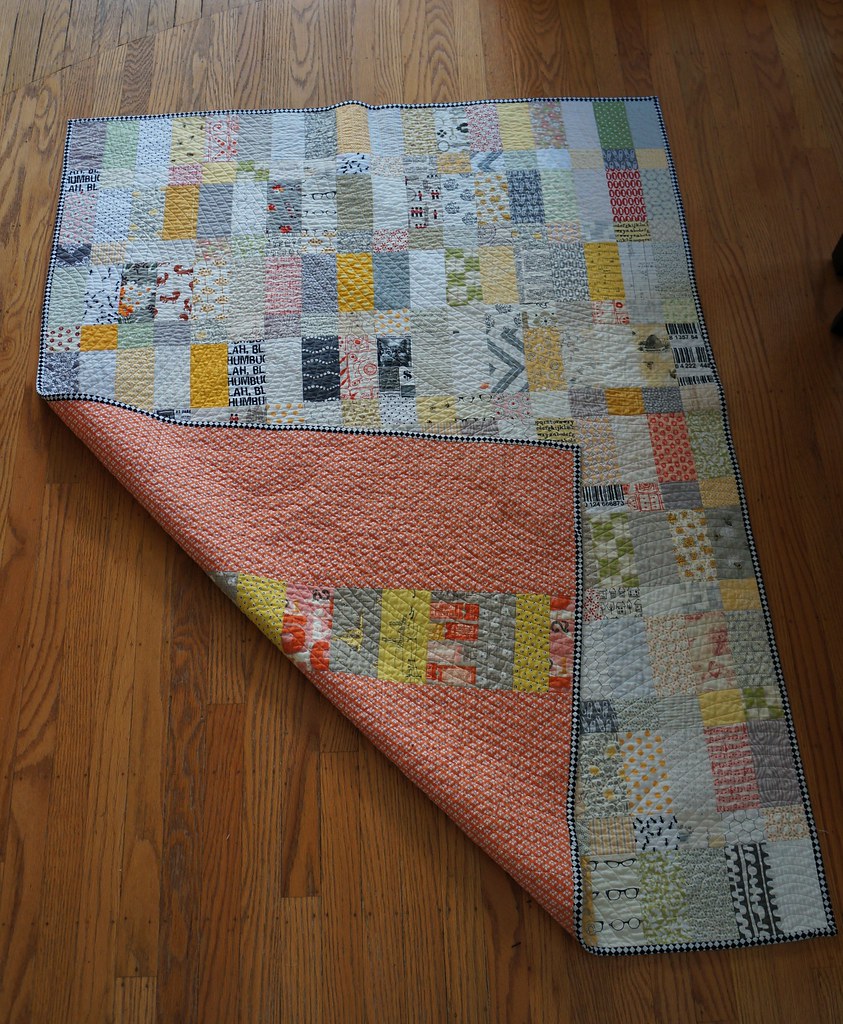
 I numbered the ripples in the order that I drew them and then started with the first one. I used to plate to get a nice curve and then quilted that line first, then the ones inside of that. Next, I quilted bigger and bigger circles until I was where I wanted that ripple to end. Now comes the part where I ran into trouble. My second biggest ripple was at the other end of the quilt and even though I spray basted, I didn't feel like I got a great "lock" on all the layers. So when I started quilting the second ripple, I just knew that I was going to end up with a bunching and puckering in the middle. NOOOO!!! Not on this quilt! This quilt that I already loved, that I hard worked so hard on, that I had used precious scrap fabrics for!!!! At this point, I am trying not to cry. The husband looks confused, but knows enough to just tells me it will all be okay.
Okay, regroup. Deep breath. How was I going to fix this?
I marked where I wanted my curves to end for big ripple at the other end. Then I went back to the side of the quilt I started with and began to fill things in based on my pattern. I did A LOT of smoothing and tugging, but in the end, there was only one teensy little pucker. A huge sigh of relief.
Binding
So for once, I knew exactly what I wanted to bind my quilt with, black and white stripes. I have seen both Rachel and Rita do this with low volume quilts and love the look. Trouble was, I couldn't find any! I even made a comment on one of Rachel's blog posts, to which she kindly responded, unfortunately to say, she had no idea where she had gotten it! Hmmm.
I headed out to trusty and giant Fabric Depot to find something. I came home with a mostly black print with white script text. I was feeling good. It got the binding cut and sewed on. I was feeling less good. It was SO black. But since this is how my creative process tends to go:

I forged on with the hand stitching. I think I was about halfway through when I just couldn't take it anymore. I didn't like it, AT. ALL. Let the ripping commence. And the hunt for something new. I was down in Eugene visiting my dad so I went to a local store there. It's a tiny little place but has a decent selection of quilting cottons. I found this checkered pattern and decided that it had the element I was really looking for: equal parts of black and white.
Round 2 of binding went smoothly and Voila!

Love!
It makes me happy every time I see it at my desk and even happier when I pull it onto my lap, over my shoulders or drag it into a meeting room! Oh like right now :)