Showing posts with label purse. Show all posts

Friday, May 29, 2015

Tinker Tote


Have to make it.


Isn't that how all projects start? You see something that you HAVE. TO. MAKE. The tinker tote pattern is only available through a Craftsy class, which was not something I had done before. They are online, webinar type classes. After you sign up, you always have access to the class. The classes can be a little expensive fore my taste, but they are often on sale, so when a good one came around, I signed up!


I watched the first few segments right away. The video quality was great and since the bag is made using the quilt as you go (QAYG) method, which I  was completely new to, it was really nice to have a demonstration.

I printed the pattern and traced it onto my batting. I was ready to get going, all I needed were some scraps. So I pulled out my giant bucket and started digging. I found a few scraps that felt that they belonged in the bag, but that was about it.  I had a pretty specific image in my head of how I wanted to the bag to turn out and I wasn't willing to compromise. Discouraged, I put the project away.

My blank canvas awaiting inspiration in the form of sorted scraps.

Time passes.


From time to time, I would pull out the scrap bin with the intent of gathering scraps for the bag, but it just never came together. Finally, I realized that until the scraps were sorted, I wasn't going to be able to find what I was looking for.

The small stack of six scraps were all that I could put together before my scraps got sorted and they served as the color inspiration for the quilted panels.


Once I got my scraps sorted, I started working on my tinker tote and was completely obsessed until it was done.

Working on my layout of the bits and bobs.

Construction


The bag went together pretty easily. I made a few little bobbles here and there but when I had my two exterior panels done, I was so excited! They turned out just like I wanted, sort of low volume and soft but with little pops of color. It is hard to explain all the rules that I had when picking scraps for this bag. I don't have a lot of color theory vocabulary but as I read about it more, I realize that I apply a lot of color rules when I am sewing.

Making progress on my first panel.


Now that I had the perfect exterior panels, I needed to pick lining and binding. Ugh. Sometimes this is the worst.You need yardage, which means an expense that you only want to incur once. That last thing you want is to realize that you made the wrong fabric choice and have decide whether you put something sub par in your perfect project or, spend a bunch more money on something that you think will be more suitable.

Low volume, texty print for the lining.


I ended up with the I'm a Maker print from Art Gallery's Maker line for the lining and a small red floral print from Windham for the binding. This is the part where things got tricky. Even though I traced my lining from the same pattern piece that I used for the exterior panels, it was huge and did not fit in the bag at all. I think this is due to the shrinkage that is experienced with the QAYG technique. All that quilting sucks the batting together. I ended up just cutting away the extra fabric to get a good fit, and after having to piece in the interfacing for the lining because I couldn't find anything wide enough to save my life.

Close but not quite. I added little bits of interfacing to the top of the handles to make up for it.

And if that wasn't enough, once I got the lining together, it didn't fit at all!


Then there was the binding. I could tell from watching the video that Tara (the bag designer and class teacher), did not have the same perfectionistic standards that I do when it comes to binding. I could also tell since I would be fighting several layers of fabric and working around curves, that I was unlikely to be able to achieve the standards that I am used to when it comes to binding. Plus, I REALLY wanted the bag to be done at this point. So I forged on and I try not to look it or think about it too much.

On your left is what binding should look like. On the right is what most of the binding on the bag does look like.


The Finish Line


Overall, I am very happy with how the bag turned out. I really like the quilt as you go method and can see myself using for more bags in the future, whether it be with this pattern, or others.

The front. I love that I got to feature some of my favorite prints, like those red music notes!

The back. I love it this panel too! It was actually rather difficult to decide which one I wanted on the front of the bag.


Linking up!

Wednesday, September 4, 2013

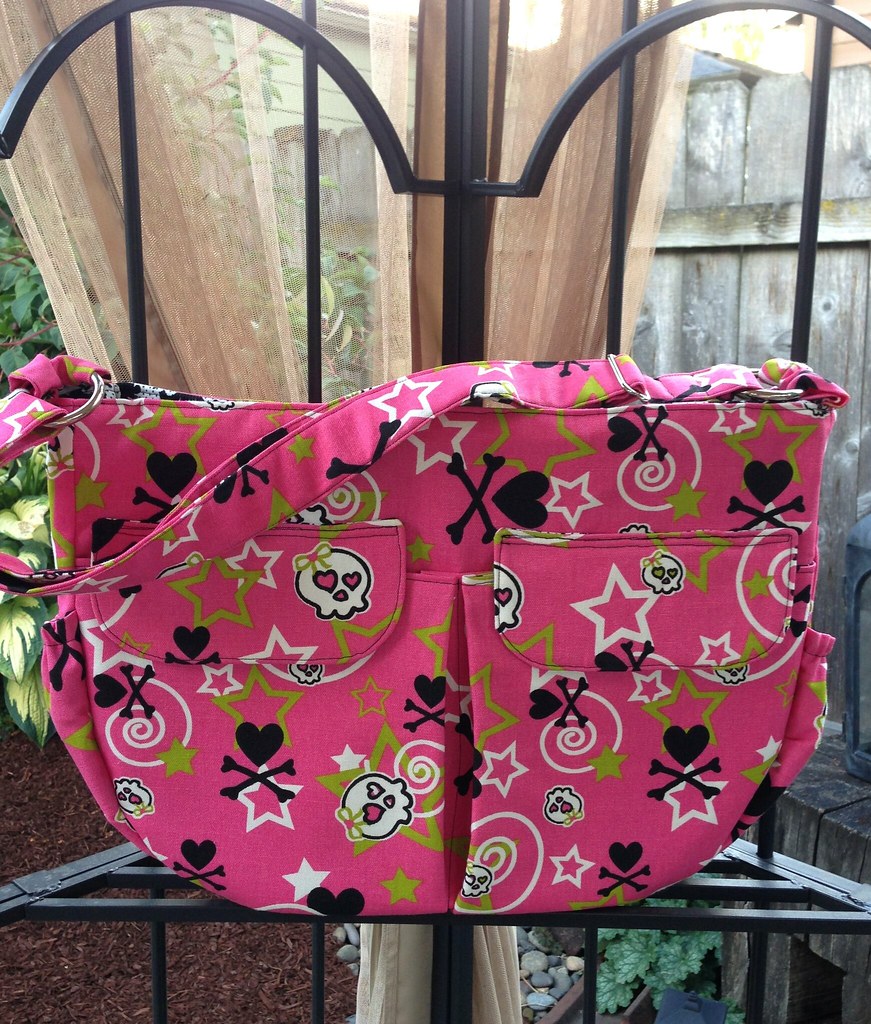
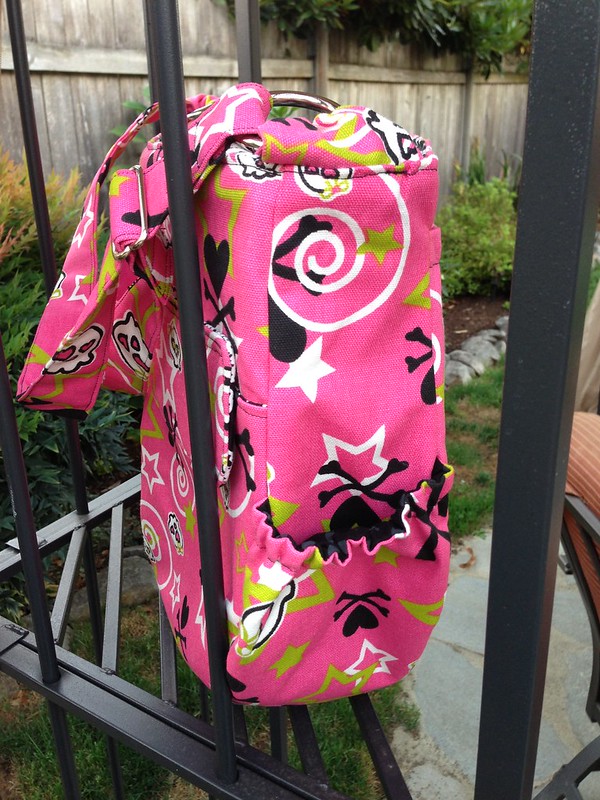
Skulls and Hearts in Hot Pink: A Finish

Custom Order


Remember how I told you that I brought my Lisa Lam Diaper Bag to work to feedback on pockets and such?  If not, you can read about that here. Well one of my co-workers loved it so much she ordered one! She plans to use it to carry all the crap that her husband and kids hand her while out on vacation.  What a perfect idea!

I ran off to Fabric Depot and clicked off some pics of fabrics I thought she would like but I had a feeling this would be the winner:

So Fun!  The skulls have hearts for eyes!

Lo and behold, I was right!

I gathered additional supplies, including the elusive hardware.  I decided to go with a 1.5" strap as the pattern calls for and save myself the heartache of finding a 2" slider and O-rings.

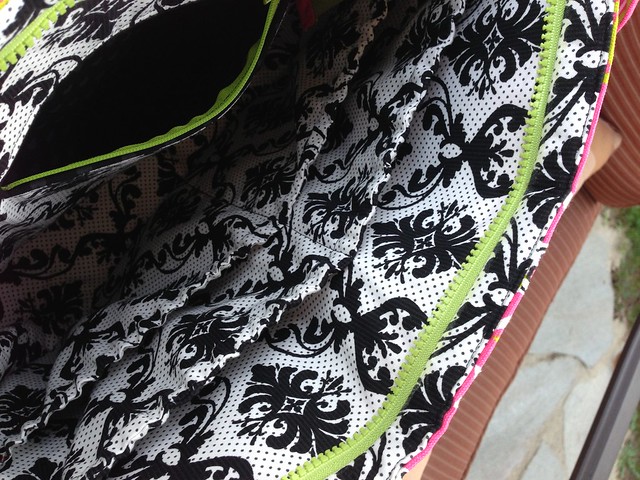
Also, Michelle had the fabulous idea of using lime green zippers.  I said I would look even though I was pretty sure that was too tall an order, but Fabric Depot didn't let me down:


I was very pleased with the black and white fabric I chose for interior.  Plus for the inside zip pocket I found a gray on black heart fabric that I thought was perfect with all the hearts on the exterior.  I was getting very excited to see it all come together!

Other than not really remembering just how many steps go into making this bag, it went together pretty easily.  I had to remind myself to slow down and follow the directions a couple of times.  I manged not to do too much ripping and re-sewing.  I would have been done faster, but there was a very distracting Castle marathon on TNT for Labor Day :-P

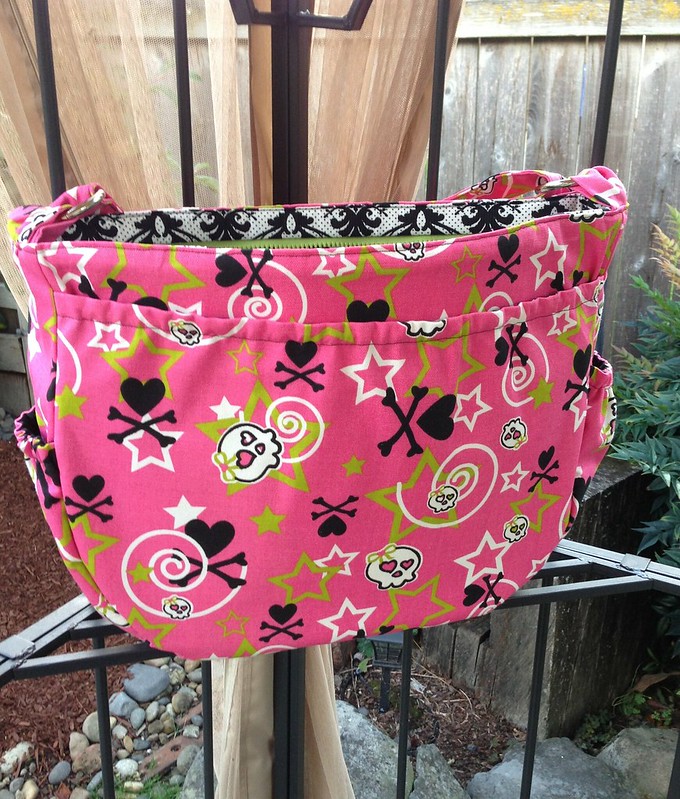
Finished

It came out even cuter than I could have guessed!


Friday, August 16, 2013

The Lisa Lam Diaper Bag

Sometimes the Fabric Comes First


Okay, for me, the fabric comes first a lot.  I am a lot like those designers on Project Runway that go to Mood without knowing what they are going to make.  I see fabric and sometimes it tells me what it wants to be.  Other times, it is like a little whisper in my ear, "You want me, you know you do, you should take me home."  Even more often than that, it's like a three year old throwing a temper tantrum, "But you have to take me home with you!!!!  You like me so much!!!! How could you even think of leaving here without me!!!!"  And so I buy some.  I think this goes a long way in explaining my extensive fabric collection.

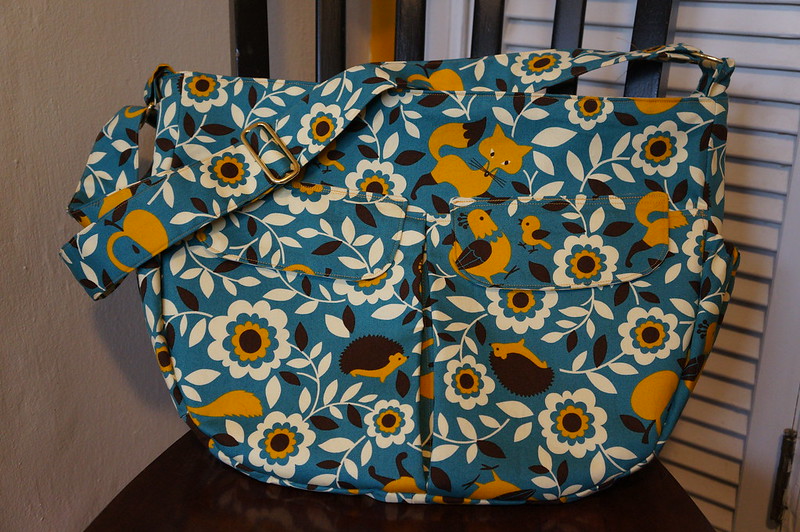
A while ago, I was at Bolt, a local fabric store that has very cute quilting fabrics and crazy gorgeous clothing fabrics.  And I happened upon this beauty:


It screamed awesome bag.  I knew I had to have some, but without a super specific project in mind, the question is, how much to get?  I knew that there were several cute bag patterns in the One Yard Wonders book but figured I would want something bigger than that, so I settled on a yard and a half.

After walking by the fabric several times at home, I realized that what made the most sense given it's cutesy, fun, bright nature, was to make a diaper bag.  Plus, I knew a friend who was in the market for one :)  I went to my favorite bag book, A Bag for All Reasons and there it was, the darn cutest diaper bag ever!  The best part, I totally had enough fabric!


The Making


I went to Fabric Depot to get all the interfacing and lining and got cutting.  It was so much cutting.  I took me over four hours to get all the pieces cut, so many pockets!  Then began the epic search for hardware.  Wow, this was SO HARD.  I went to ever store I could think of, including the leather supply store, including JoAnn's (and I don't go there for much).  I finally found some good stuff back at Bolt, thank goodness.  The sewing went pretty smoothly and I was very happy with my choice to go with a little lighter weight interfacing on the exterior and compensate with a little heavier interfacing on the interior.  Again, this was a lesson learned from making Amy Butler Weekender bags (you can find photos of those on Flickr, I promise, one day, I will take better photos!!!).

I also took the bag to work  to confirm that I had added enough pockets in the right places (the directions were a little confusing).  There are a lot of moms at work and since I am not one, I had no idea what you put in a diaper bag.  They were uber helpful, thanks ladies!

Getting ready to sew the interior and the exterior together!
Also, a good view of all the interior pockets.


The Bag


It turned out terribly cute!!!!!  I actually went back to Bolt and bought several more yards of the outside fabric so I could make a couple more :)

The pattern is just fantastic with this fabric.  Squeal!


One of my favorite things is that the bag is big, but not TOO big.


Monday, July 29, 2013

Playing with Leather

Leather

I love leather. I have lots of leather things.  Frye Boots are probably my most favorite leather thing.  In addition to that, I love leather purses and leather details on purses.  So of course it is something that I am interested in being able to do for myself.  I got very excited a while back about getting into leather working. Then, I realized that it was a wholly different world with a steep learning curve and I had no idea where to start.  I decided that it would be best to hold off on leather and focus instead on furthering my sewing and quilting skills.  Enter My Friend Elma. 

The Teacher Arrives

After a very long break, The Husband and I reconnected with some friends of ours.  During our lengthy catch-up discussion Elma shared that she had started leather working.  My ears perked up, picture this:


Graciously, Elma agreed to show me the ropes of working with leather.  This made me excited for two reasons: One, yay!, leather and Two, more time with Elma, double yay!

My First Project and Then Some

We ran off to the leather store and got lots of supplies and fun stuff to play with.  After Elma went home I was left to play with all my new toys, which involved the family joining in and hammering away at some leather scraps.


This is what that looked like:

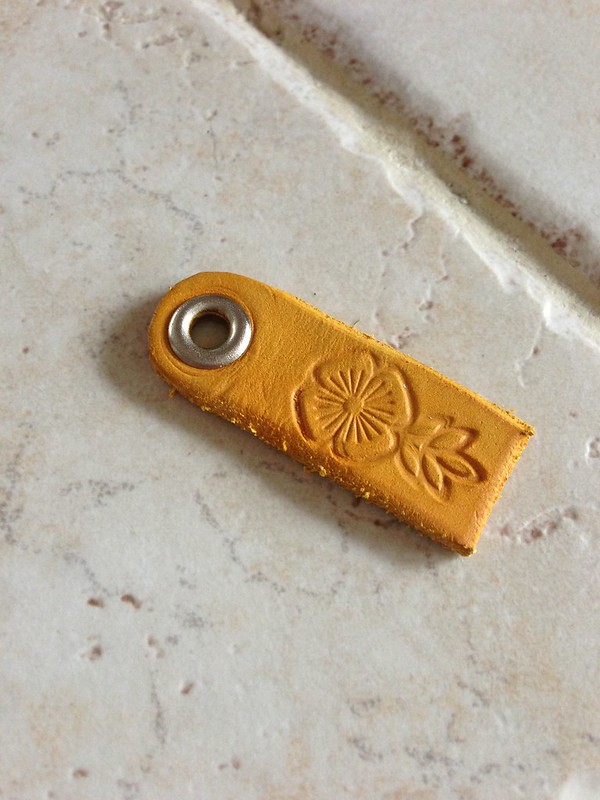
Elma came over the following week and walked me through the process of stamping, dying, finishing and riveting the leather.  While we were doing all this, I had the awesome idea of creating custom zipper pulls for my make-up bags.  I immediately created a little sample with some scraps:

I think it's terribly cute and I can't wait to make some with a little bird stamp and my shop initials!


The other thing I worked on was a a key chain.  I finished that a few days ago, and here it is:
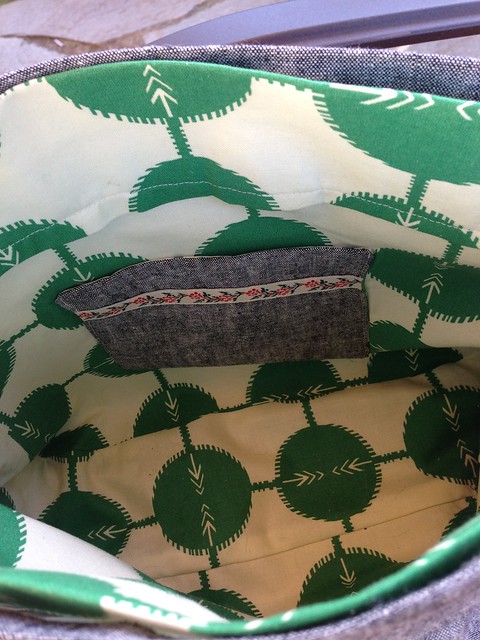
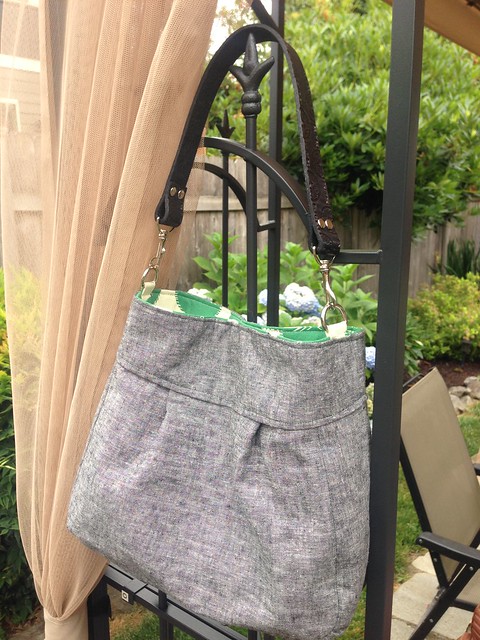
During all of this, I was plotting my next move.  Something that I have always wanted to be able to do with my bags is add leather handles.  I just needed a bag to add a handle to, so I made this cute little bag from the One Yard Wonders book.  The outside with Essex Linen in Black and the lining is from Anna Maria Horner's Field Study line.


Now it just needs a handle!  Here is my little mock-up of my handle design:
Then I added some dye options:
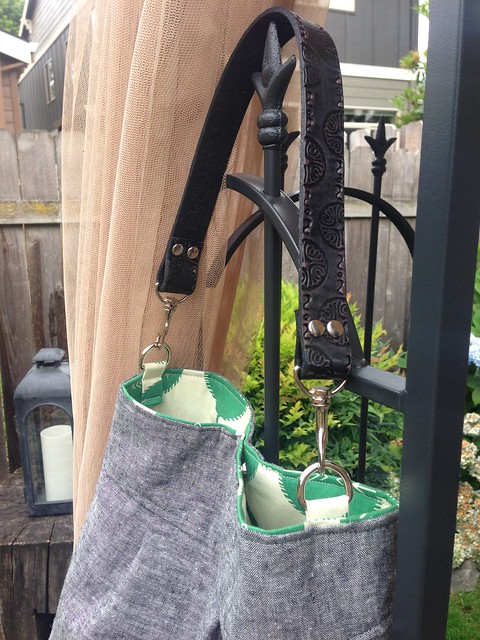
After this was the agonizing decision making part.  This part can take a really long time and is usually only aided by my intense desire to finish the project.  In this case, only at the very last minute, and against all my natural color loving tendencies, I chose black.  Here it is all finished and put together!