Showing posts with label diy. Show all posts

Sunday, March 22, 2015

Nursery Reveal!

A Room for Tatum Noah Taylor


After a brief tussle over the idea of a dual purpose nursery/craft room, we set about re-arranging the house to accommodate my hobby AND our growing family.

We decided early on the bright green walls. Before we  knew if we were having a boy or a girl. From there I added colors, lots of bright colors: deep blue, orange-red, sunny yellow. Grey accents would calm things down.

Originally, the theme was hot air balloons and elephants. Mostly, because I had seen these amazing hot air balloons in Dundee, OR when we were out there on one of our wine tasting adventures with my dad. They were my reward for participating in the annual Thanksgiving pilgrimage despite not being able to partake in the festivities.


After this great start, I did a little more shopping and decided that my theme was too disjointed and narrow. I decided the remedy was to broaden the theme around the balloons to be an overall travel theme. This would also allow us to incorporate Buddy's love of airplanes. I don't know why I was surprised when he told me that he had a set of painted, steel airplanes in the attic from when he was a kid. I loved them and I loved the idea of incorporating them into the nursery. The new theme was winner!

Worried that the planes would get lost on the bright green walls, we mounted them on burlap and framed them in bright white.


With the planes and the hot air balloons in place, it was time for the fun stuff!

The Handmade Bits


When visiting the amazing Holly of Marshmueller at a craft show at Laurelhaurst school, I found this great print with the raccoon by Marika Paz. Since it wasn't a big print, I knew I wanted to do a mini collage. We added the wooden "T" but more was needed to complete the look.


I found the quote in a stamp pack that I had and knew I wanted to use that. I went looking for things to complement it. I ended up with this cute little windblown bunny from one of Cricut cartridges and am very pleased with how it came out.


The last piece to come about was the "EXPLORE" sign. Ingredients were: online inspiration, a Martha Stewart tutorial, scrap wood, Mod Podge, Cricut cut letters and a perfect map print paper.


The changing pad cover was made using this tutorial. Something went awry with my math/cutting and there is less fabric around the bottom than ideal but it is certainly functional. I adore this print and the fact that it isn't overly matchy with the rest of the nursery fabrics.


The overall look = LOVE


I was inspired by this pin to do the airplane, banner and clouds over the crib. I was very thankful for the applique foot my mom bought me last year for Christmas for my Bernina. It made creating the banner a breeze and gave it a very polished look.


The clouds are felt stuffed with polyfil and hand sewn with red embroidery floss.


I wasn't originally going to make a crib skirt, but after looking at buying one and discovering what a plain grey one was going to cost, I figured taking the time to do it was worth it. It also meant that I could customize it with Tatum's nursery fabrics.

Bizzy Kid Quilt

Last but not least, of course there had to be a quilt! Not out of the norm for me, I had purchased a large stack of fabrics prior to settling on a pattern. I was on the hunt for something simple and not too fussy, but also a little more than just squares and rectangles. The Bizzy Kid pattern from Cluck Cluck Sew, hit the nail on the head. It required a few additional store trips to secure all the necessary fabric but overall the quilt went together easily and most importantly, turned out exactly like I wanted.


The back on this one tripped me up a bit. I changed my mind a few times and ended up needing to stretch my yardage. Incorporating the squares to create the cross pattern allowed me to add some super fun prints and stretch my yardage. Win!


I know it on the big side for a baby, but I am looking forward to snuggling under it and reading Tate a story very soon!


Now all we need is a baby! With my due date looming, I know we won't be waiting too much longer :) :) :)


Wednesday, September 4, 2013

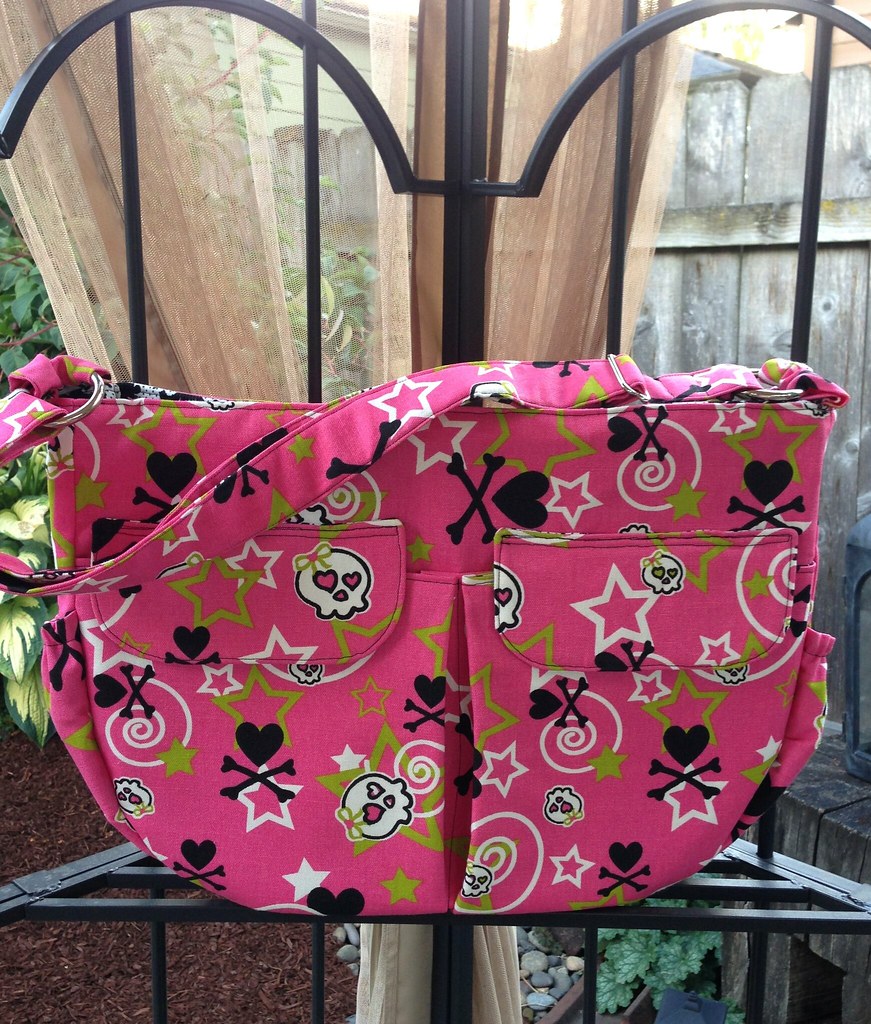
Skulls and Hearts in Hot Pink: A Finish

Custom Order


Remember how I told you that I brought my Lisa Lam Diaper Bag to work to feedback on pockets and such?  If not, you can read about that here. Well one of my co-workers loved it so much she ordered one! She plans to use it to carry all the crap that her husband and kids hand her while out on vacation.  What a perfect idea!

I ran off to Fabric Depot and clicked off some pics of fabrics I thought she would like but I had a feeling this would be the winner:

So Fun!  The skulls have hearts for eyes!

Lo and behold, I was right!

I gathered additional supplies, including the elusive hardware.  I decided to go with a 1.5" strap as the pattern calls for and save myself the heartache of finding a 2" slider and O-rings.

Also, Michelle had the fabulous idea of using lime green zippers.  I said I would look even though I was pretty sure that was too tall an order, but Fabric Depot didn't let me down:


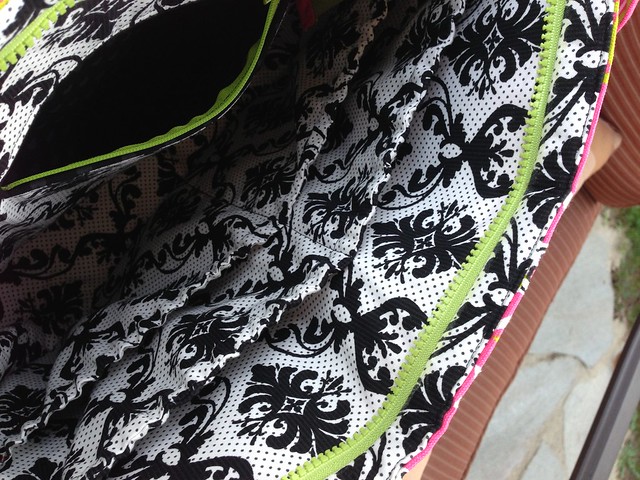
I was very pleased with the black and white fabric I chose for interior.  Plus for the inside zip pocket I found a gray on black heart fabric that I thought was perfect with all the hearts on the exterior.  I was getting very excited to see it all come together!

Other than not really remembering just how many steps go into making this bag, it went together pretty easily.  I had to remind myself to slow down and follow the directions a couple of times.  I manged not to do too much ripping and re-sewing.  I would have been done faster, but there was a very distracting Castle marathon on TNT for Labor Day :-P

Finished

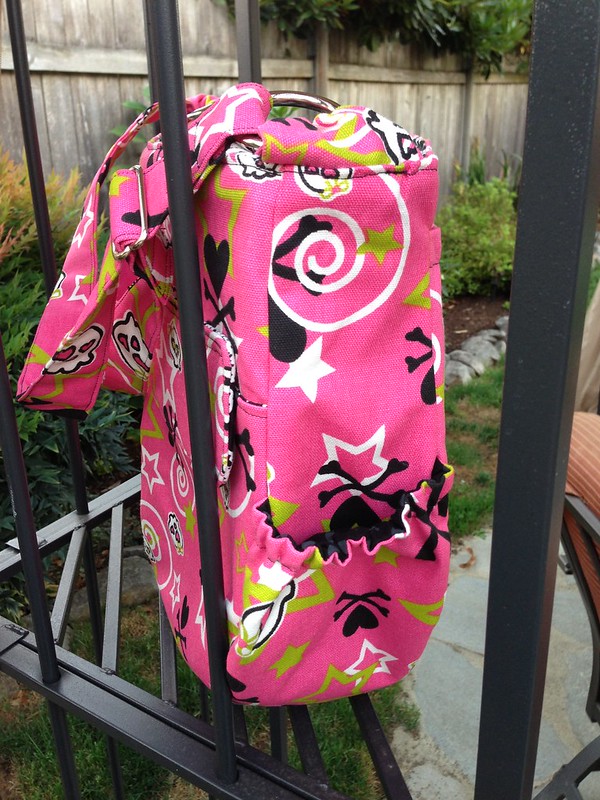
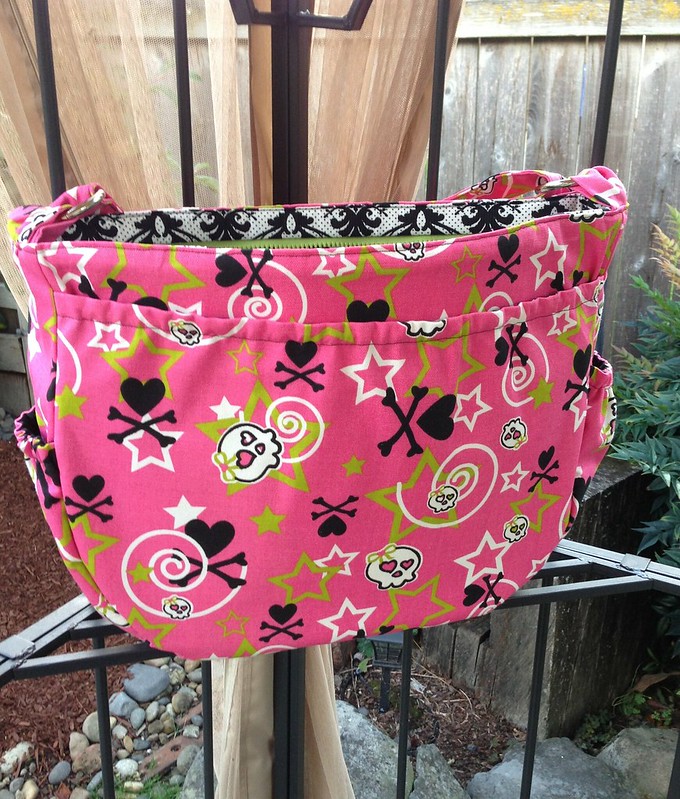
It came out even cuter than I could have guessed!


Friday, August 16, 2013

The Lisa Lam Diaper Bag

Sometimes the Fabric Comes First


Okay, for me, the fabric comes first a lot.  I am a lot like those designers on Project Runway that go to Mood without knowing what they are going to make.  I see fabric and sometimes it tells me what it wants to be.  Other times, it is like a little whisper in my ear, "You want me, you know you do, you should take me home."  Even more often than that, it's like a three year old throwing a temper tantrum, "But you have to take me home with you!!!!  You like me so much!!!! How could you even think of leaving here without me!!!!"  And so I buy some.  I think this goes a long way in explaining my extensive fabric collection.

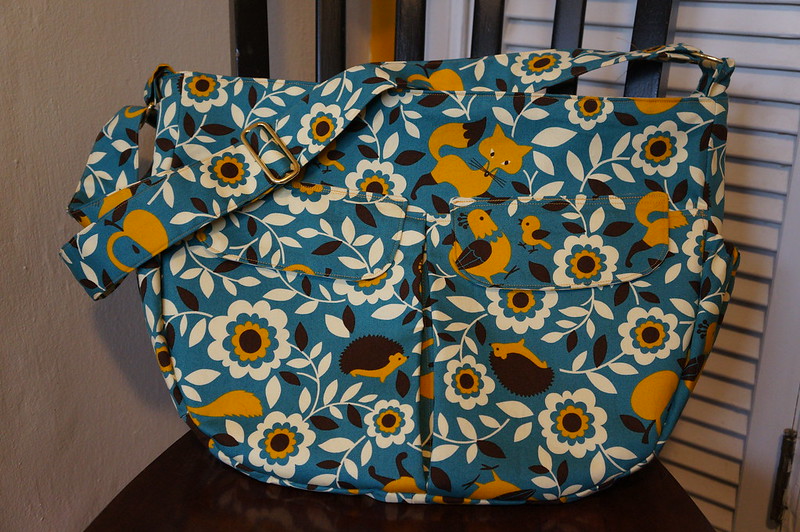
A while ago, I was at Bolt, a local fabric store that has very cute quilting fabrics and crazy gorgeous clothing fabrics.  And I happened upon this beauty:


It screamed awesome bag.  I knew I had to have some, but without a super specific project in mind, the question is, how much to get?  I knew that there were several cute bag patterns in the One Yard Wonders book but figured I would want something bigger than that, so I settled on a yard and a half.

After walking by the fabric several times at home, I realized that what made the most sense given it's cutesy, fun, bright nature, was to make a diaper bag.  Plus, I knew a friend who was in the market for one :)  I went to my favorite bag book, A Bag for All Reasons and there it was, the darn cutest diaper bag ever!  The best part, I totally had enough fabric!


The Making


I went to Fabric Depot to get all the interfacing and lining and got cutting.  It was so much cutting.  I took me over four hours to get all the pieces cut, so many pockets!  Then began the epic search for hardware.  Wow, this was SO HARD.  I went to ever store I could think of, including the leather supply store, including JoAnn's (and I don't go there for much).  I finally found some good stuff back at Bolt, thank goodness.  The sewing went pretty smoothly and I was very happy with my choice to go with a little lighter weight interfacing on the exterior and compensate with a little heavier interfacing on the interior.  Again, this was a lesson learned from making Amy Butler Weekender bags (you can find photos of those on Flickr, I promise, one day, I will take better photos!!!).

I also took the bag to work  to confirm that I had added enough pockets in the right places (the directions were a little confusing).  There are a lot of moms at work and since I am not one, I had no idea what you put in a diaper bag.  They were uber helpful, thanks ladies!

Getting ready to sew the interior and the exterior together!
Also, a good view of all the interior pockets.


The Bag


It turned out terribly cute!!!!!  I actually went back to Bolt and bought several more yards of the outside fabric so I could make a couple more :)

The pattern is just fantastic with this fabric.  Squeal!


One of my favorite things is that the bag is big, but not TOO big.