Showing posts with label scrap quilt. Show all posts

Thursday, August 28, 2014

Low Volume Loveliness Complete!

Let's start back where we left off shall we?  I talked about my low volume quilt here and here.  The verdict...

I love it!


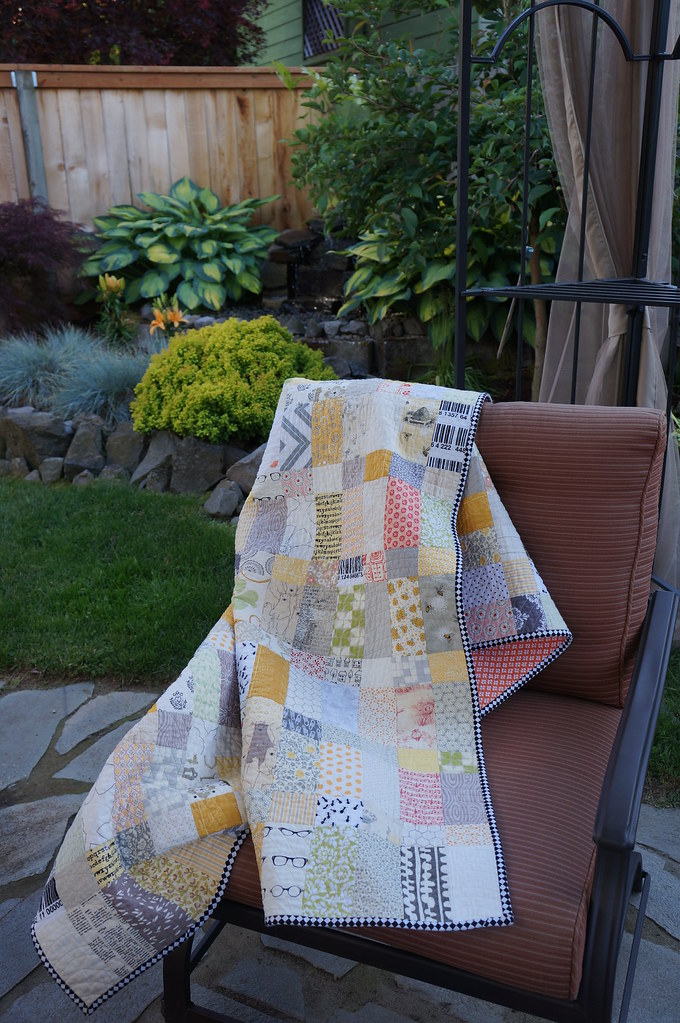
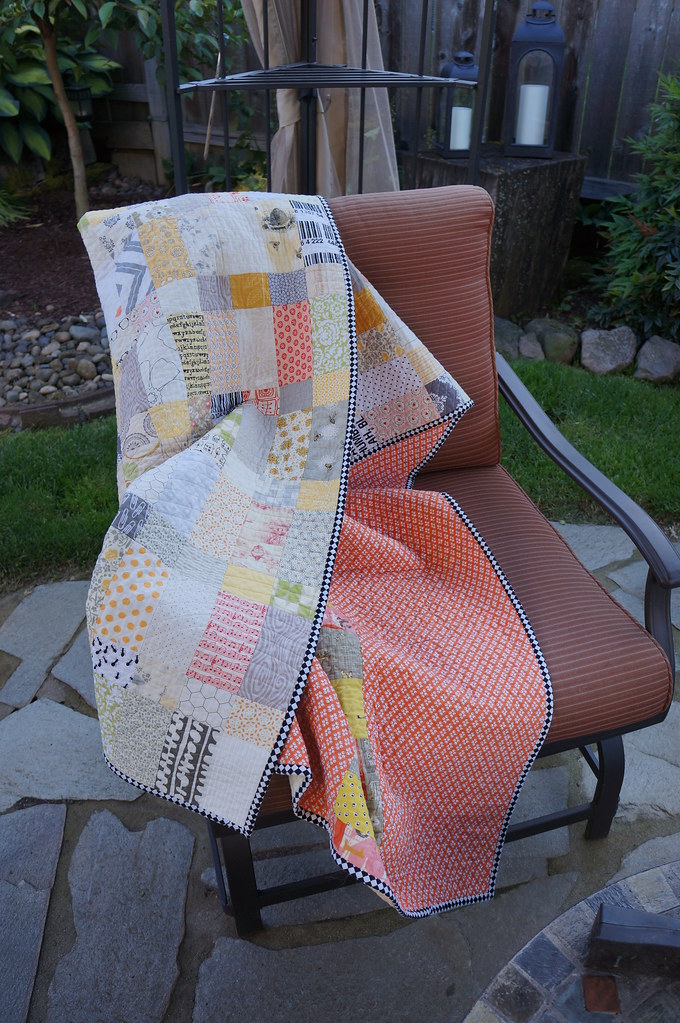
I love this quilt.  It came out perfect.  I may have almost cried a few times during the process when I was pretty sure that I ruined it, but in the end, I am over the moon happy with it!


Quilting


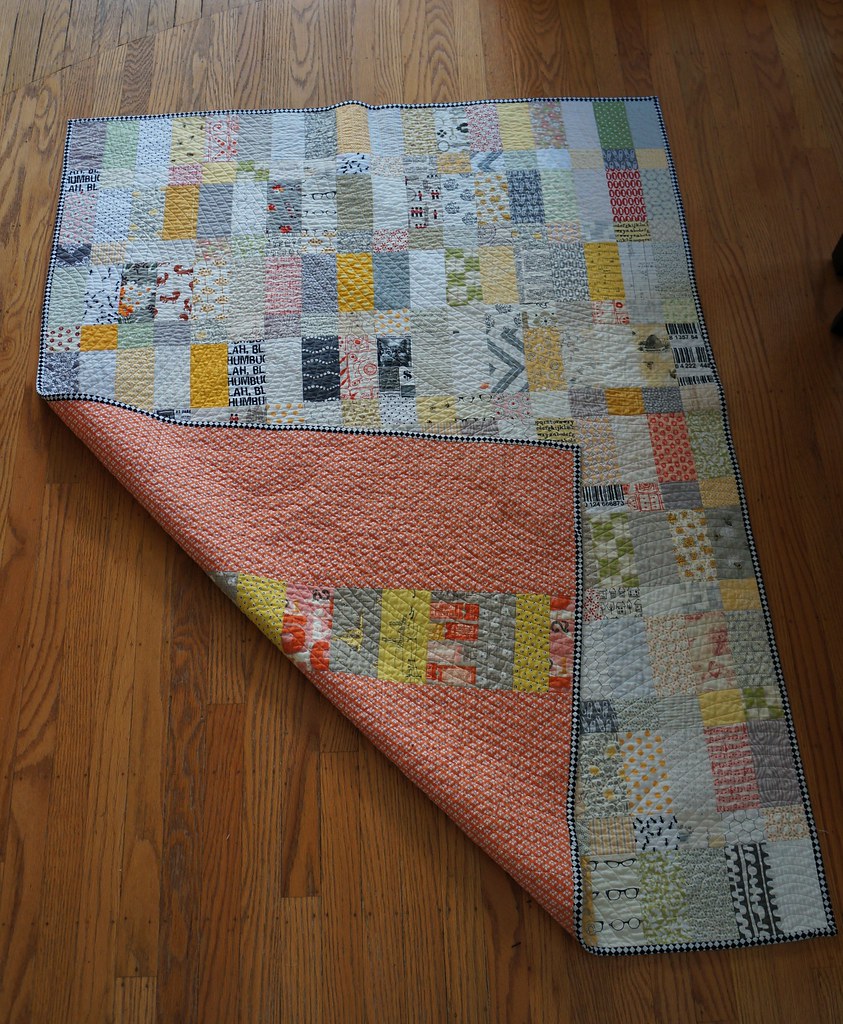
This was decidedly harder.  I really like straight line quilting and the texture it adds to a quilt but I didn't want straight straight lines, you know what I mean?  I don't remember if I saw something that inspired me (probably) but I ended up playing with the idea of curved straight lines and a ripple effect.  I just kept drawing different things until I hit on a combination that I liked.  Check.


Now how to execute that?

I numbered the ripples in the order that I drew them and then started with the first one.  I used to plate to get a nice curve and then quilted that line first, then the ones inside of that.  Next, I quilted bigger and bigger circles until I was where I wanted that ripple to end.  Now comes the part where I ran into trouble.  My second biggest ripple was at the other end of the quilt and even though I spray basted, I didn't feel like I got a great "lock" on all the layers. So when I started quilting the second ripple, I just knew that I was going to end up with a bunching and puckering in the middle. NOOOO!!!  Not on this quilt! This quilt that I already loved, that I hard worked so hard on, that I had used precious scrap fabrics for!!!!  At this point, I am trying not to cry.  The husband looks confused, but knows enough to just tells me it will all be okay.

Okay, regroup.  Deep breath.  How was I going to fix this?

I marked where I wanted my curves to end for big ripple at the other end.  Then I went back to the side of the quilt I started with and began to fill things in based on my pattern.  I did  A LOT of smoothing and tugging, but in the end, there was only one teensy little pucker.  A huge sigh of relief.


Binding


So for once, I knew exactly what I wanted to bind my quilt with, black and white stripes.  I have seen both Rachel and Rita do this with low volume quilts and love the look.  Trouble was, I couldn't find any!  I even made a comment on one of Rachel's blog posts, to which she kindly responded, unfortunately to say, she had no idea where she had gotten it!  Hmmm.

I headed out to trusty and giant Fabric Depot to find something.  I came home with a mostly black print with white script text.  I was feeling good.  It got the binding cut and sewed on.  I was feeling less good.  It was SO black.  But since this is how my creative process tends to go:


I forged on with the hand stitching.  I think I was about halfway through when I just couldn't take it anymore.  I didn't like it, AT. ALL.  Let the ripping commence.  And the hunt for something new.  I was down in Eugene visiting my dad so I went to a local store there.  It's a tiny little place but has a decent selection of quilting cottons.  I found this checkered pattern and decided that it had the element I was really looking for: equal parts of black and white.

Round 2 of binding went smoothly and Voila!


Love!

It makes me happy every time I see it at my desk and even happier when I pull it onto my lap, over my shoulders or drag it into a meeting room! Oh like right now :)


Thursday, December 12, 2013

Low Volume Quilt Top

Making Progress


It's all together and I am over the moon about this one.  This is the perfect for me quilt.  Plus, it looks great on our furniture, which is an extra bonus.  I love looking at all the different fabrics, there are so many favorites in there!


I was surprised how hard it was to get all the columns to line up and I struggled with it for a while until I remembered that I wasn't going to sell it and I just didn't care that much. After that, things went pretty quickly.


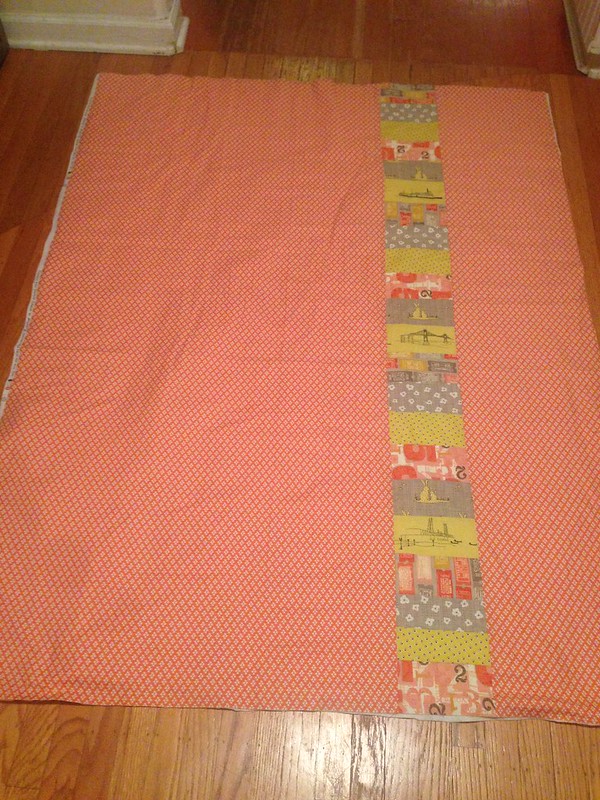
The husband helped picked out the backing (he's the best).  The main part is  from Denyse Schmidt's Florence with a long pieced strip running down it in a variety of fun fabrics (Bluebird Park, Waterfront Park, 2wenty thr3e).


Now that the craft show craziness is over, I can finish this one (and take MUCH better photos)!

Tuesday, November 12, 2013

Big, Bright Granny Sqaures

Ahh!

There has been so much going on that I haven't been able to keep up.  The good news is that I have been sewing and getting things done!  I have lots that I want to share and I will start with this post, which sadly I began more weeks ago than I like to admit, so without further ado, here is a start to all things I have to tell you!

Non-existent Tote Bags

As I mentioned before, Jolene's blog was the first that I stumbled upon when I found her Granny Square tutorial.  I loved the design and periodically checked back to see what she was up to.  I am often inspired by her work and I have linked to a couple of different photos of hers in my Hopscotch and Onto the Next posts.  I didn't officially start following her blog, or any blogs for that matter, until after I started this one and discovered Bloglovin' (which I really do love, BTW).

I had purchased some small cuts of really brightly colored fabrics thinking I was going to put them into tote bags like these with different patchwork designs.


But, as so many things go with me, I was bored of making tote bags pretty quickly and they never came to fruition.  So I had these great fabrics and this awesome pattern, why not put them together?

I don't have any fancy quilt design software so I either draw on graph type paper and color with pencils or, if the design will allow, as this one did, use Excel.  Nerdy, I know.

Here is what my “sketch” looked like:


I couldn't put the blocks on point like I planned, but all
the color combos are there, which is what I was going for.


Working Away from Home


Before the Nicholls State game my dad asked if we would stay in Eugene on Sunday to help him put in a window.  By this he meant, would the husband help him put in a window, leaving me to entertain myself save the intermittent calls to "come hold this." So I made darn sure that I wouldn't be bored.

My dad was quite confused as I re-arranged a portion of his living room, but I came up with a pretty good set-up.  My ironing board was a TV tray with a towel on top so I was glad that I was working on small blocks. 


Yes, there is a dog hiding under the table.


Whilst my father commenced cutting a hole in his house, in his pajamas, I might add, I started sewing.  


I got a good system going and before I knew it, viola! All my blocks were done and looking quite bright and fun, just like I wanted!


Finishing Up


I added the sashing and finished the top in the next few days.  It turned out so stinking cute! 


I was surprised how close I got to my original design.


A close up of one of favorite blocks.


I have some fabulous Cuddle fabric for the back so I nervously tossed in the washer/dryer to pre-shrink.  Hooray!  It came out perfect so I gave it a good ironing.

Love the color of the Cuddle fabric for the back!


 This is going to be my foray into spray basting since I haven’t had any luck pin basting Cuddle.  It’s a love/hate thing me and Cuddle have going on.  In addition to that I have to decide on a quilt design . . . wish me luck!