Friday, September 13, 2013

Onto the Next

Quilt for Me, Take Three


After lots of internet and fabric store searching here are the three finalists to go in place of the defunct Jitterbug quilt (you can read all about that here and here).  And maybe, just maybe, I have already acquired the fabric and patterns to make ALL of them . . .

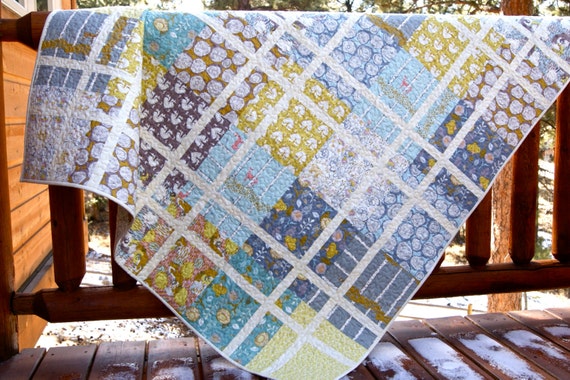
Pastels in "Window Pane"

This pattern:
I love, love. love this quilt! By Janet.  You can visit her shop here.
I don't actually have a pattern for this but I have seen this design and variations on this design several places.  The above photo just happens to be my favorite example.  The only drawback is that I don't really like square quilts and in order for the design not to be weird, it needs to be square.

This fabric:

I am super taken with this weird pastel + black palette right now.


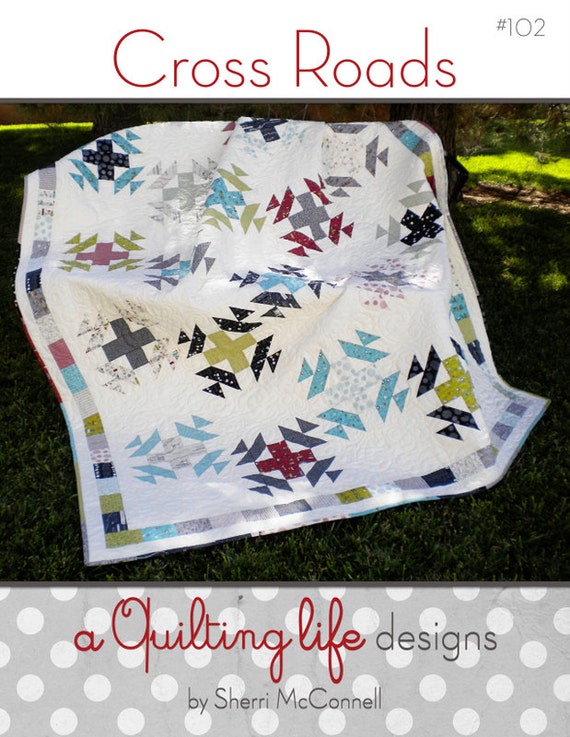
Cross Roads in Tsuru

This pattern:
By Sherri McConnell. You can visit her blog here.

I have been wanting to make a plus quilt and I want to conquer half square triangles, so this is a pretty good option.  When I saw this pattern at Fabric Depot, I put it in my cart right away :)

This fabric:


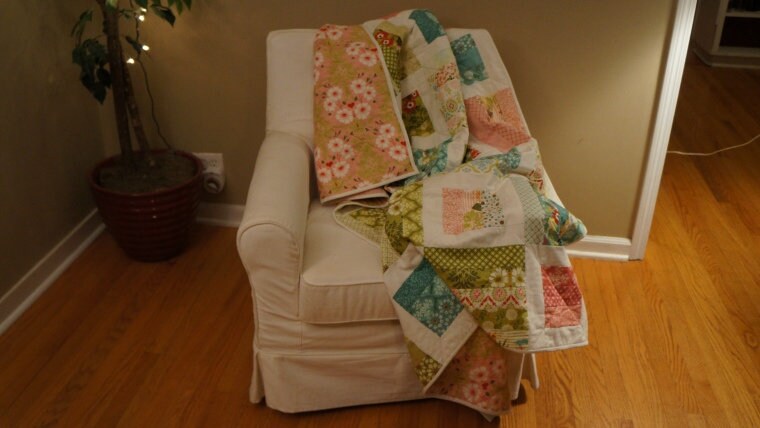
Sunrise in Berry with a Hint of Citron

This pattern:
From the book Modern Basics II by Amy Ellis
I really like this quilt (again, very much like a plus quilt) and have been collecting fabrics in the below colorway for a while, but I am just not sure it's my winner.

This fabric:


I want to use a variety of low volume fabrics in the background.
I am hoping for a similar effect has this quilt.

I keep hymning and hawing over what will be the most fun to make AND I will be most excited about actually finishing (meaning sometimes tedious things are worth the effort).  Open to thoughts, suggestions and voting . . . 

Thursday, September 12, 2013

Quilt of Honor Top

My New Team

Is super awesome!  I love being part of the local Portland Etsy team, and being able to get together in person and talk shop.  However, despite my efforts, I have not been able to find another quilter on the team. (If you are out there, make yourself known!!!)  Quite frankly, that is what all my questions are about, quilting and selling quilts.  Enter the Quiltsy Team :)

Okay, so I found these ladies intimidating when I looked at the requirements to be on the team but I really wanted to ask quilting questions, so I wrote up some shop policies and forged ahead.  I was gleeful when I got the message that I had been accepted onto the team!!!

And of course, there wasn't anything to be scared of.  Everyone was so friendly and welcoming.  Also, SO. MUCH. TALENT.  To learn more about the team, you can visit our blog, here.

A Call to Action

A discussion thread was posted to the group on August 11th asking for help making five quilts to be presented on September 11th to a group of veterans that were being honored at an event in New York state.  A month was a short timeline to be sure.  BUT I really wanted to help and a fellow team member had offered to quilt and bind a completed quilt top, so I said I would make the top for her.  Eek, this is exciting! Quick like a bunny, not time to waste on this one!

Quick Quilt Top (that I can still be proud of)


I really liked the idea of sewing something from my stash and was surprised how much red, white and blue fabric I have (mostly thanks to my mom and all her good garage sale finds) but the idea of trying to do something scrappy and improvy seemed like too much for the short time frame.  I decided that I would see what I could find on Pinterest.  You can see all of the ideas I gathered here.

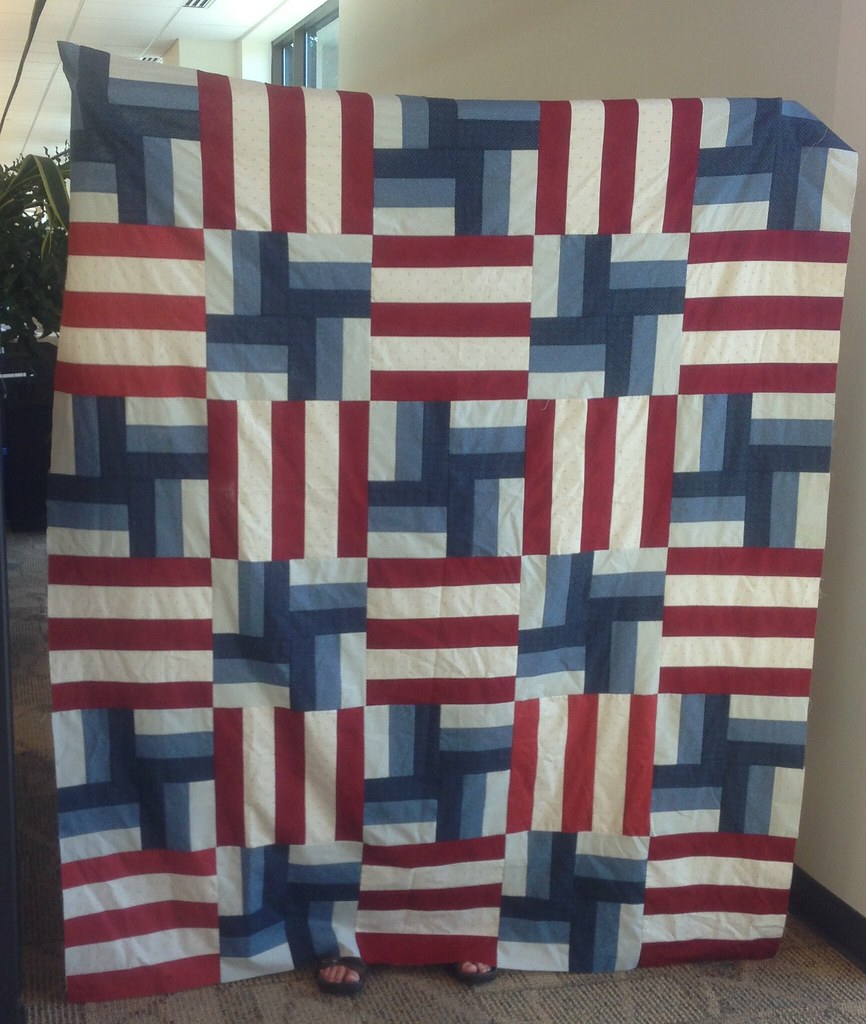
In the end I decided on a variation of the quilt below.


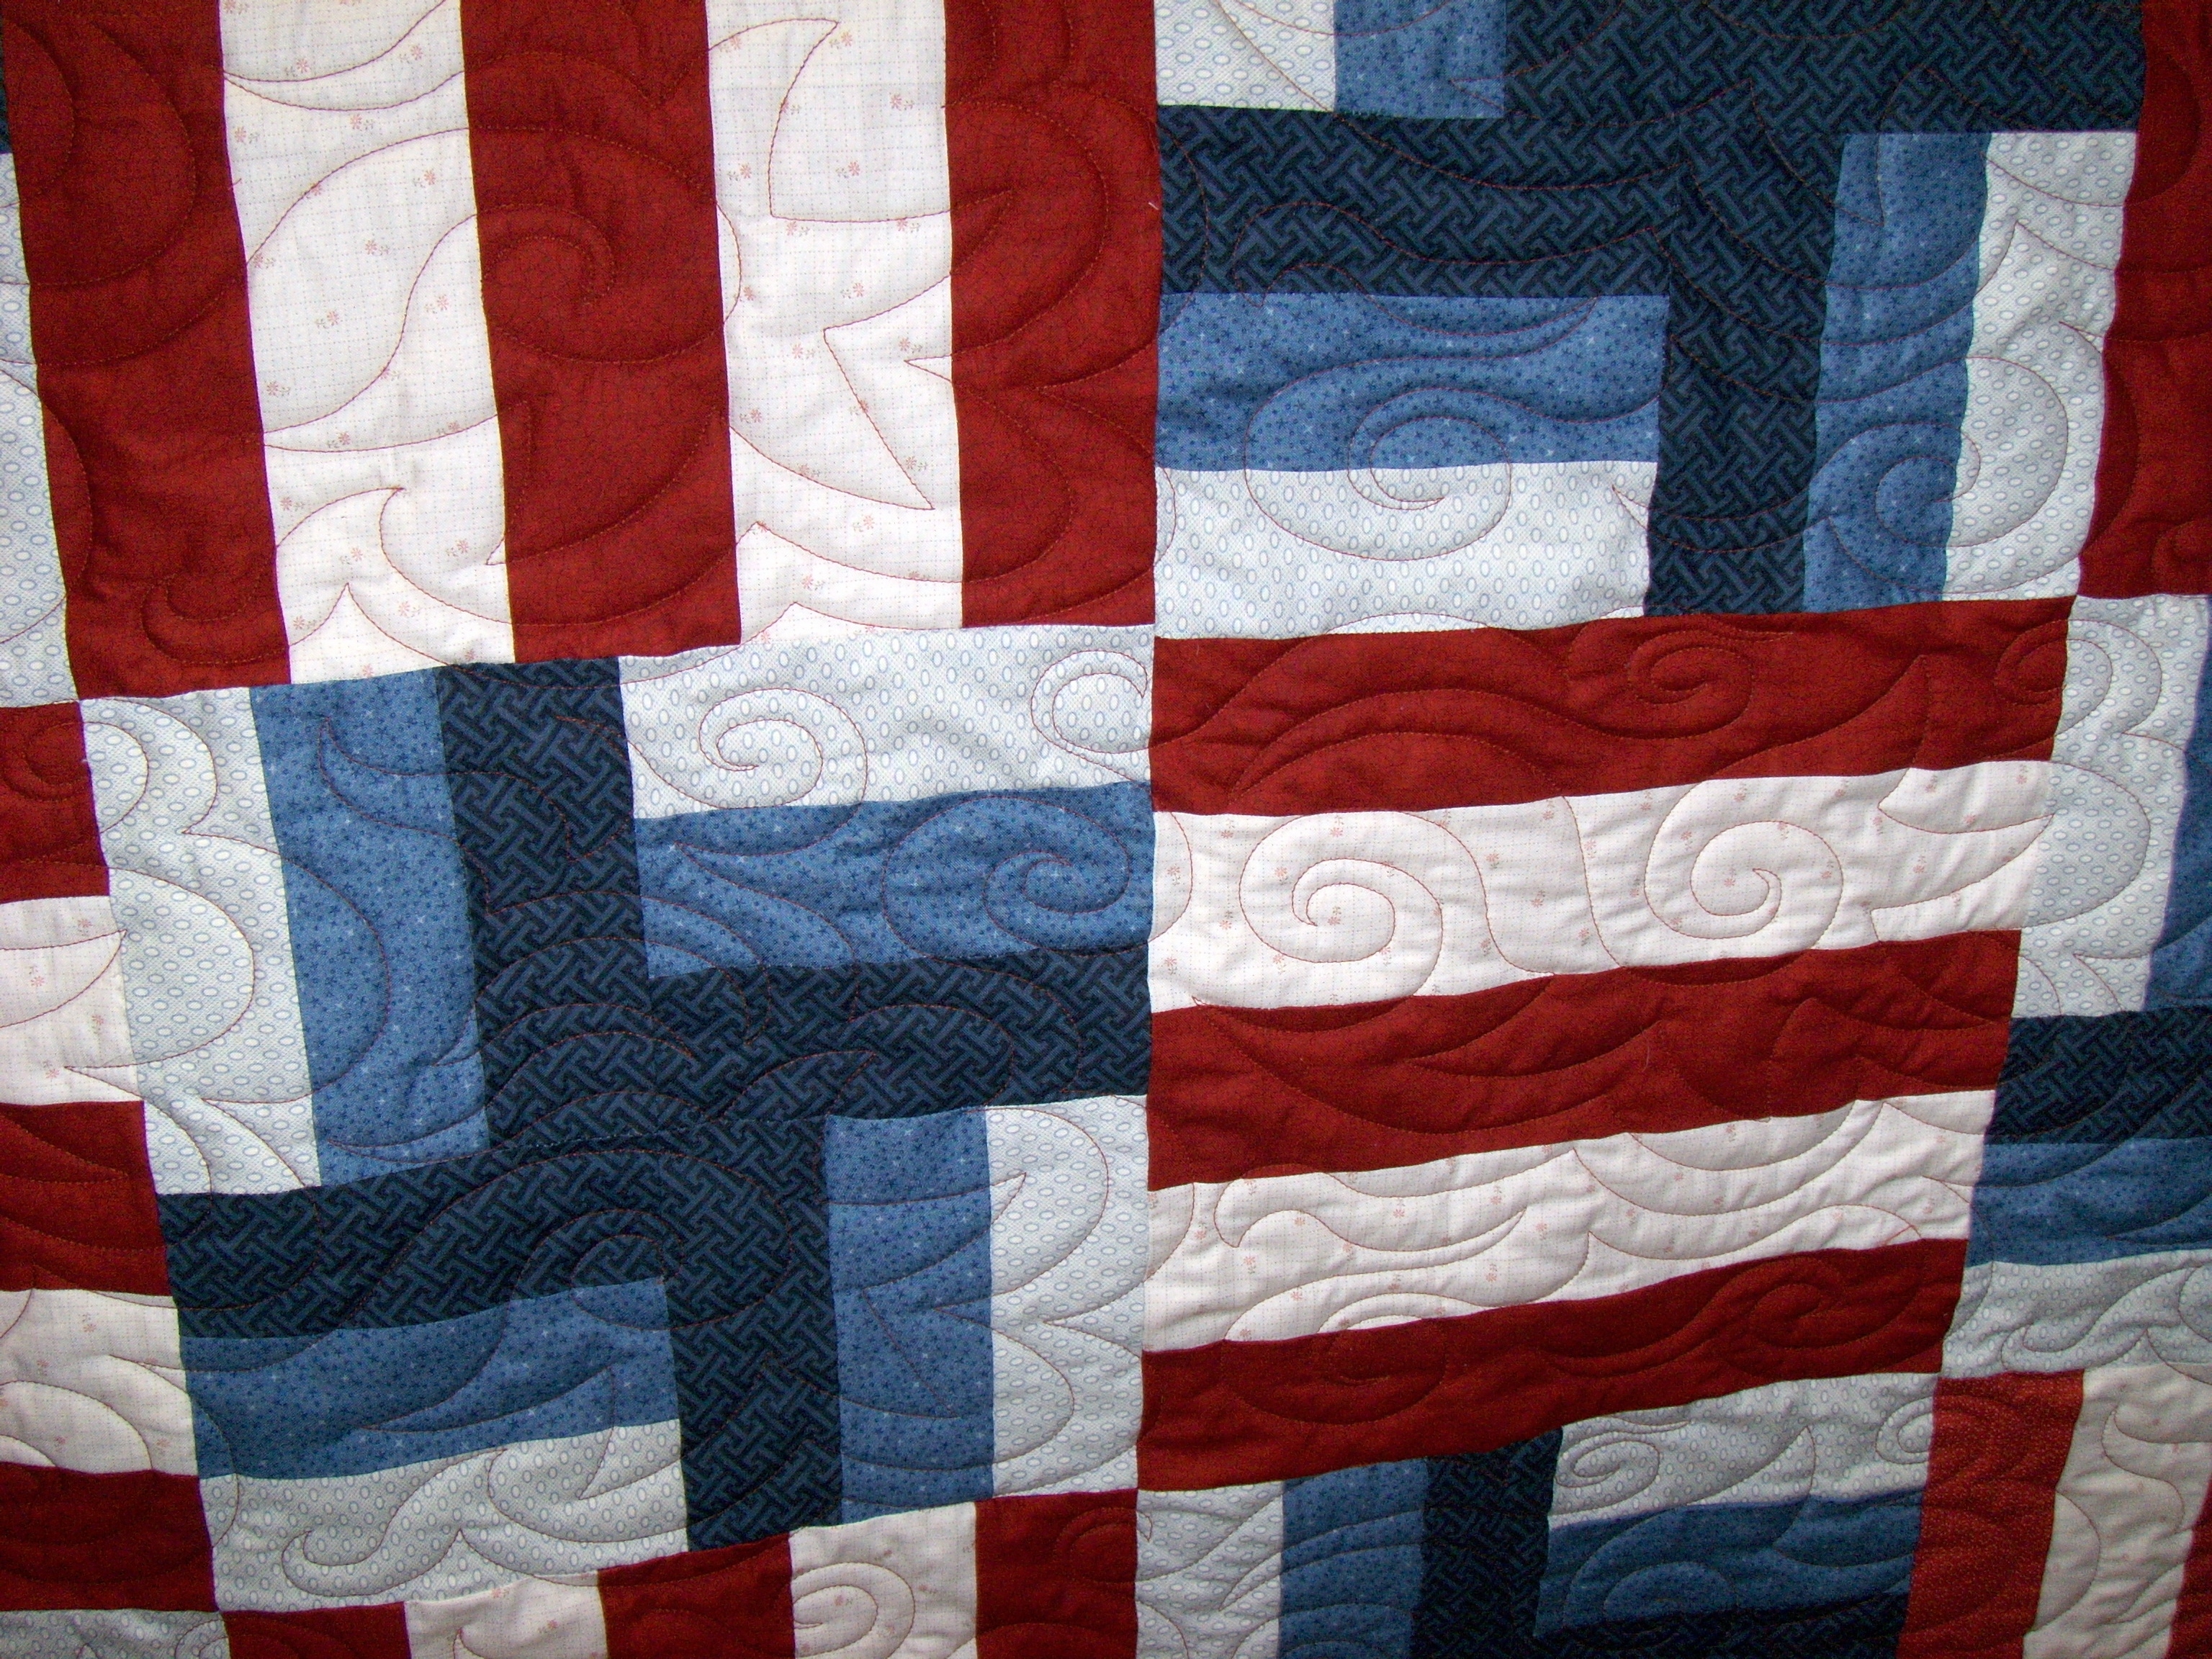
If you look closely you will notice that the strips aren't actually full rectangles.  They are a little wonky, but in a very specific way.  The pattern called for a template ruler which meant individual pieces, which was a no-go in this situation.  Luckily, I have done a few other variations on rail fence.

A purple skull quilt for my mother in law:


A pink quilt for my Nana's pink house:


and I knew I could achieve a very similar effect with regular old strips AND at blazing speed.  Off to Fabric Depot!

Let the cutting commence!


This quilt top went together beautifully!  And quickly, just three evenings!  After all the trouble I had with my Jitterbug quilt, it was so nice to have all my blocks line up and seams match!  See, I told myself, you do know how to do this. I have also learned the importance of squaring blocks after sewing them together.  Ah, the fun of being self taught :)  Thanks to all my unknowing internet guides and teachers I am slowly filling in the gaps in my quilting know how.

And here it is!

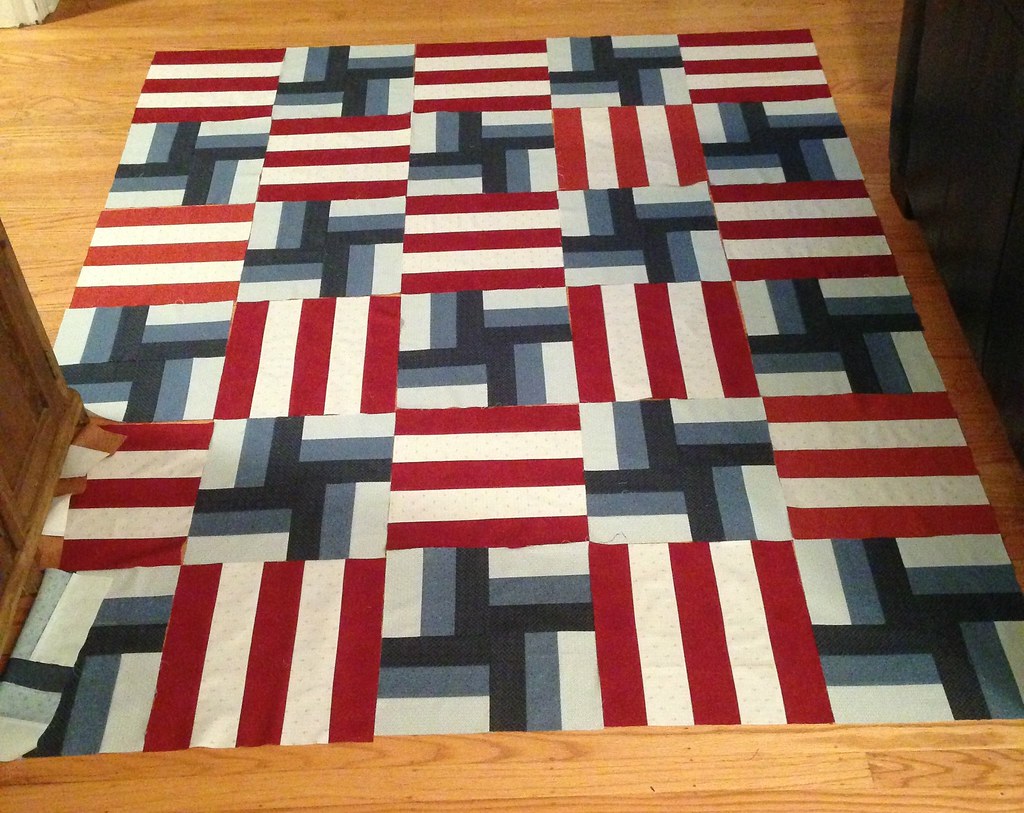
The blocks all laid out before being sewn together.

A quick snapshot before being mailed off!


I sent it off to Vivian in South Carolina to finish!

She turned it around in just a few days, amazing.  Her quick snapshot before it was in the mail once again :)


At Last!


This project was super duper top secret so I couldn't share before the event.  Finally the day was here! I was so excited to see the below photos from last night!

A shot of the quilt tag, with my name on it!


The quilt and recipient :) So awesome!!!

Wednesday, September 4, 2013

Skulls and Hearts in Hot Pink: A Finish

Custom Order


Remember how I told you that I brought my Lisa Lam Diaper Bag to work to feedback on pockets and such?  If not, you can read about that here. Well one of my co-workers loved it so much she ordered one! She plans to use it to carry all the crap that her husband and kids hand her while out on vacation.  What a perfect idea!

I ran off to Fabric Depot and clicked off some pics of fabrics I thought she would like but I had a feeling this would be the winner:

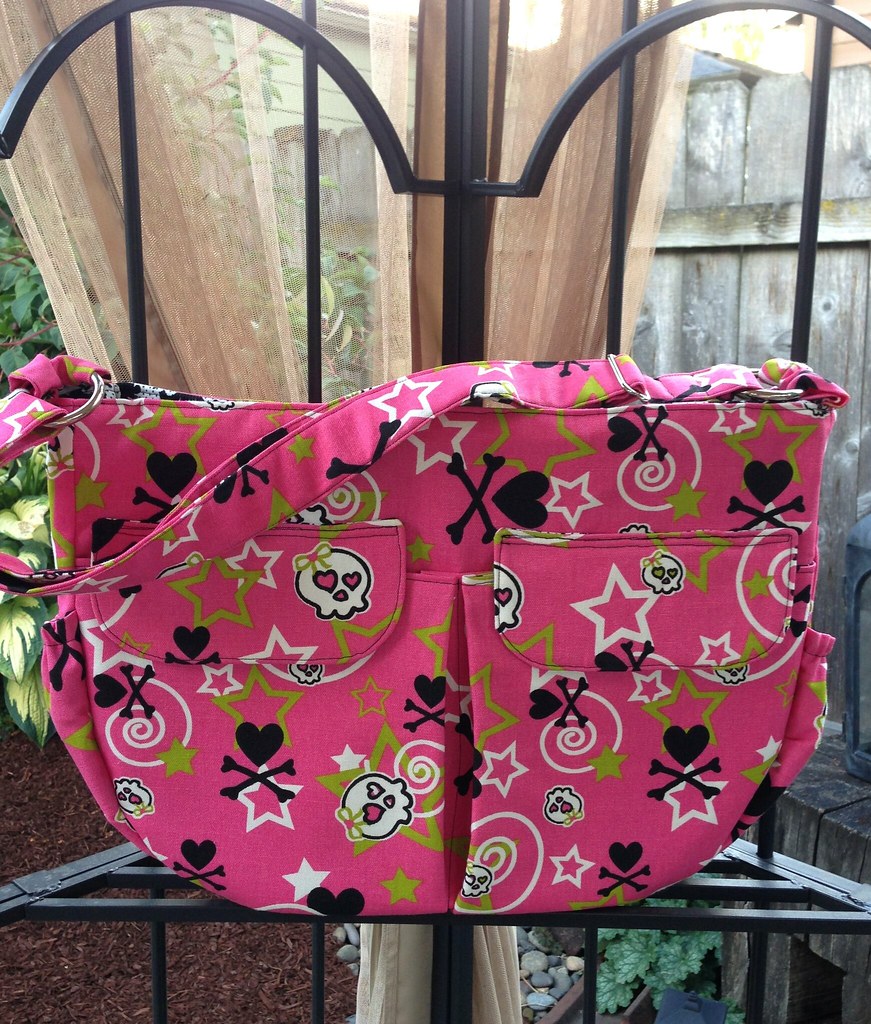
So Fun!  The skulls have hearts for eyes!

Lo and behold, I was right!

I gathered additional supplies, including the elusive hardware.  I decided to go with a 1.5" strap as the pattern calls for and save myself the heartache of finding a 2" slider and O-rings.

Also, Michelle had the fabulous idea of using lime green zippers.  I said I would look even though I was pretty sure that was too tall an order, but Fabric Depot didn't let me down:


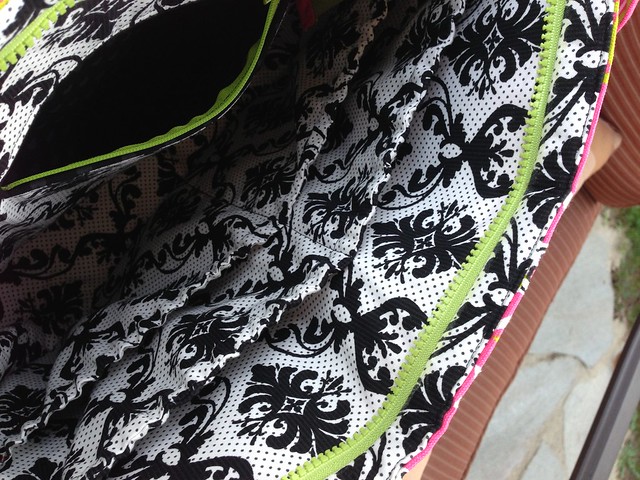
I was very pleased with the black and white fabric I chose for interior.  Plus for the inside zip pocket I found a gray on black heart fabric that I thought was perfect with all the hearts on the exterior.  I was getting very excited to see it all come together!

Other than not really remembering just how many steps go into making this bag, it went together pretty easily.  I had to remind myself to slow down and follow the directions a couple of times.  I manged not to do too much ripping and re-sewing.  I would have been done faster, but there was a very distracting Castle marathon on TNT for Labor Day :-P

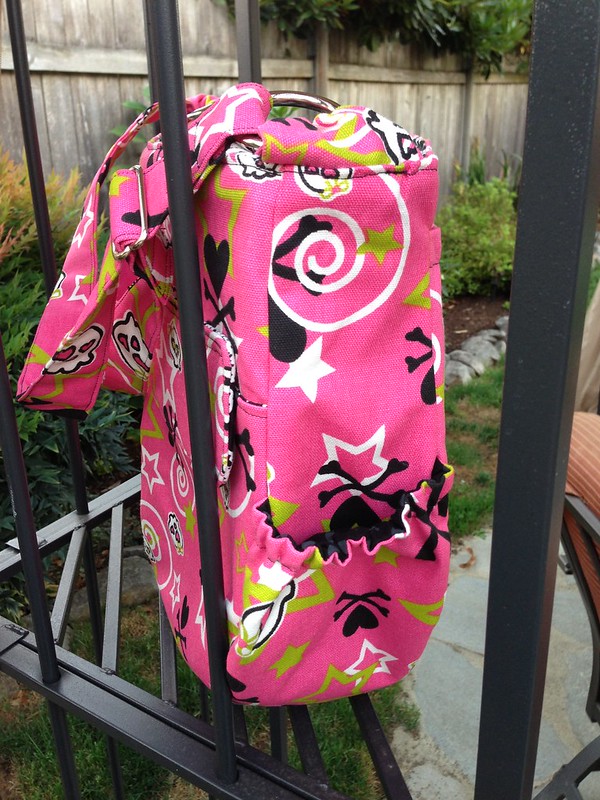
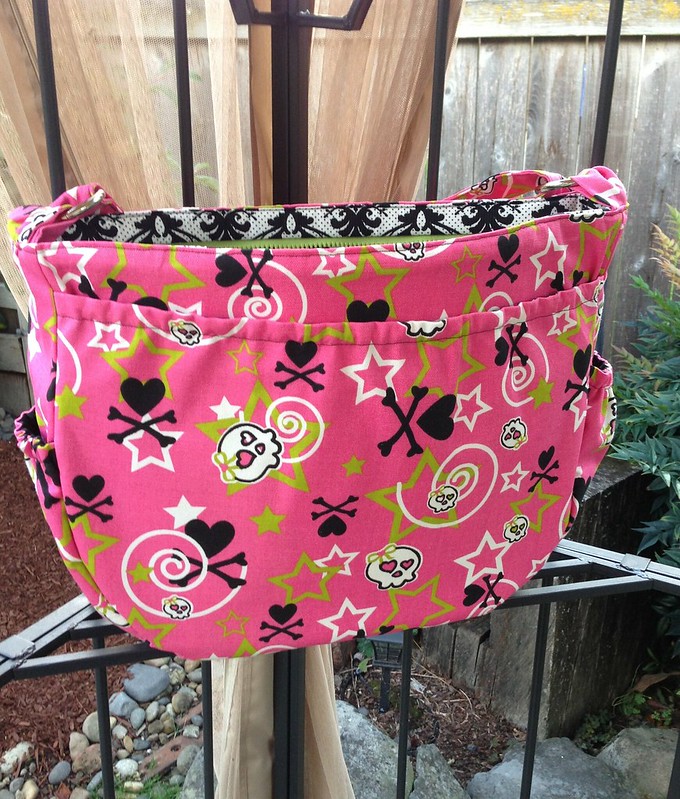
Finished

It came out even cuter than I could have guessed!


Wednesday, August 21, 2013

Jitterbug Isn't Going to Make It

Resigned


Sadly, I have experienced my first complete, utter and total quilt failure.  Truthfully, it wasn't really my fault. Although I should have seen it coming.  Remember how I said that the Shelburne Falls strips were smaller than the Moda strips in my first Jitterbug post?  Here is what I meant:


Well, that meant NOTHING lined up.  My squares weren't actually square, my flying geese were too big for the too small squares, etc. etc.  Trying to sew the blocks together was torturous.  I guess I got lucky on the first few, because after that, this is what I ended up with:

Those flying geese are ALL OVER the place.

Most of these are okay, but the bottom, yikes!

Same story here.  And look at those HST in top left hand corner, oh no no no.


I made six blocks in all and decided to throw in the towel.  I wasn't having any fun and to try and get things to play nice, I was sewing some of the slimmest seams known to man, which in turn meant that they were popping open.


The Upside


By giving up early, I still have a lot of uncut strips that I can use for other things that require small pieces.  I am a big fan of zakka style so that means I have several books full of lots of fun options. For example, a variation on this sewing machine cover:


Or these cute coasters:


Maybe a little cosmetics bag:


As for the blocks I already made?  Pillows maybe? Or I could trim the other pieces I already have made up and create some kind of sampler quilt.  At any rate, they are destined to hang out in the UFO (unfinished object) pile for the foreseeable future.

The Most Important Question


 Now what quilt should I make to take to work? And what fabric should I make it with?!?


Friday, August 16, 2013

The Lisa Lam Diaper Bag

Sometimes the Fabric Comes First


Okay, for me, the fabric comes first a lot.  I am a lot like those designers on Project Runway that go to Mood without knowing what they are going to make.  I see fabric and sometimes it tells me what it wants to be.  Other times, it is like a little whisper in my ear, "You want me, you know you do, you should take me home."  Even more often than that, it's like a three year old throwing a temper tantrum, "But you have to take me home with you!!!!  You like me so much!!!! How could you even think of leaving here without me!!!!"  And so I buy some.  I think this goes a long way in explaining my extensive fabric collection.

A while ago, I was at Bolt, a local fabric store that has very cute quilting fabrics and crazy gorgeous clothing fabrics.  And I happened upon this beauty:


It screamed awesome bag.  I knew I had to have some, but without a super specific project in mind, the question is, how much to get?  I knew that there were several cute bag patterns in the One Yard Wonders book but figured I would want something bigger than that, so I settled on a yard and a half.

After walking by the fabric several times at home, I realized that what made the most sense given it's cutesy, fun, bright nature, was to make a diaper bag.  Plus, I knew a friend who was in the market for one :)  I went to my favorite bag book, A Bag for All Reasons and there it was, the darn cutest diaper bag ever!  The best part, I totally had enough fabric!


The Making


I went to Fabric Depot to get all the interfacing and lining and got cutting.  It was so much cutting.  I took me over four hours to get all the pieces cut, so many pockets!  Then began the epic search for hardware.  Wow, this was SO HARD.  I went to ever store I could think of, including the leather supply store, including JoAnn's (and I don't go there for much).  I finally found some good stuff back at Bolt, thank goodness.  The sewing went pretty smoothly and I was very happy with my choice to go with a little lighter weight interfacing on the exterior and compensate with a little heavier interfacing on the interior.  Again, this was a lesson learned from making Amy Butler Weekender bags (you can find photos of those on Flickr, I promise, one day, I will take better photos!!!).

I also took the bag to work  to confirm that I had added enough pockets in the right places (the directions were a little confusing).  There are a lot of moms at work and since I am not one, I had no idea what you put in a diaper bag.  They were uber helpful, thanks ladies!

Getting ready to sew the interior and the exterior together!
Also, a good view of all the interior pockets.


The Bag


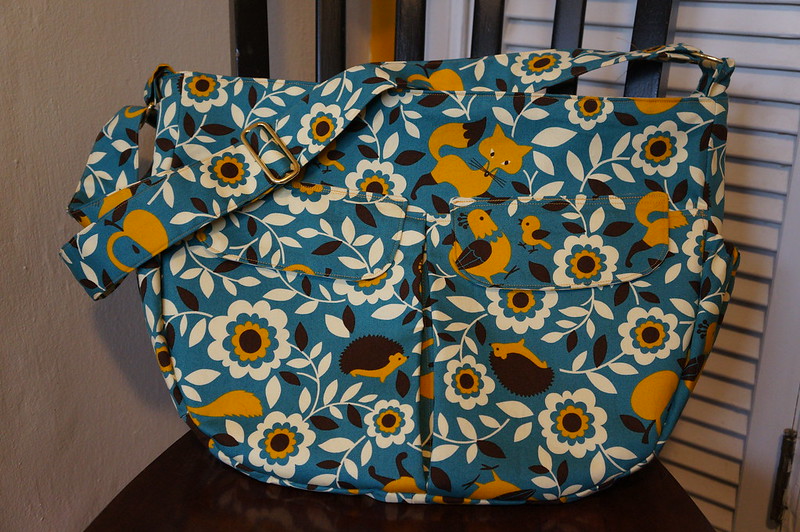
It turned out terribly cute!!!!!  I actually went back to Bolt and bought several more yards of the outside fabric so I could make a couple more :)

The pattern is just fantastic with this fabric.  Squeal!


One of my favorite things is that the bag is big, but not TOO big.


Tuesday, August 6, 2013

Jitterbug in Shelburne Falls: A Work in Progress

Shelburne Falls Jelly Roll

A while back I ordered a Jelly Roll  of Denyse Schmidt's Shelburne Falls fabric. It was quietly hiding in my stash until I decided that I wanted to make myself a quilt to take to work.  Originally, I thought it would be cute to make a quilt in the company colors since it was going to hang on the back of my chair and although the colors are fun (navy, aqua and orange), when I was wondering around Fabric Depot, they didn't excite me. So I figured I should turn to my rather extensive stash and make something that was on my very long "Quilts I Want to Make" list. 

Jitterbug

As I mentioned in my post "All Quilts Have a Story", I love the cover quilt from this book:


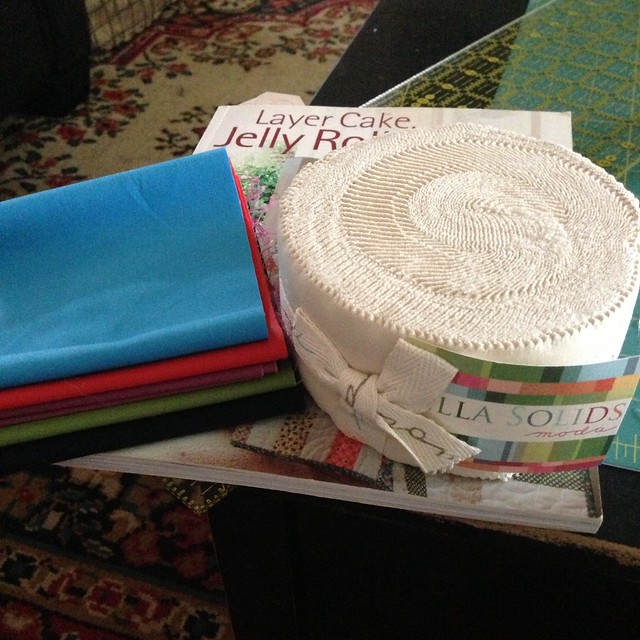
And I thought that given the vintage feel Denyse Schmidt's fabrics tend to evoke, my Shelburne Falls jelly roll would be a perfect fit!  The only trouble was the jelly roll only had 30 strips in it and the pattern called for 40.  After some hymning and hawing, I decided to pick up five coordinating solids and cut two strips out of each color.  I also decided that I was going to be lazy and purchased a jelly roll of cream colored strips so that I didn't have to cut my own :)


I was pleased with how bright most of the solids were.  There are a lot of darker prints in the line so I like getting that extra pop of color.  Also, I was hoping they would help accentuate some of the colors that are used sparingly throughout.

Getting Organized

It took me awhile to sort the strips into the different groups: squares, flying geese, half square triangles (HST), sashing and border.  I wanted to make sure to get a good variety of light and dark in the different groups.  I used little pieces of paper to identify what piles of strips where going to turn into what.

Cut, cut, cut, sew, sew, sew

There are A LOT of pieces in this quilt.  I was encouraged by my relative success with my Hopscotch blocks so I wasn't too scared to take this on.  The only real trouble I had was with the HST.  The Shelburne Falls strips seemed be 2" to 2.25" instead of a full 2.5".  They were always smaller than the Moda strips.  But I plugged along, cut out and sewed all my HST,  and the squares.  I only managed to get four flying geese sewn and was unable to resist the urge to put a full block together.

Here it is!


Isn't it fun?  This is the kind of gratification that can keep me sewing through the night, but I needed to go to a dog party with the Husband, Elma and her husband, Steve.  The dogs had a blast and Maddie even got to rip open a pinata full of dog cookies!


Once we got  home though, I was back to it!  I finished all my flying geese and chose square blocks to pair them up with.  The only thing left was to sew the HST together and WHAT. A. PAIN.  I keep sewing them the wrong direction, not in the pattern I want, ironing my seams the wrong direction, anything but what I want them to do.  Finally, I got four groups of four together (though not in the layout I intended) and was able to sew together my second block.

It looks so different from the first one!  I can't wait to finish getting the top together and share it with you!


Monday, July 29, 2013

Playing with Leather

Leather

I love leather. I have lots of leather things.  Frye Boots are probably my most favorite leather thing.  In addition to that, I love leather purses and leather details on purses.  So of course it is something that I am interested in being able to do for myself.  I got very excited a while back about getting into leather working. Then, I realized that it was a wholly different world with a steep learning curve and I had no idea where to start.  I decided that it would be best to hold off on leather and focus instead on furthering my sewing and quilting skills.  Enter My Friend Elma. 

The Teacher Arrives

After a very long break, The Husband and I reconnected with some friends of ours.  During our lengthy catch-up discussion Elma shared that she had started leather working.  My ears perked up, picture this:


Graciously, Elma agreed to show me the ropes of working with leather.  This made me excited for two reasons: One, yay!, leather and Two, more time with Elma, double yay!

My First Project and Then Some

We ran off to the leather store and got lots of supplies and fun stuff to play with.  After Elma went home I was left to play with all my new toys, which involved the family joining in and hammering away at some leather scraps.


This is what that looked like:

Elma came over the following week and walked me through the process of stamping, dying, finishing and riveting the leather.  While we were doing all this, I had the awesome idea of creating custom zipper pulls for my make-up bags.  I immediately created a little sample with some scraps:

I think it's terribly cute and I can't wait to make some with a little bird stamp and my shop initials!


The other thing I worked on was a a key chain.  I finished that a few days ago, and here it is:
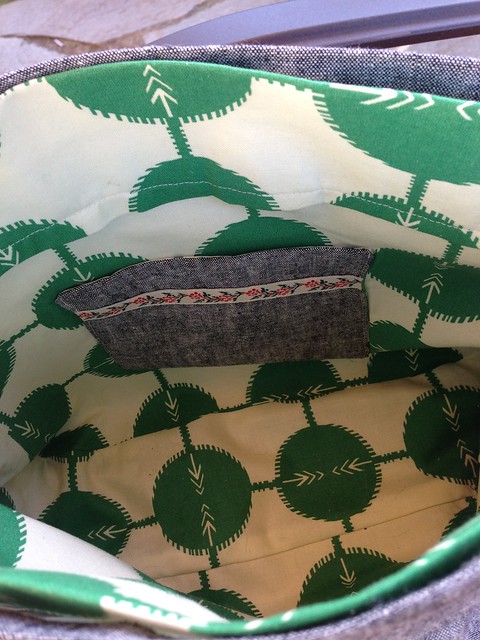
During all of this, I was plotting my next move.  Something that I have always wanted to be able to do with my bags is add leather handles.  I just needed a bag to add a handle to, so I made this cute little bag from the One Yard Wonders book.  The outside with Essex Linen in Black and the lining is from Anna Maria Horner's Field Study line.


Now it just needs a handle!  Here is my little mock-up of my handle design:
Then I added some dye options:
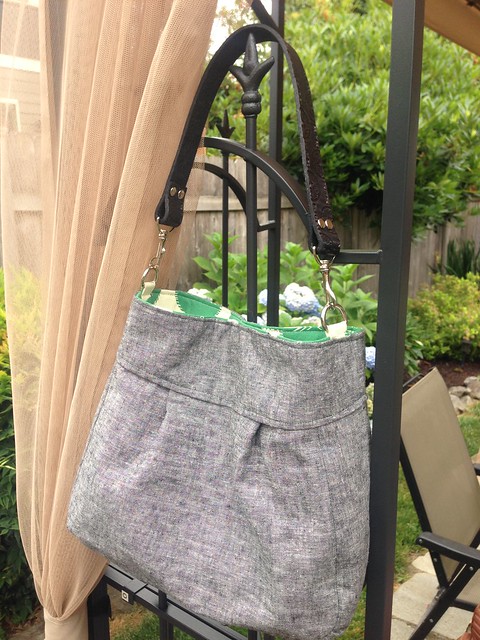
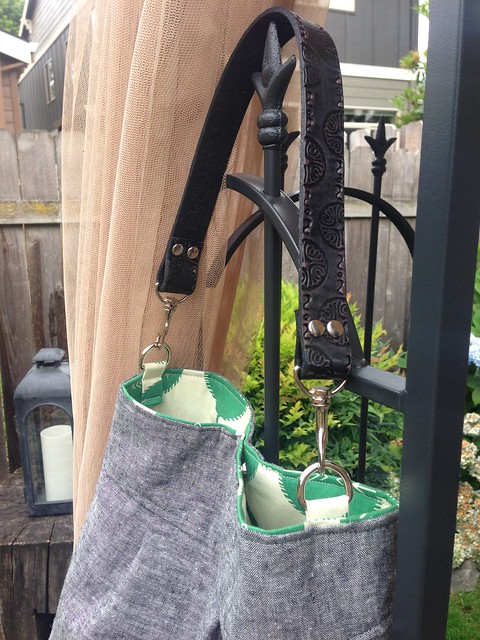
After this was the agonizing decision making part.  This part can take a really long time and is usually only aided by my intense desire to finish the project.  In this case, only at the very last minute, and against all my natural color loving tendencies, I chose black.  Here it is all finished and put together!