Following Along
When I first saw Rachel's Penny Patch quilt and that she was offering a quilt along, I was very excited. I loved the original quilt (pictured below) and the coincidentally the colors she chose for the QAL were the same ones I had in mind when I thought of making my own :)
I quickly purchased fabric, of course, the easy and fun part! This time I was even a good girl and used several prints from my stash. Then like so many other things, it sat and waited for me to have time and the desire to tackle the cutting. I have come to realize that cutting is one of my least favorite parts of the process. I do my best to power through all the cutting in one fell swoop knowing that if I don't, it could be a long while before I am willing to do it again.
Cutting
This meant that long after the QAL was over, I set out to cut out my fabric. This was MUCH trickier than I anticipated in terms of cutting the right number of fabrics in the right colors and right sizes. I kept my laptop handy and referred often to the instructions. The process was tedious and it took me an ENTIRE Saturday. I kid you not. I wanted so badly to start sewing things together, but it was just too darn late.
Penny Patches
Next it was time to sew together the penny patches. Since you actually sew strips and then cut them down, it meant that I had to put my penny patches together BEFORE I could lay the quilt out and see what I wanted to put together. Boo erns.
Another confession, I am very OCD about my quilt layouts. I put everything out on the dining room floor and crawl around on my hands and knees swapping little pieces here and there until everything is just so. I have tried being more loosey goosey about it, but it just makes me nuts and I end up ripping things out, and going through the tedious layout process anyway.
But in this case, there wasn't much of choice, I put together fabrics I liked and got sewing. With that done, I could finally lay out the quilt. Yay!
 |
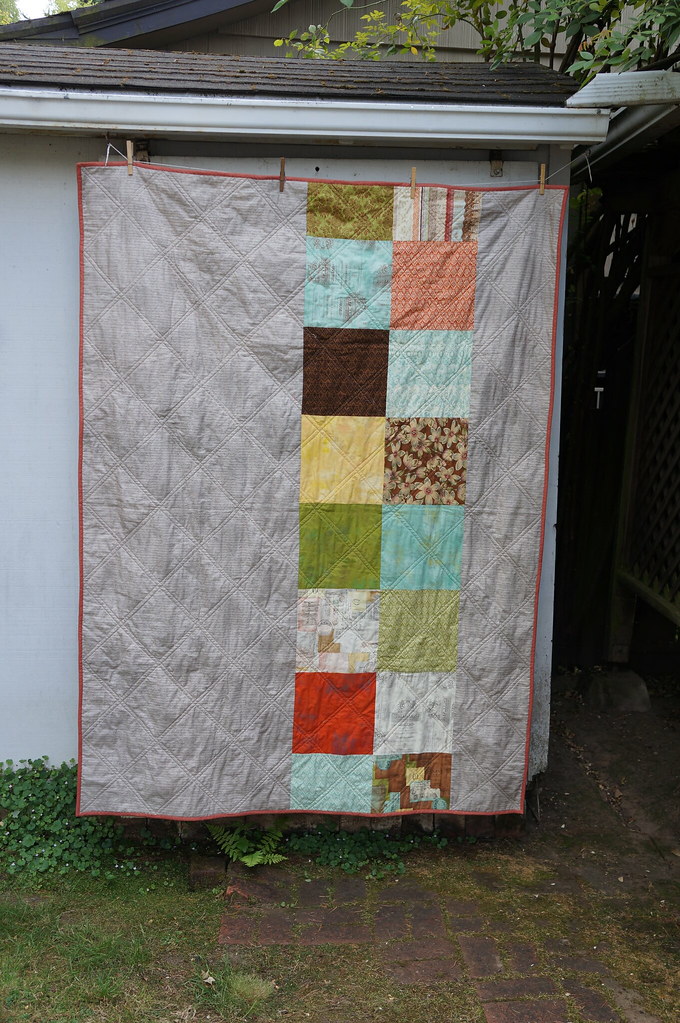
| Layout Attempt #1 |
Hmm. It looked like nothing but a hot mess to me. Does anyone else agree? The first time I laid everything out, I paid no attention to what direction the darker value fabrics were going on the larger four patch squares, only the penny patches. It just made everything "frustrating" looking. Despite the cohesive color scheme, nothing really looked like it belonged together and it felt like the quilt was fighting with itself. Defeated, I put everything back in a giant pile and went and had a glass of wine.
Layout #2
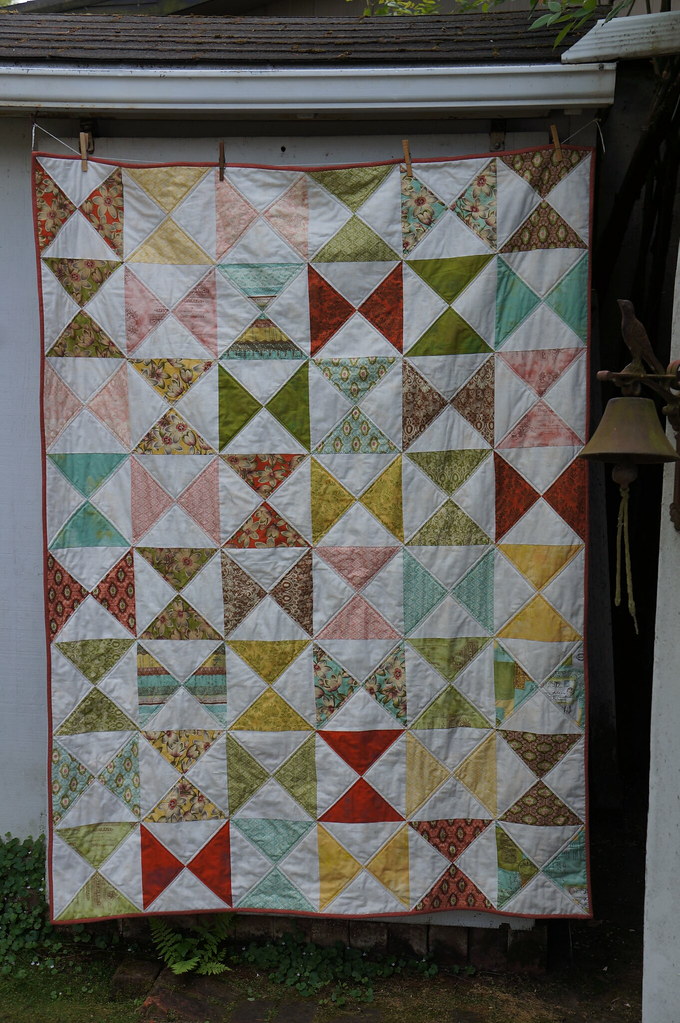
To minimize the messiness of the ba-jillion pieces, I made the un-me like decision to sew the larger four patches together before laying the quilt out again. I was nervous, but feeling cautiously optimistic. This time when I laid the pieces out, I made sure that the darkest values were all going the same direction. I also did a better job of dispersing my low volume prints throughout the quilt. This was also partly due to my pre-sewn pieces.

I'm not sure if you can tell the difference between the two, but I sure could. I was much happier with this second layout.
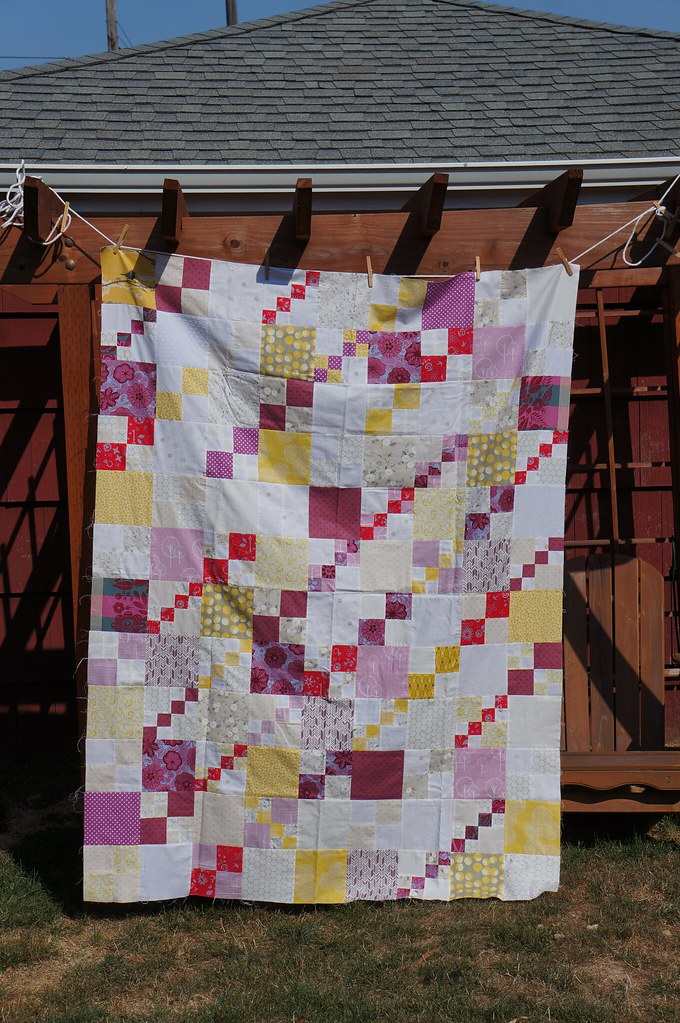
I sewed it all up! Since I was very wary of pieces getting out of place in my carefully constructed layout, I sewed the rows together straight across instead of putting the little penny patch squares together before constructing the rows. It made the process a bit slower, but I was more comfortable with it.
Voila! My penny patch quilt top!
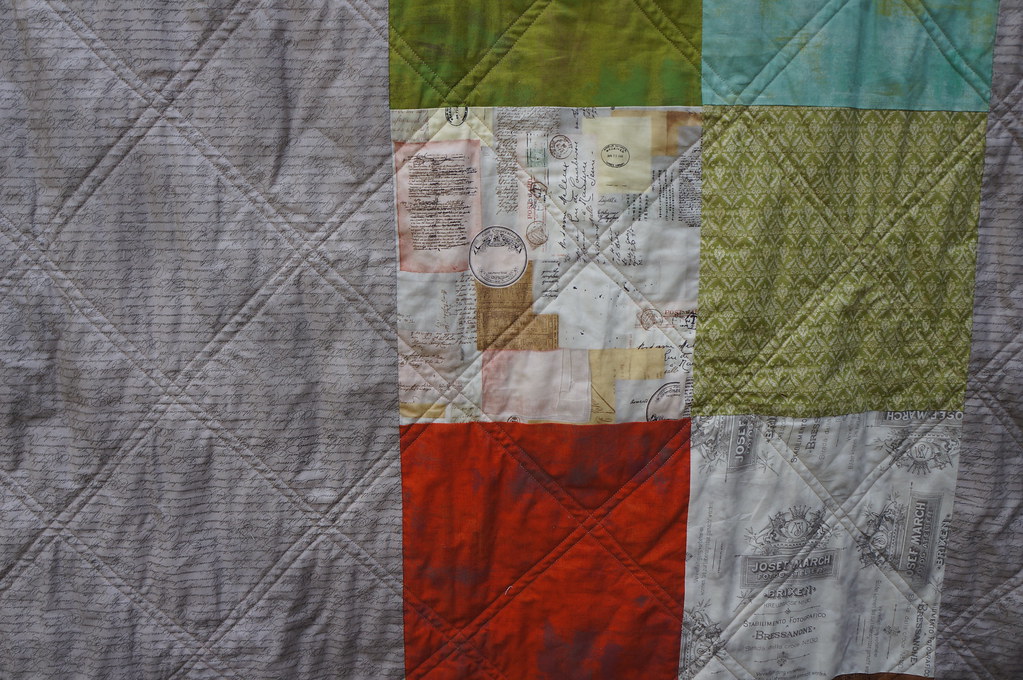
Yep, that's right folks, my plan is to free motion quilt this one. It will be my first. I am buoyed by the fact that the pattern is very deliberate. I don't have to try and fill in space creatively and hope it all works out. Rachel put a great tutorial together on the dogwood quilting pattern, to compliment the original one from Elizabeth.
Wish me luck.
And then . . .
I sewed it all up! Since I was very wary of pieces getting out of place in my carefully constructed layout, I sewed the rows together straight across instead of putting the little penny patch squares together before constructing the rows. It made the process a bit slower, but I was more comfortable with it.
 |
| I was so excited that I snapped a photo a few rows in! |
Voila! My penny patch quilt top!
FMQ, eek!
Yep, that's right folks, my plan is to free motion quilt this one. It will be my first. I am buoyed by the fact that the pattern is very deliberate. I don't have to try and fill in space creatively and hope it all works out. Rachel put a great tutorial together on the dogwood quilting pattern, to compliment the original one from Elizabeth.
Wish me luck.