Thursday, May 29, 2014

MIA - Mired Intensely in Agility

Oh, hi there!


I have been MIA for sure.  What have I been up to you ask?

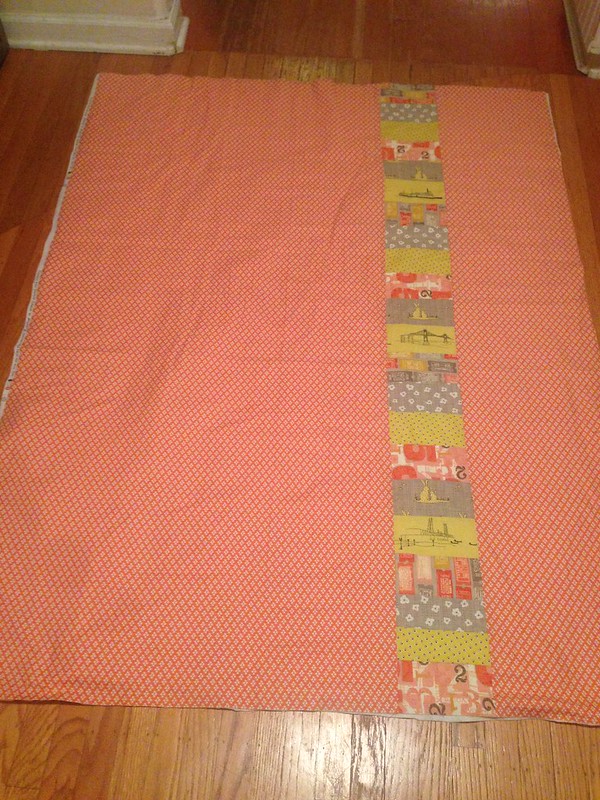
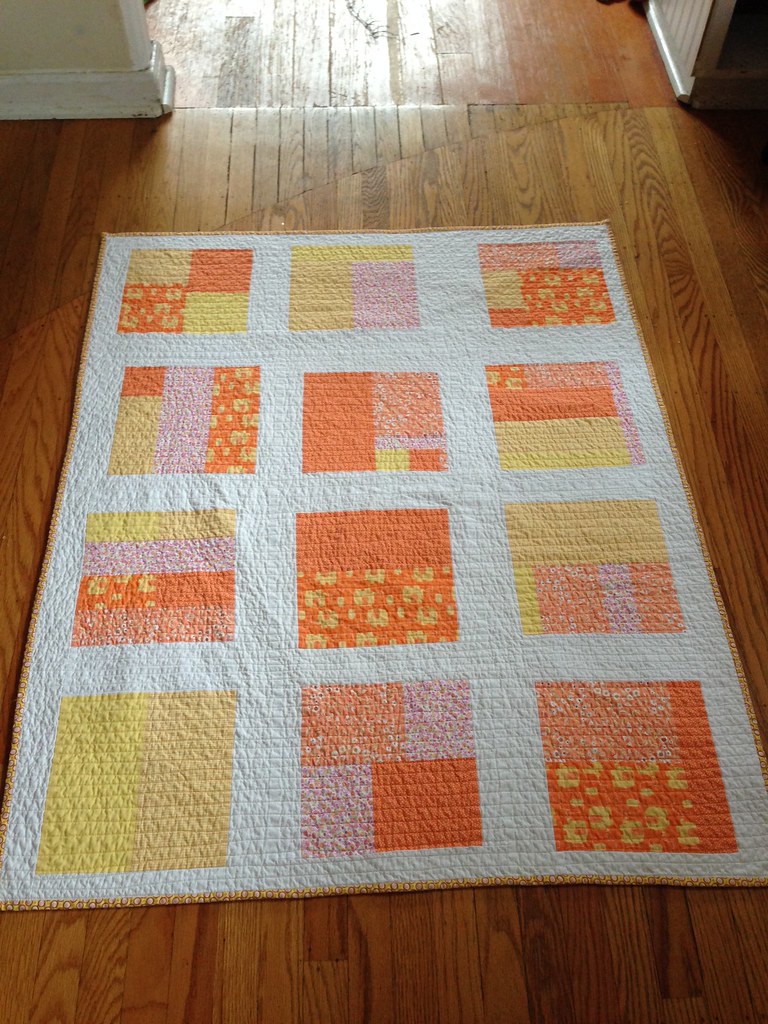
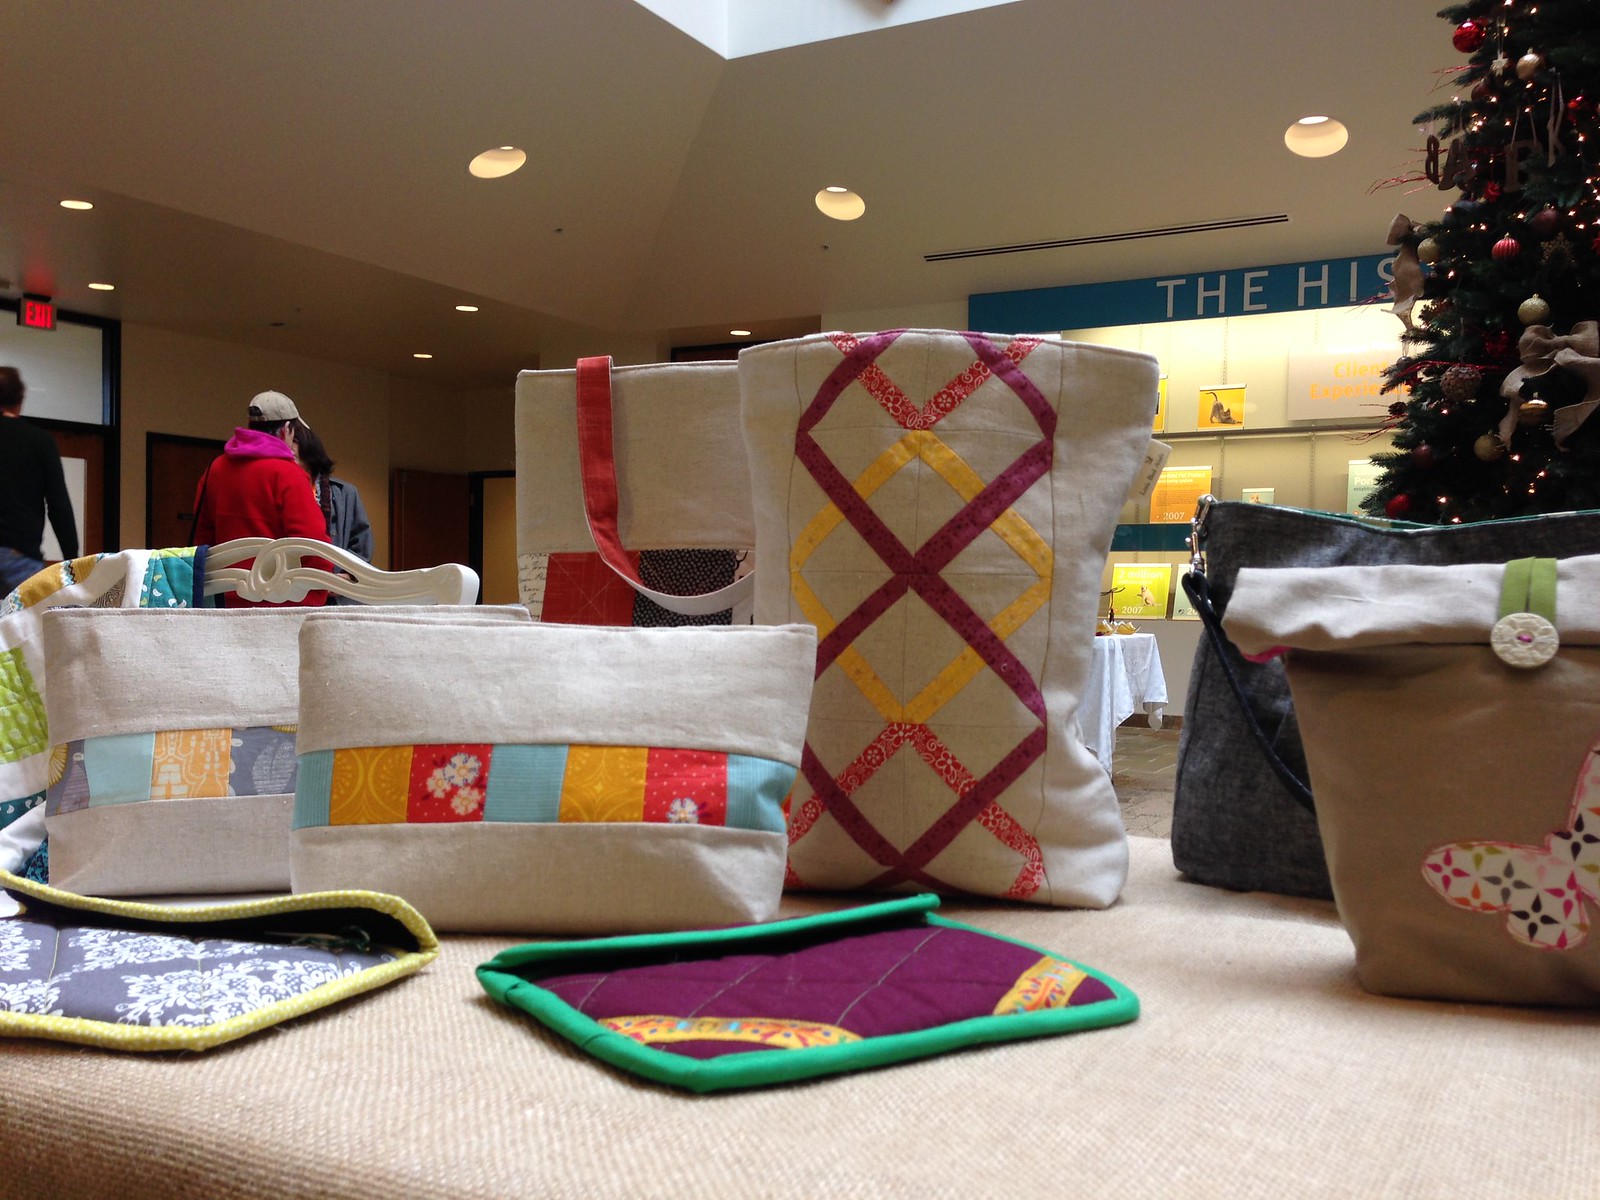
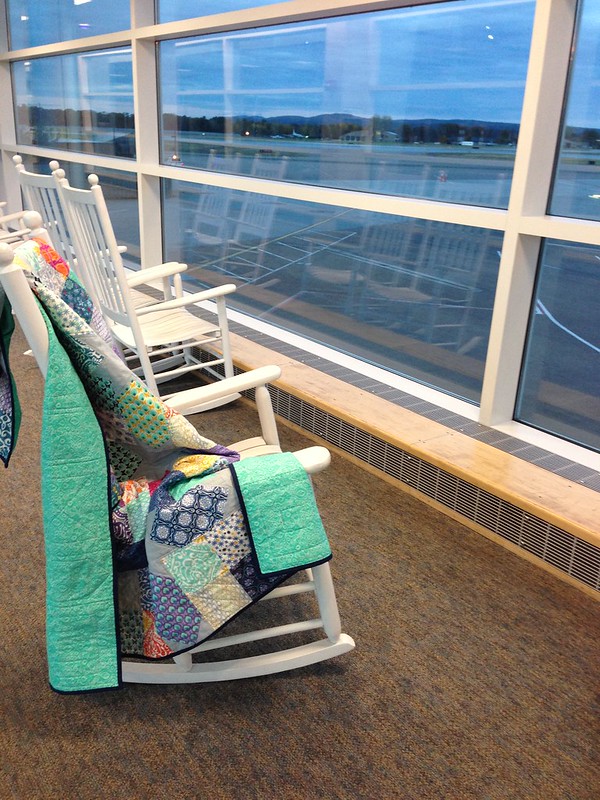
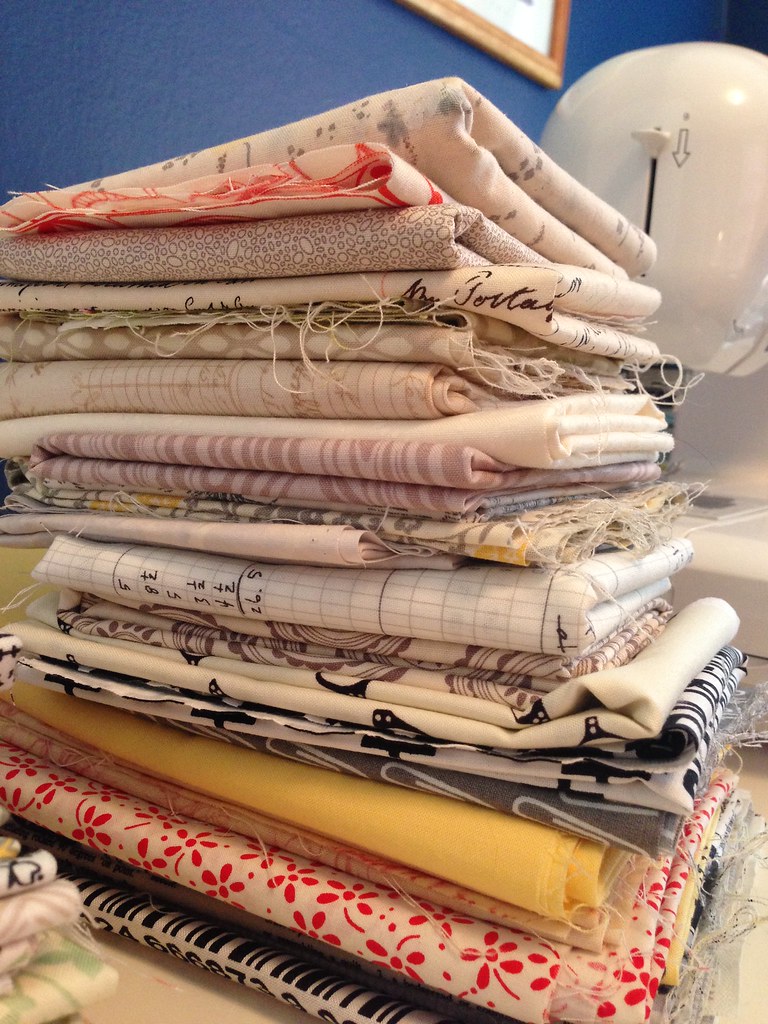
Some sewing, though not recently, which is an entire saga of its own. However, I have made some progress that I do want to share since there are a few exiting things in that mix.

But mostly, it has been me and main man Dexter tearing it up in agility.  While this isn't a blog about the sport of dog agility, it is what I have been spending most of my time on, so bear with me.

I started in the sport of dog agility a little over four years ago.  I had seen a few competitions on TV and thought it was just. so. COOL.  How can I get my dog to do that?!  I had wanted to take a class ever since I got Maddie, but was in college and really, just a complete chicken.  Plus, the internet was still taking shape and random, small groups of enthusiasts were not always easy to find.

Anywho, when Dexter was two, I decided that I needed to just give it a whirl.  Maddie was already getting older and Dexter was so shy, that I thought it would be a good confidence booster for him (I was right).  After about the second class, I was completely hooked.  Fast forward four years.  I have been teaching a Foundation class for over a year now, got talked into being the secretary of the club board (even though I am not very good at it) and Dexter and I are solidly in the Intermediate level in competition.

What does agility look like?


Well, if you are Dexter, it looks pretty darn good :)

Photo by Joe Camp


Here is a video of a standard course we ran this past January:


Standard courses contain all of the different pieces of equipment and are done in a pre-determined order.  Pretty much anything that goes wrong (dropped bar, off course, missed contact) disqualifies you.  The other question I get a lot about agility competition is if the course is always the same.  The short answer is no.  You get a course map at the beginning of the day that you can look at and then you get about seven minutes to walk through the course (without your dog) and plan how you are going to tell them where to go.

Here is a Grand Prix course we ran in April.  The fact that Dexter jumps off the dog walk before touching the yellow (missed contact) disqualifies us, but other than that, this is a pretty good run.


There are other types of games in agility.  Rather than run down a list, I will just tell you about one of my favorites, Jumpers.

Jumpers is just jumps and tunnels. It really tests the handlers skill at getting the dog around the course in the right order.  It also doesn't have pesky things like contacts :)  For a little laugh at my expense, here is our Jumpers run from the same trial as the above Grand Prix run.  These two runs occurred about ten minutes apart and only had about a minute to walk through the course.  You may notice that I completely disconnect from dog to look at the cones and read the numbers!  Oh and I almost do a full-on face plant, that was fun.


Here is a much prettier Elite run from ASCA this January:


Yes, it was VERY cold.

When do you do all of this?


On weekends of course!  And they take all weekend.  Most trials start at 8 am and you want to arrive onsite about a half hour to 45 minutes before hand.  Some venues (like the one with the blue background) require travel and hotel stay.  Others are about an hour away and we just drive each morning.  Which is to say, we get up REALLY early.  We generally get home around five or six unless we have traveled far and wide.  We like to cap of the weekend with a few beers at our favorite local watering hole, Laurelwood, and then go home and do nothing.  Between weekend competitions, the class I teach, the class I take and the practice time in the barn, agility takes most, if not all, of my free time.

Just one more run, please!

How do you manage all of this?


I would be remiss if I didn't mention in this post that I have the most awesome, incredible husband of all time. I don't know what I would do without him.  He loads the car, sets up our crating area, takes all the video, makes sure I am where I need to be and is always there to "catch" my dog if I have to sprint across the arena to try and make a walk through as in the above mentioned scenario.  He does many jobs as an agility support spouse but I think most importantly he reminds me that whether we (meaning me) fall our face or take first place, we are loved and supported and that is a wonderful thing.

Buddy excellently performing the job of "dog holder"


Thursday, December 12, 2013

Low Volume Quilt Top

Making Progress


It's all together and I am over the moon about this one.  This is the perfect for me quilt.  Plus, it looks great on our furniture, which is an extra bonus.  I love looking at all the different fabrics, there are so many favorites in there!


I was surprised how hard it was to get all the columns to line up and I struggled with it for a while until I remembered that I wasn't going to sell it and I just didn't care that much. After that, things went pretty quickly.


The husband helped picked out the backing (he's the best).  The main part is  from Denyse Schmidt's Florence with a long pieced strip running down it in a variety of fun fabrics (Bluebird Park, Waterfront Park, 2wenty thr3e).


Now that the craft show craziness is over, I can finish this one (and take MUCH better photos)!

Tuesday, December 10, 2013

Craft Show Quilt Finishes

Four Quilts!


That's right, I finished four new quilts for the craft show.  Most of them you will recognize from here and here, then there is one that just sort of snuck itself in there.  They are all for sale in my Etsy shop, so if you see one that you just have to have, you can!

Elephant Quilt

I am beyond tickled with how this one turned out!  After so much hymning and hawing over how to quilt it, I ended up going with "organic" straight line quilting roughly 3/4" apart.  Despite the density, it is actually some of the easiest quilting I have done.  Not marking anything helps make it easy plus the fact that you aren't actually trying to get the lines straight!


The quilting just adds so much to this simple design!


Chevron Quilt

I think I have a thing about not being overly thrilled with blocks and quilt tops.  I have to say, for all my foot stomping, this one came out darn cute.  I ended up leaving the quilting minimal and only adding a few additional lines in some of the white zig-zags.


Granny Square Quilt

I love this quilt.  I came together just like I was hoping it would.  This was the first time that I have ever stitched binding to a quilt completely by machine and I am very pleased with the results.  I did simple diagonal quilting lines, pretty widely spaced and used a lilac colored thread.


You can almost see the zig-zag stitch that I used to attach the binding to the front.
I was hoping that if things were just a bit off, the stitches on the back would get
 lost in the pile of the fabric. Check!

Do you see my cute little tag at the top?  They came out very much to my liking.


Briar Rose Plus Quilt

I was pretty excited while I was putting this quilt together but it didn't really turn out like I was hoping.  I wish that I squared the top up a bit before sewing the backing on and I am thinking that it probably needed at least a mini border.  The minky blankets don't have binding which takes away that nice, unifying edge.  When I edge stitched the whole thing that certainly helped, but still isn't quite enough in my mind.  At any rate, I love the fabrics and the fun plus design, so I am still happy with it.


Which one is your favorite?

Monday, December 9, 2013

My First Craft Show

Working Like a Dog


I know that I have been completely MIA recently but it was with good reason.  I was preparing for my first craft show!  Okay, okay, so it was only sort of a craft show since it was at work but I really did have do all the same things to get ready for it.  I just knew that I was going to have a very safe and captive audience to play to.

I got so many things done that mean I can do more shows: shop table sign, getting a Square card reader, making price tags, making price signs and of course, making things to sell!  Phew, I'm tired just reading that list.  It was A LOT of work, but it was very worth it, even though we had freak snow on Friday that kept many of my customers at home.

A big thank you to my husband who drove me all over town (including Fabric Depot three days in a row) and let me cover all of our household surfaces in sewing projects.  Also, a big thank you to my mom who did an amazing and beautiful quick turnaround job refinishing a chair for me to use in my display.  Plus, she came to the show and took some pictures of me with my set-up!

And now, on to the photos :)

Me and my table!  Photo credit: Mom.


Some new quilts hiding in there :)

Doesn't the chair look great?

So happy with how my sign turned out!


I got four new quilts done for the show, yippee!  I didn't sell any of them there so they are now happily up for sale in my Etsy shop.  AND, I have a new product to add to my shop, you may have noticed the mason jar cozies . . . I will share all of that happiness an another post, soon!

Thursday, November 14, 2013

Hidden Stars Quilt

Remember this UFO?


This quilt was by far the closest to being done out of all the UFO's on list (you can see the full catalog of UFO's here).  

A Bit of Backstory


I was making this quilt for one of my aunts that had not so subtly hinting that she would like a quilt from me.  My aunt Connie is an awesome lady so I was happy to get started on something for her.  Connie is an artist and likes to paint with a lot of bright, bold colors so I knew that I wanted to factor that in to my fabric choice.  I ended up going with Cuzco by Katie Spain.


I bought a Layer Cake since there were so many good fabrics in line and headed straight for my pre-cut quilt pattern book.  There were a couple of things that I really liked about the Hidden Stars pattern.  One was the finished size, 50" x 60", quick and manageable.  Second was that I felt like it would really allow the saturated colors of the Cuzco collection to shine.  I choose a medium grey for my stars and got cutting.

The top went together pretty easily and quickly.  I was really pleased with how it turned out.  I chose a bright teal that has a tone on tone pattern and mostly reads like a solid (in the above photo it is the bottom print third from the left) for the backing.  I also picked a fun multi-color variegated thread for the quilting!  

My quilting plan was to just outline each element.  As an added bonus, the different thread colors really came to life against the solid grey stars.  I made a pretty good push and got about a third of the quilting done and then my motivation. just. ran. out.  


A New Kick in the Pants


An impending trip to the east coast finally spurred me to action.  I was going to Lake Placid, NY for a week for a work trip!  As soon as I found that out about the trip I knew I would be staying a few extra days to see family.  I was really happy when I found out that people were actually going to travel in from around the state to see me.  This included my Aunt Connie.  What could be better than getting to give her the quilt in person !?!

So I picked up the quilt and set back to work.  Once I finished the quilting, I thought, “Shoot, I don't have any binding fabric, and if I do, I don't know where to look for it.”  The trip to Fabric Depot was quick but then I realized that I two nights at the agility barn ahead of me, then Wednesday night I would need to pack for my Thursday morning flight.  Hmm, when was I going to bind this quilt?  

I managed to get the binding cut out and sewn together on Wednesday night and then at 5am on Thursday morning I got it stitched onto the quilt, eek!  After having carefully inspected the TSA website, I was pretty sure that I could get embroidery scissors, needle and thread on the plane :)


It was cramped quarters but sewing the binding sure made my six hour flight Dulles go by quickly!


P.S. My aunt was TOTALLY surprised and absolutely loved it!

Tuesday, November 12, 2013

Big, Bright Granny Sqaures

Ahh!

There has been so much going on that I haven't been able to keep up.  The good news is that I have been sewing and getting things done!  I have lots that I want to share and I will start with this post, which sadly I began more weeks ago than I like to admit, so without further ado, here is a start to all things I have to tell you!

Non-existent Tote Bags

As I mentioned before, Jolene's blog was the first that I stumbled upon when I found her Granny Square tutorial.  I loved the design and periodically checked back to see what she was up to.  I am often inspired by her work and I have linked to a couple of different photos of hers in my Hopscotch and Onto the Next posts.  I didn't officially start following her blog, or any blogs for that matter, until after I started this one and discovered Bloglovin' (which I really do love, BTW).

I had purchased some small cuts of really brightly colored fabrics thinking I was going to put them into tote bags like these with different patchwork designs.


But, as so many things go with me, I was bored of making tote bags pretty quickly and they never came to fruition.  So I had these great fabrics and this awesome pattern, why not put them together?

I don't have any fancy quilt design software so I either draw on graph type paper and color with pencils or, if the design will allow, as this one did, use Excel.  Nerdy, I know.

Here is what my “sketch” looked like:


I couldn't put the blocks on point like I planned, but all
the color combos are there, which is what I was going for.


Working Away from Home


Before the Nicholls State game my dad asked if we would stay in Eugene on Sunday to help him put in a window.  By this he meant, would the husband help him put in a window, leaving me to entertain myself save the intermittent calls to "come hold this." So I made darn sure that I wouldn't be bored.

My dad was quite confused as I re-arranged a portion of his living room, but I came up with a pretty good set-up.  My ironing board was a TV tray with a towel on top so I was glad that I was working on small blocks. 


Yes, there is a dog hiding under the table.


Whilst my father commenced cutting a hole in his house, in his pajamas, I might add, I started sewing.  


I got a good system going and before I knew it, viola! All my blocks were done and looking quite bright and fun, just like I wanted!


Finishing Up


I added the sashing and finished the top in the next few days.  It turned out so stinking cute! 


I was surprised how close I got to my original design.


A close up of one of favorite blocks.


I have some fabulous Cuddle fabric for the back so I nervously tossed in the washer/dryer to pre-shrink.  Hooray!  It came out perfect so I gave it a good ironing.

Love the color of the Cuddle fabric for the back!


 This is going to be my foray into spray basting since I haven’t had any luck pin basting Cuddle.  It’s a love/hate thing me and Cuddle have going on.  In addition to that I have to decide on a quilt design . . . wish me luck!

Tuesday, October 15, 2013

Low Volume Loveliness: A Start

Oh inspiration!


One of the quilting trends that I love, love, love is all of the low-volume fabrics being combined and used as backgrounds.  You can see my favorite examples, herehere and here.  Now part of what I love is how scrappy these quilts are without being overwhelming.  I really wanted to make something like this but since I haven't been quilting for all that long in the grand scheme of things, I don't have a scrap bin full of wonderful, whimsical low-volume fabrics.  So, I did what any fabric loving girl with a vision would do, I went to the fabric store!


A Boat Load of Fabric.


This particular adventure involved pretty much every fabric store in town.  I had so much fun hunting down all those fabrics that I would normally shy away from because they wouldn't pop against a white background, my heart was filled with joy as I filled the cart.  The husband even got in on the act and pulled me over to the novelty prints section at Fabric Depot (how had I not been over there before!) and I found fun letters and little ants!  I also picked up a big 'ole scrap bag at Cool Cottons and found several more treasures in there.

After several weeks of collecting whilst purchasing for other projects, and throwing in things from my stash, I ended up with a pretty impressive pile of fabrics.


Now to cut it all out.

Wait, you say, what happened to those other projects you teased us with?  I thought you were going to work on one of those?  Well so did I.  However, I was having a positively awful time choosing between the three and really nothing was really jumping up and down saying, "Make ME!", so I ended up going with this because I feel confident that I am going to love how it turns out!

Fabric and Football


This time of year there are two things that tend to consume most of my time, fabric and football.  I have been a season ticket holder for Duck Football pretty much ever since I left school and couldn't get the free student tickets anymore.  But when the Ducks are away the day is spent in front of the TV soaking up ever bit of college football we can.  The husband has been know to take the TV from my craft room and move it to the living room so that we can enjoy with additional sports bar effect.  These days are also perfect for cutting fabric.  So that's what I did and guess what?  I finished :D


I am hoping to get in a few finishes before I start piecing this, but who knows!